G
ETTING
S
TARTED
1.16
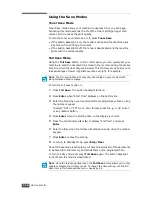
You can also use the scroll button (
W
or
X
) to move the cursor under
the digit you want to correct and enter a new number.
4
To select “AM” or “PM” for 12-hour format, press the
or
button
or any number button.
When the cursor is not under the AM or PM indicator, pressing the
or
button immediately moves the cursor to the indicator.
You can change the clock mode to 24-hour format (e.g. 01:00 PM as
13:00). For details, see page 1.16.
5
Press
Enter
when the time and date on the display is correct.
When you enter a wrong number, the machine beeps and does not
proceed to the next step. If this happens, just reenter the correct
number.
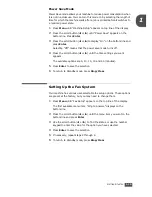
Changing the Clock Mode
You can set your machine to display the current time using either 12-hour
or 24-hour format.
1
Press
Menu
until “Machine Setup” appears on the top line of the
display.
2
Press the scroll button (
W
or
X
) until you see “Clock Mode” on the
bottom line and press
Enter
.
The clock mode currently set for the machine displays.
3
Press the scroll button (
W
or
X
) to select the other mode and then
press
Enter
to save the selection.
4
To return to Standby mode, press
Stop/Clear
.
Setting the Paper Type and Size
After loading paper in the paper tray, you need to set the paper type and
size using the control panel buttons.
1
Press
Menu
.
The display shows “Paper Setting” on the top line and the first menu
item, “Paper Type,” on the bottom line.
2
Press
Enter
to access the menu item.
3
Use the scroll button (
W
or
X
) to fine the paper type you are using and
press
Enter
to save it.
4
Press the
X
button to scroll to “Paper Size” and press
Enter
to access
the menu item.
5
Press
Enter
when “Tray Paper ” displays on the bottom line.
6
Use the scroll button (
W
or
X
) to find the paper size you are using and
press
Enter
to save it.
7
To return to Standby mode, press
Stop/Clear
.
Summary of Contents for SCX-5315F
Page 1: ......
Page 14: ...xiii ...
Page 15: ...xiv ...
Page 55: ...BASIC FUNCTIONS 2 20 MEMO ...
Page 77: ...MAINTENANCE 5 10 MEMO ...
Page 95: ...SPECIFICATIONS A 8 ...
Page 98: ...Rev 1 00 ...

