Messaging
71
Creating and Sending New Messages
3.
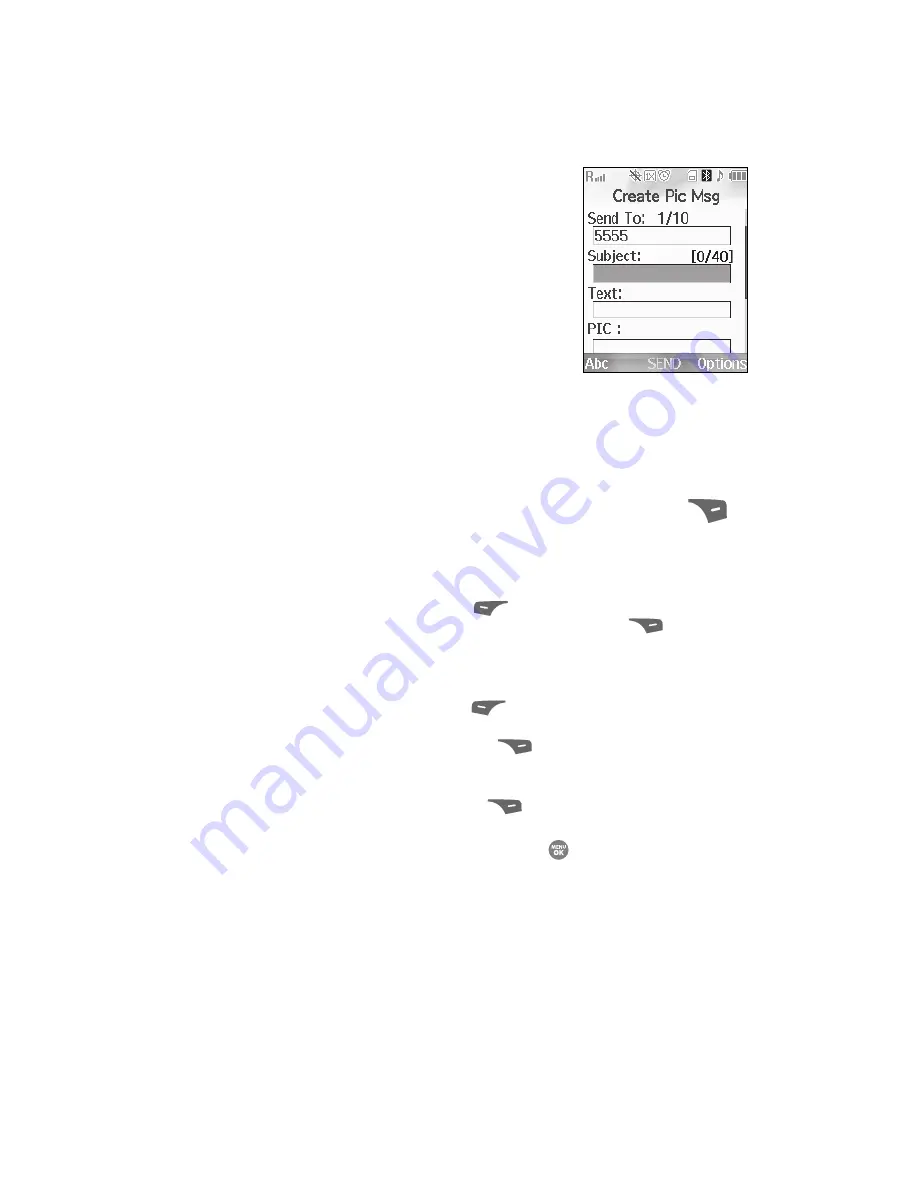
After addressing your picture message, the
Subject
field becomes highlighted.
4.
Enter the Subject text using the keypad.
(See Step 4 of
“Creating and Sending a Text
Message”
on page 69 for more information
on choosing a text entry method, also see
“Entering Text”
on page 48 for more
information on using text entry methods.)
5.
Press the
Down
navigation key. The
Text
field
becomes highlighted.
6.
Enter the message text using the keypad.
(See Step 4 of
“Creating and Sending a Text Message”
on page 69 for
more information on choosing a text entry method, also see
“Entering
Text”
on page 48 for more information on using text entry methods.)
7.
To set message send options, press the
Options
(right) soft key (
).
(See “Message Send Options” on page 74. for more information.)
8.
To add a picture to the message, use the navigation keys to highlight the
PIC
field.
•
Press the
My PIC
(left) soft key (
) to access the picture gallery. If there are
no pictures in the gallery, press the
Camera
(right) soft key (
) to launch the
camera, then take a picture. If there are pictures in the gallery, thumbnail
pictures appear in the display. Then, do the following:
–
Use the navigation keys to highlight a picture in the gallery.
–
Press the
View
(left) soft key (
) to expand the highlighted picture to fill the
display.
–
Press the
Camera
(right) soft key (
) to activate the phone’s camera and
take a new picture. (See “Camera-Camcorder” on page 92. for more
information.)
•
Press the
Options
(right) soft key (
). (See “Message Send Options” on
page 74. for more information.)
9.
Once you have selected a photo, press the
key. The
Create Pic Msg
screen appears in the display with the selected photo in the
PIC
field.


