53
3.
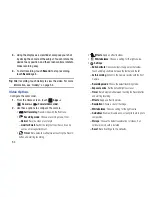
Using the display as a viewfinder, compose your shot
by aiming the camera at the subject. You can rotate the
device to any position, and the screen controls rotate to
make recording easy.
4.
To start recording, touch
Record
. To stop recording,
touch
Record
again.
Tip:
After recording, touch Gallery to view the video. For more
information, see
“Gallery”
on page 54.
Video Options
Configure the camcorder.
1.
From the Home screen, touch
Apps
➔
Camera
➔
Camera/Camcorder
.
2.
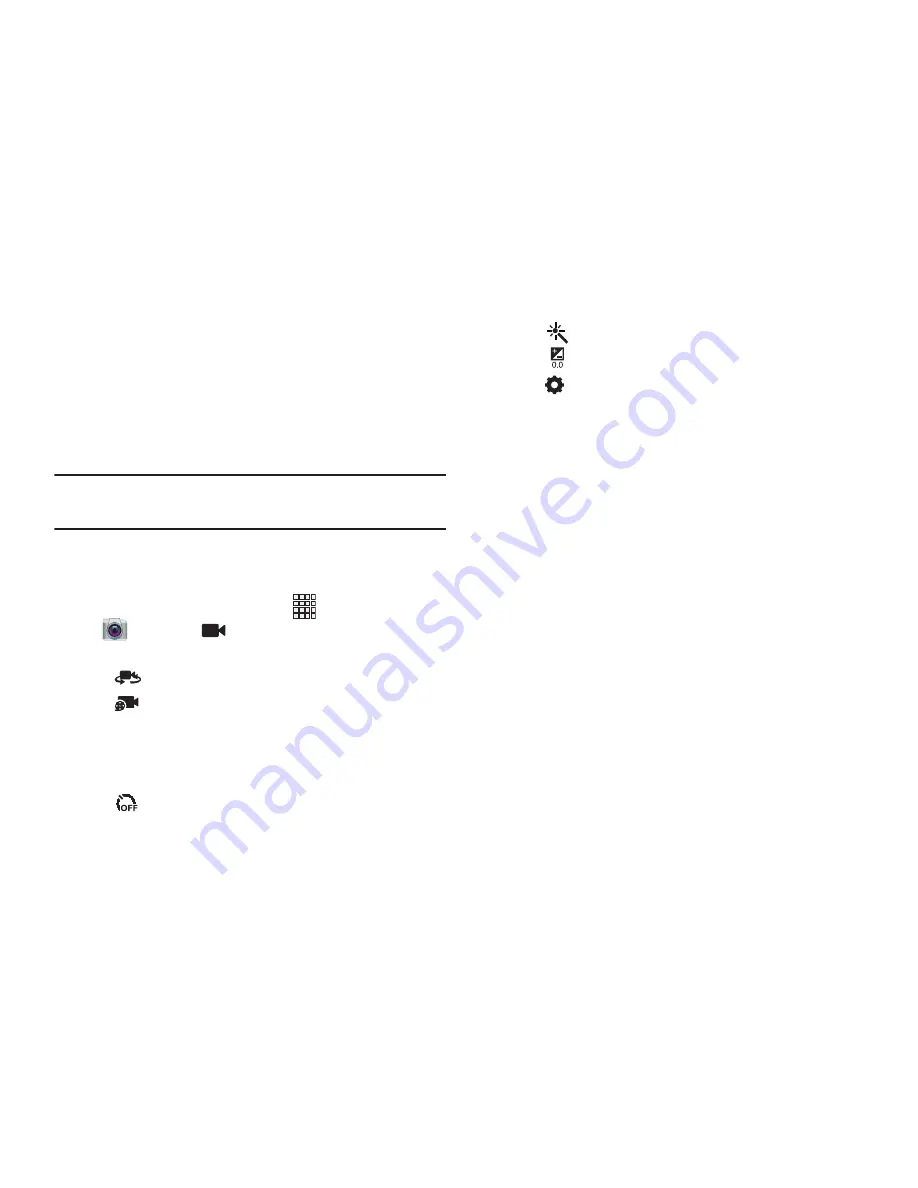
Use these options to configure the camera:
•
Self recording
: Record video with the front lens.
•
Recording mode
: Choose a recording mode, from:
–
Normal
: Record a video of any length.
–
Limit for Email
: Restrict the length of the video so it can be
sent as a message attachment.
•
Timer
: Set a delay to wait between touching the Record
button and starting recording.
•
Effects
: Apply an effect to videos.
•
White balance
: Choose a setting for the light source.
•
Settings
:
–
Edit shortcuts
: Choose shortcuts to appear on the toolbar.
Touch and drag shortcuts between the toolbar and the list.
–
Self-recording
: When On, the Camera records with the front
Camera.
–
Recording mode
: Choose the default recording mode.
–
Exposure value
: Set the default brightness level.
–
Timer
: Set a delay to wait between touching the Record button
and starting recording.
–
Effects
: Apply an effect to pictures.
–
Resolution
: Choose a size for the image.
–
White balance
: Choose a setting for the light source.
–
Guidelines
: Enable or disable an on-screen grid to aid in photo
composition.
–
Storage
: Choose the default save location for videos, if an
optional memory card is installed.
–
Reset
: Set all settings to the defaults.
Summary of Contents for SCH-I915
Page 1: ...User Guide ...

