15
Time Domain Mode / Spectrum Analyze Mode
At any time, you can opt to graph different parameters for the selected receiver, or to view the data for a
different receiver altogether, simply by calling up the Time Domain Configuration dialog again. To
determine the actual time of any point in the graph, simply move the cursor to that point and click. A light
gray vertical line will appear at that point and the time display in the upper right-hand corner of the screen
will show the time (in hours/minutes/seconds) of the selected point.
You can also zoom the display in or out to view specific areas of the data. The simplest method of zoom-
ing in is to simply use the mouse to specify the data you want to view: Position the mouse at the start of
the area you want to view, click and hold, then drag across the screen to the end of the area you want to
view. When you then release the mouse, the specified area will zoom in to fill the entire screen. To
restore the screen to its previous condition, simply right-click the mouse.
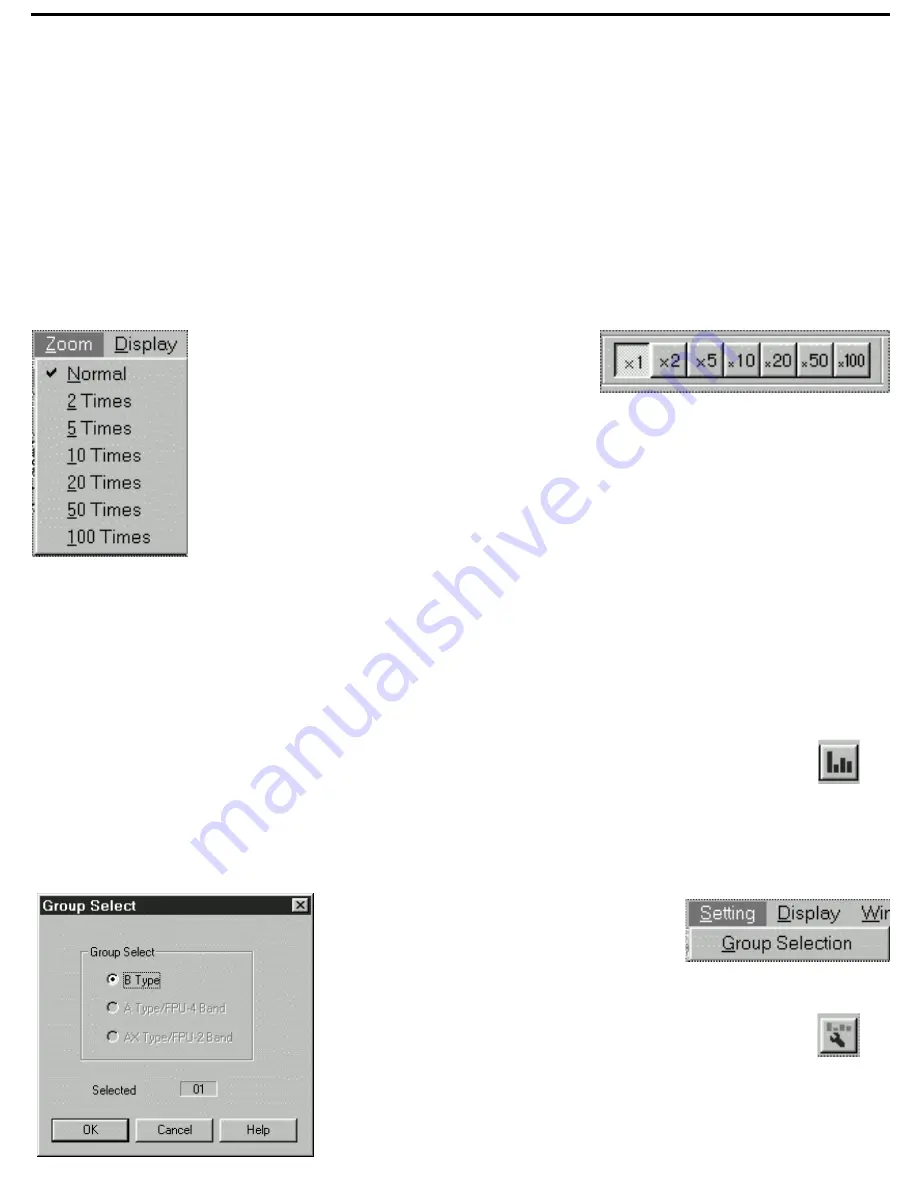
Alternatively, you can set various screen
magnifications by using the Zoom Tools, available
only in Time Domain Mode. These allow you to
magnify the screen by factors of 2, 5, 10, 20, 50, or
100. To return the screen to standard magnification,
simply click on the “x 1” box. You can make the same
changes to screen magnification by opening the Zoom
menu, available only in Time Domain Mode.
Spectrum Analyze Mode
The third, and final main mode of operation offered by WSM is Spectrum Analyze Mode. In this mode,
WSM uses your connected receivers to scan through all available frequencies and then graphs out the
relative RF signal strengths onscreen. This allows you to make the best channel selections, based on
actual RF conditions in the performance environment of your wireless system.
To enter Spectrum Analyze Mode, either select it from the Window menu, or click on the Spectrum
Analyze icon in the Tool Bar.
In this mode, a scan and spectrum analysis can be run of all standard UR6D frequencies,
of all “X” UR6DX frequencies, or both sets of frequencies. If all receivers in your wireless
system use the same frequencies (that is, if the system contains
all
UR6D receivers or
all
UR6DX receivers), WSM will automatically scan
only those frequencies. However, if your
wireless system contains
both
UR6D and
UR6DX receivers being used simultaneously,
you need to let WSM know which frequencies
you want scanned and analyzed. To do so, call
up the Group Select dialog either by opening the
Setting menu or by clicking on the Group Select
icon in the Tool Bar. In this dialog (shown at left),
you can choose the frequency range (standard
“B Type” UR6D frequencies or “AX Type ” UR6DX
“X” frequencies) you wish to analyze and specify
the receiver you wish to use for scanning purposes.
Zoom Tools
Spectrum
Analyze Mode
icon
Group Select
icon
Spectrum Analyze Mode
Setting menu


