Operating Instructions
70 / 92
11.4
Importing data - example: replacing a cookbook/cookbooks
Use this function, for example, to standardize cookbooks across multiple appliances.
Before replacing data, export the existing data to a separate USB stick as a precaution
(exporting, see
Chapter 11.3)
Requirements for data import, see page 67 Chapter 11.1
1
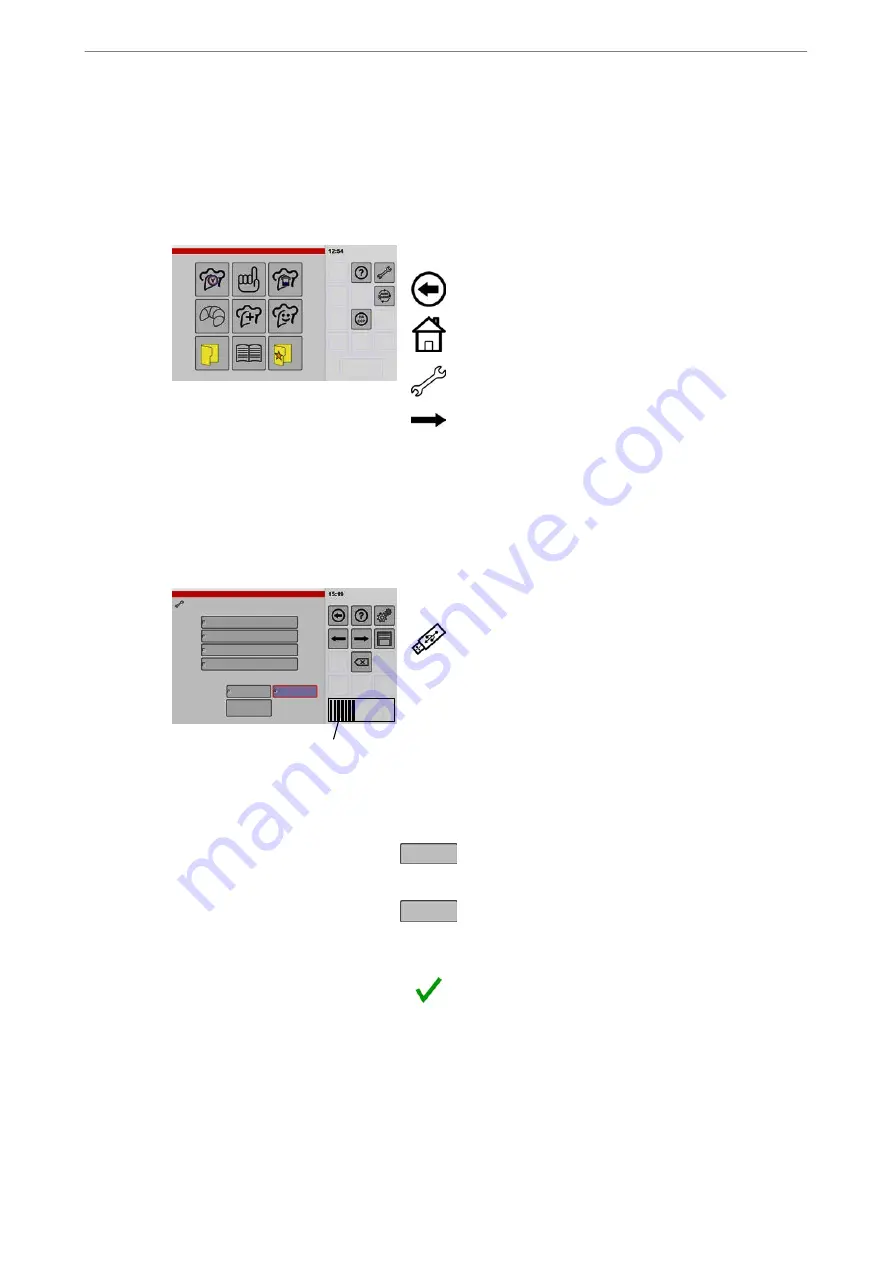
Start screen settings/setup
.
If the "Setup" icon cannot be seen, tap and briefly
hold the "Back" key.
D
The key display changes from "Back" to "Home"
D
●The start screen is displayed when the key is re
leased.
.
Touch "Settings/Setup".
D
●The "Appliance Data" window is displayed.
.
Continue to the next window - tap arrow key.
D
●If the PIN (Personal Identification Number) is en
abled, it is not possible to continue and the PIN entry
window appears.
For information on entering or deleting the PIN, see
Figures 61 and 10 from page 11.
.
Keep tapping the arrow key until the "Import" window
appears.
D
The "Add" key is highlighted in colour and framed.
2
Area
Import
Sounds
Import options
Replace
Add
Import
Images
Cookbooks
User configuration
Progress indicator
Data import: USB stick -> control unit
Importing (example: replacing all cookbooks
in the control unit)
.
Insert USB stick into the USB port.
Connecting the USB stick, see page 65 Figure 18
D
Wait approx. 5 seconds for the control unit to estab
lish a link with the USB stick.
D
Attention: the "Replace" function deletes existing
data!
Observe the information in Chapter 11.2!
.
Tap on data required for import e.g. cookbook.
D
●The selected data type is highlighted in colour and
framed.
.
Touch "Replace".
D
The "Replace" key is highlighted in colour and
framed.
.
Tap "Import".
D
●The copying process is carried out (takes approx. 5
to 30 seconds depending on the amount of data).
D
●A message appears after completion.
.
Touch "Confirm".
D
●The message disappears.
D
The data has been read into the control unit.
D
The cookbooks can be used immediately.


