150
4.
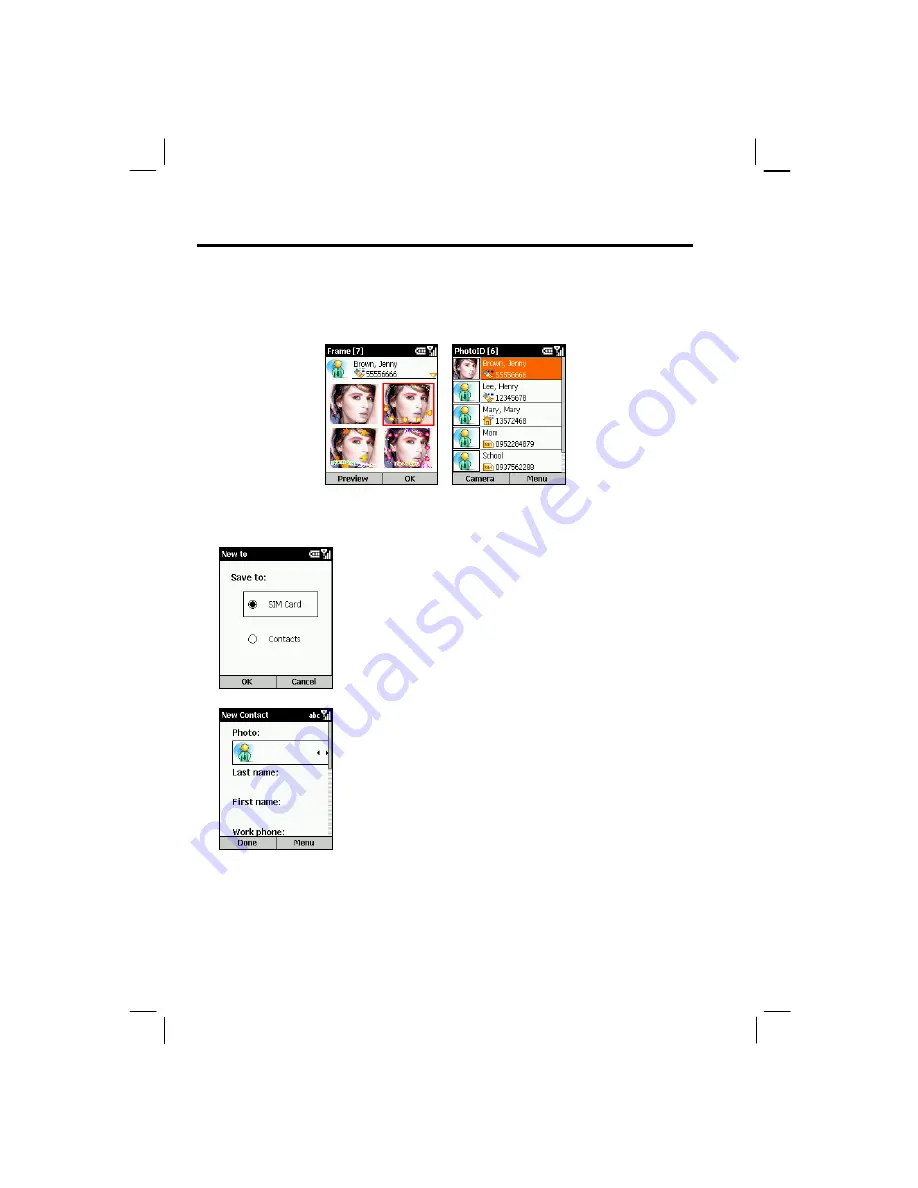
After selecting a photo, the Frame screen appears. Scroll to select the desired flashing
frames or the normal photo without a frame. You can also press the
Preview
soft key to
preview the photo with the selected frame.
The photo you assigned for the contact now appears on the Photo ID main screen.
Adding a Contact Using Photo ID
1.
On the Home screen, press the
Start
soft key and select
Photo ID
.
2.
On the Photo ID main screen, press the
Menu
soft key and
select
Edit
New
.
3.
Scroll to
SIM Card
or
Contacts
as the location to save this
contact, and press the
OK
soft key.
4.
In
Photo
, scroll left/right to select a photo or press the
Navigation stick to select from the full list.
5.
Enter related information and phone numbers in the other
input fields.
6.
If you are adding a contact to
Contacts
, in
Custom ring
tone
, scroll left/right to select a ring tone or press the
Navigation stick to select from the full list.
7.
If you want to assign the contact to a group, in
Group
, scroll
left/right to select a contact group or press the Navigation
stick to select from the full list.
8.
If you are adding a contact to
Contacts
, you can press the
Menu
soft key and select
Edit More
to enter more
information. Then press the
Done
soft key.
9.
Press the
Done
soft key. The contact is now in your contact
list.
Summary of Contents for My S-7
Page 1: ...User s Manual Revision V 03 April 2004...
Page 12: ......
Page 13: ...1 Part I System Manual...
Page 14: ......
Page 26: ......
Page 40: ......
Page 54: ......
Page 76: ......
Page 100: ......
Page 121: ...109 N O T E To edit settings on the Smartphone disconnect it from your desktop computer...
Page 135: ...123 ISO MPEG 4 video codec version 1 0...
Page 142: ...130 Part II Software Manual...
Page 158: ......
Page 170: ......
Page 171: ...159 Part III References...
Page 172: ......
Page 173: ...161 11 References This chapter provides the reference information...
Page 180: ......
Page 185: ...173 VPN 58 Windows Media Player See Media Player...


