14
Reclining Child Restraint
13
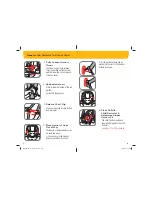
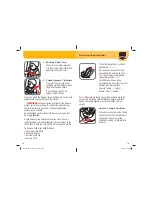
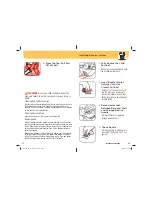
6.
Check Harness Tightness
Try to pinch the harness at the
shoulders vertically between index
finger and thumb as shown.
If your fingers slip off
, the
harness is tight enough.
If you can pinch the harness strap
, tighten more. The harness
straps should be snug throughout their length.
5.
Position Chest Clip
The chest clip must be placed at
mid-chest (even with armpits) and
away from the child’s neck.
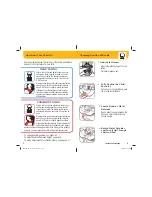
WARNINGS:
Failure to fasten and tighten the harness
system correctly may allow the child to be ejected from
the child restraint in a crash or sudden stop causing
serious injury or death.
Do not mistake comfort for safety. Harness system must
be snugly adjusted.
A snug harness strap should not allow any slack. It lies in a
relatively straight line without sagging. It does not press on the
child’s flesh or push the child’s body into an unnatural position.
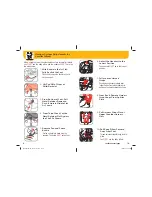
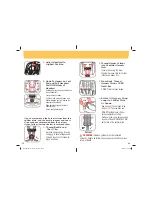
To Remove Child From Child Restraint:
1.
Loosen Harness Strap
2.
Unbuckle Harness
3.
Release Chest Clip
4.
Remove Child
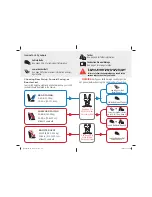
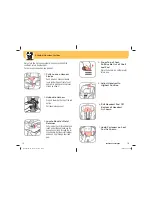
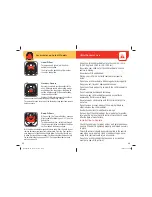
How to Change Positions
To recline,
pull out on recline handle
and push top of child restraint back.
For upright,
pull out on recline
handle and pull top of child restraint
forward.
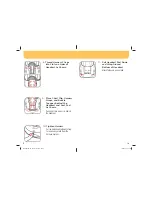
This child restraint has 3 positions:
Rear Facing
-
3
or 2
For children who cannot sit up
unassisted
, the level line on shell
MUST
be parallel with the ground
using either position
3 or 2
.
For children who can sit up
unassisted
, you may rotate the child
restraint to be more upright.
Forward Facing
-
1
Upright
Booster Seat
-
1
Upright
3
2
1
NOTE:
When forward facing, the reclined positions are to be
used only to install the child restraint and booster seat flush
against the vehicle seat back. Vehicle seat back must be
upright.
4358-6835 Grow and Go Air.indd 19-20
4358-6835 Grow and Go Air.indd 19-20
10/29/15 3:33 PM
10/29/15 3:33 PM


