© Safe Fleet | May 2018 | All rights reserved | Part #: 700-1111 R2
Title of Document
p. 21
Performing AVM Calibration
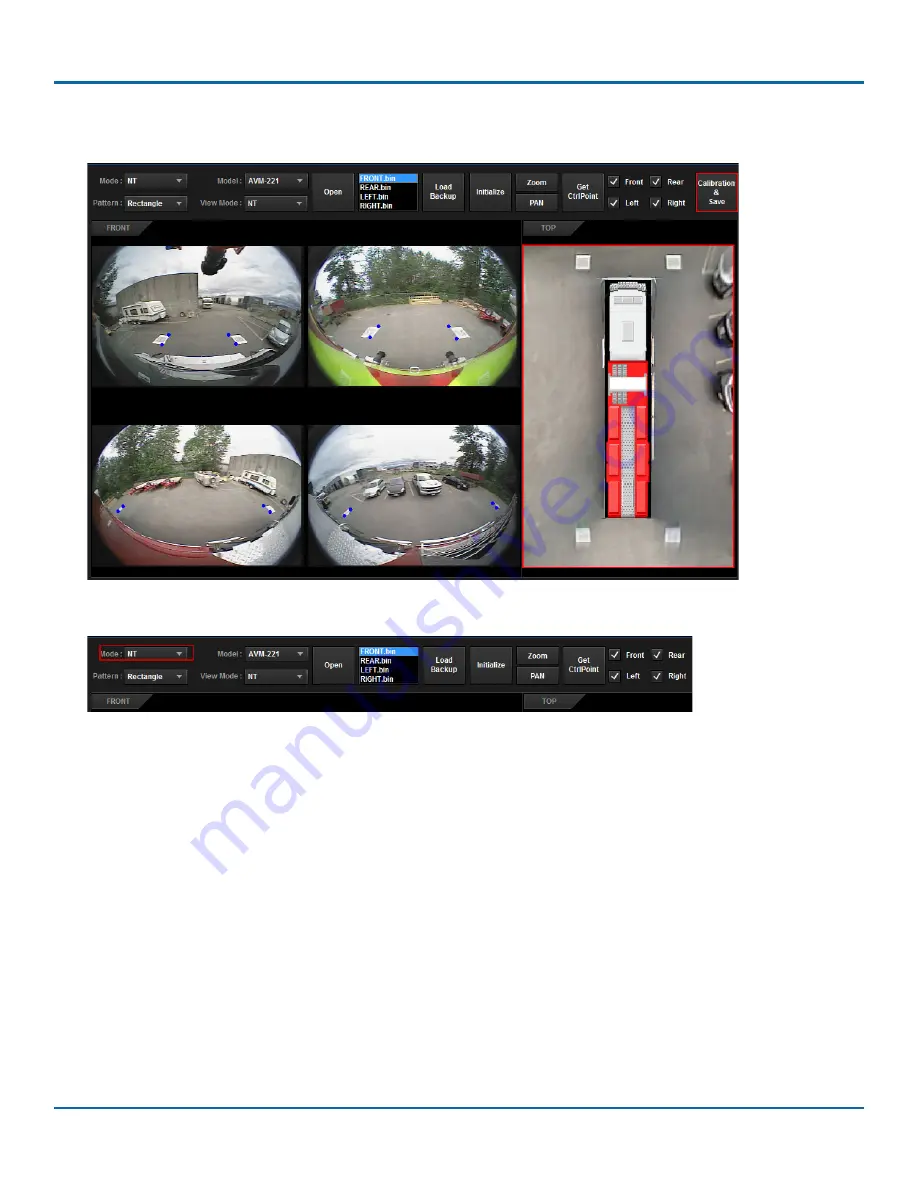
8. Repeat steps 4 to 9 and click
Calibration & Save
when finished. A pop-up will appear letting you know that calibration
was done on the 4 individual cameras. Click
OK
to confirm. You will now see the calibrated 360° image on the screen.
9. Use the
Mode
selector to switch between
NT
,
ST
and
ST(FFT)
to get a preview of the 360° image in each mode.
Viewing changes in pixel pitch
If you switch back to the
Vehicle Pattern Info
screen and change the pixel pitch values, you can preview the results on the
AVM calibration screen. To do this:
1. Change the pixel pitch set value for
NT, ST, or ST(FFT)
modes, then click
Confirm
.
2. Switch to the
AVM Calibration
screen.
3. Click
Calibration & Save
. Your 360° image should change to reflect the increase/decrease in pixel pitch.
4. Change your
View Mode
to view ST or ST(FFT) modes.


