21
CHAPTER 5
- OPERATION
CAP. 5 -
FUNZIONAMENTO
Prima di salire/scendere con l’autovettura dal sollevatore,
assicurarsi che le pedane siano completamente chiuse.
Salire
con l’autovettura sul sollevatore molto lentamente assicu-
randosi che la stessa sia ben centrata sulle pedane.
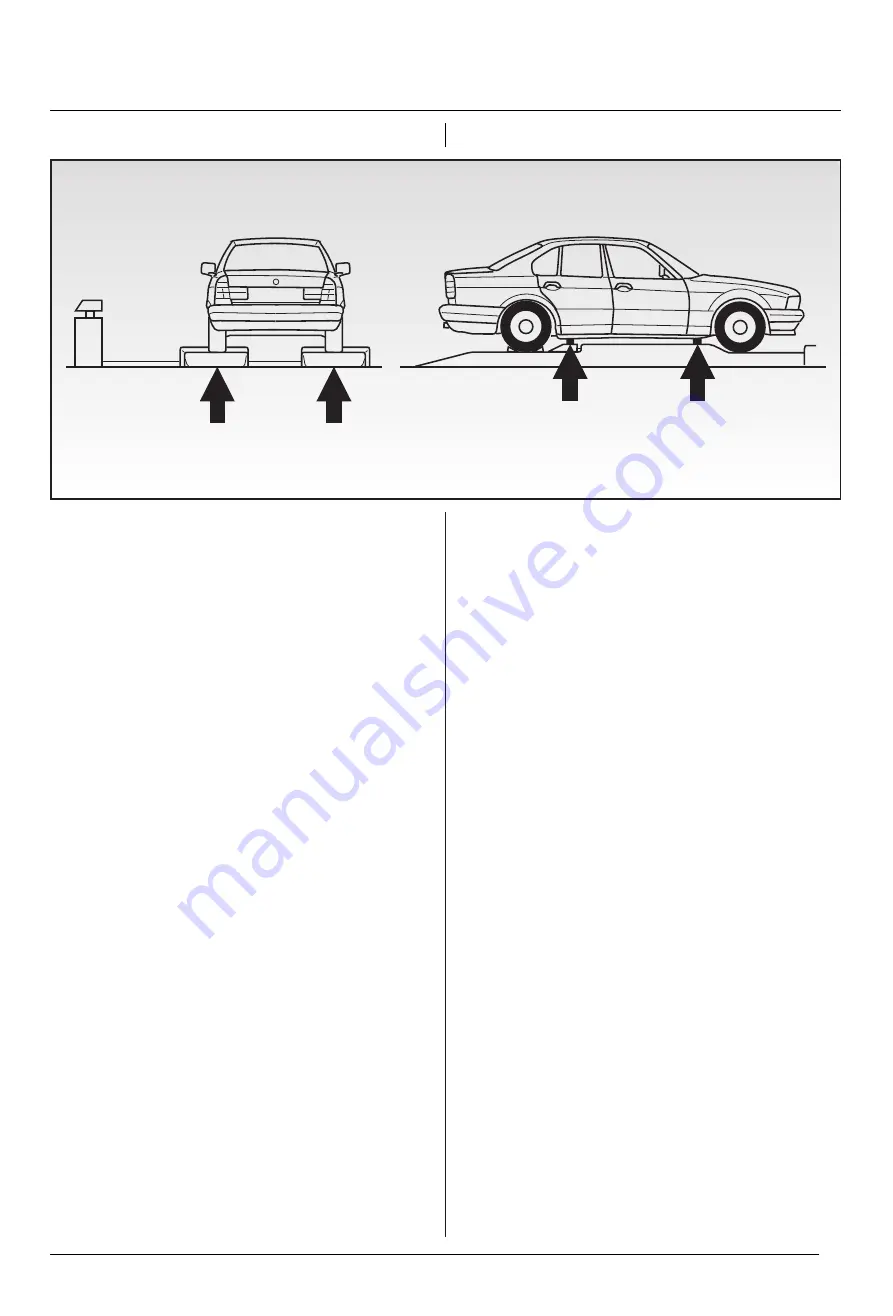
Piazzare gli appositi tamponi in gomma sulla pedana del
sollevatore (vedi fig. 19) rispettando i punti di sollevamen-
to consigliati dal costruttore dell’autovettura.
Premere il pul-
sante di “salita” e portare il sollevatore all’altezza desidera-
ta premendo successivamente il pulsante di “stazionamento”
(fig.4 pos.3). Per la discesa, Premere il pulsante “discesa”
(fig. 4 pos 2), premendo questo pulsante il sollevatore si
alzerà quanto basta per disinserire le sicurezze meccaniche.
Durante la fase di discesa il sollevatore si fermerà automati-
camente per alcuni secondi a ca. 30 cm. dal suolo emetten-
do un segnale acustico di sicurezza, quindi riprenderà la
discesa.
Nelle prime ore lavorative del sollevatore, potrebbero veri-
ficarsi rumori o cigolii dovuti al non ancora avvenuto asse-
stamento naturale delle parti meccaniche, questo inconve-
niente sparirà da solo nelle successive ore lavorative del
sollevatore.
CONTROLLI
Eseguire i seguenti controlli durante il funzionamento del sol-
levatore:
• Osservare che le sicurezze meccaniche abbiano un cor-
retto inserimento nella loro sede.
• In fase di salita/discesa osservare costantemente il solle-
vatore e il suo carico.
• Controllare il funzionamento del segnale acustico di
avvertimento nell’ultima fase di discesa del sollevatore.
SEQUENZA DI FUNZIONAMENTO
DRIVING SEQUENCE
Be sure the platforms are fully closed before getting on/off
the lift.
Get in the vehicle and drive on the lift; be sure the
vehicle is centred and both rear and front wheels are pro-
perly positioned, place the proper rubber pads on the
platform (picture 19) so that they are in line with the lifting
points specified by the manufacturer.
Press the “lifting” but-
ton,keep it pressed until the required height is reached and,
ethen press the “mechanical safety” button to engage mecha-
nical safety mechanism (picture 4, pos.3). To lower the lift,
press the “lowering” button (picture 4, pos.2), when this but-
ton is pressed a short lifting movement occurs so that the
mechanical safety devices can be disengaged. During the
lowering phase, the lift will stop automatically for some
seconds at approximately 30 cm. from the floor, producing a
safety acoustic signal, so the lift lowers again.
During the first hours of operation cracking noises could
occur. This is due to the natural settlement of mechanical
parts and will disappear during the following hours of ope-
ration.
CHECKS
Perform the following checks when operating the car lift:
• Be sure that mechanical safety devices are properly
inserted in their seats.
• Carefully check the car lift and its load during
lifting/lowering operation.
• Check the warning acoustic signal of the car lift during
lowering operation.
pict. - fig. 19


