


2-57
LEF2-300
2
Adjustment
LED Pointer Position Adjustment
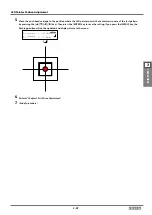
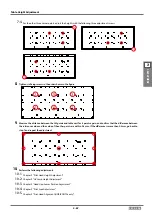
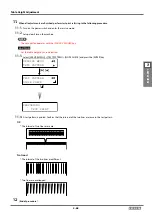
5.
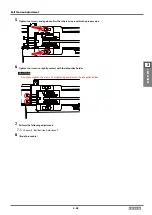
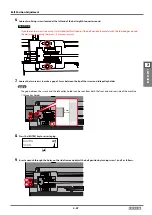
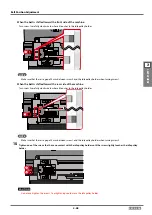
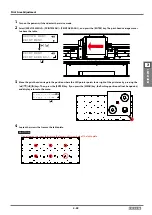
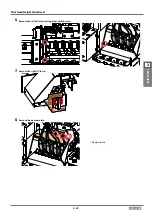
Move the print-head carriage to the position where the LED pointer points the centermost square of the test pattern
by pressing the [
] [
] [
]] [
] keys. Then press the [ENTER] key to save the setting. If you press the [MENU] key, the
flushing position will not be updated, and display returns to the menu.
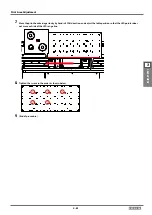
S: > +0.3mm
F: > -0.1mm
****
****
[ ]
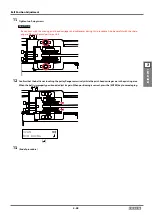
6.
Perform “Chapter 2 Print Area Adjustment”.
7.
(End of procedure)