15
1&
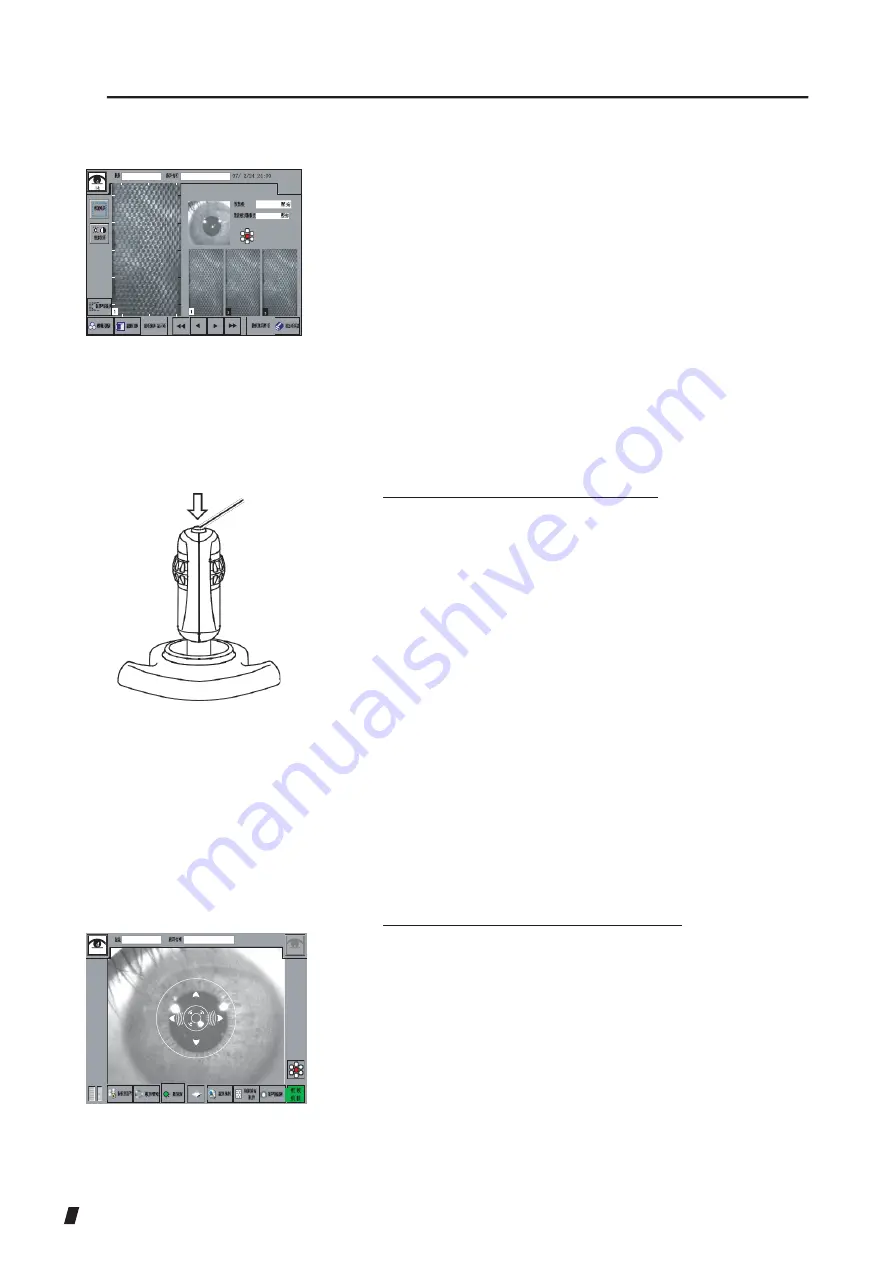
b) Capturing the endothelial image in auto mode
After a position is roughly aligned, the alignment process
starts automatically. When the alignment is completed, the
endothelial image capturing process starts.
After the capturing process ends, a captured image
selection screen (Fig. 1) appears.
(Fig. 1)
c) Capturing the endothelial image in manual mode
(Fig. 1)
● AA/MS (Auto Alignment/Manual Shot)
Perform the Auto Alignment until epithelium anterius
cornea is reached. After the Auto Alignment is
completed, press the joystick button (1) on the top of the
joystick to change the screen to a zoom-in image of an
endothelium. Press the joystick button (1) again to start
the capturing process. Pressing the “Zoom In” button (2)
and the “Capture” button (3) in the capturing screen will
also start the capturing process, too.
If a corneal endothelium image disappears from a zoom-
in image of an endothelium, pressing the “Zoom Out”
button in the capturing screen to return to an anterior
eye segment image. Perform the alignment process
again.
After the capturing process ends, the captured image
selection screen appears.
● MA/MS (Manual Alignment/Manual Shot)
Perform the alignment process in manual mode.
Operate the Touch Alignment function and the joystick
to perform the alignment process. (Refer to “3.3.5
Alignment.”)
Capture images in the same manner as in AA/MS mode
after alignment is completed.
(Fig. 2)
(2) (3)
3-14
(1)
Summary of Contents for REM 3000
Page 2: ......
Page 10: ...This page is intentionally blank iii 4 ...
Page 26: ...2 7 ...
Page 29: ...2 9 ...
Page 31: ...2 10 ...
Page 39: ...3 3 ...
Page 46: ...3 9 ...
Page 56: ...3 18 ...
Page 64: ...3 23 ...
Page 66: ... 15 6 Fig 2 3 24 8 9 7 16 Redo button 9 ...
Page 84: ...This page is intentionally blank 3 42 ...
Page 86: ...This page is intentionally blank 4 2 ...
Page 89: ...5 2 ...
Page 99: ...This page is intentionally blank 7 2 ...
Page 107: ...W Warranty 5 1 9 2 ...
Page 108: ......
Page 109: ...20141218 ...


