53
Step 1
3
1
2
Step 3
Step 2
NOTE: If you have changed a parameter the "STORE" LED will light. The change(s) that you made
will not be stored until you have pressed the "STORE" button. Please follow instructions on the next
page for details on how to store changed parameters.
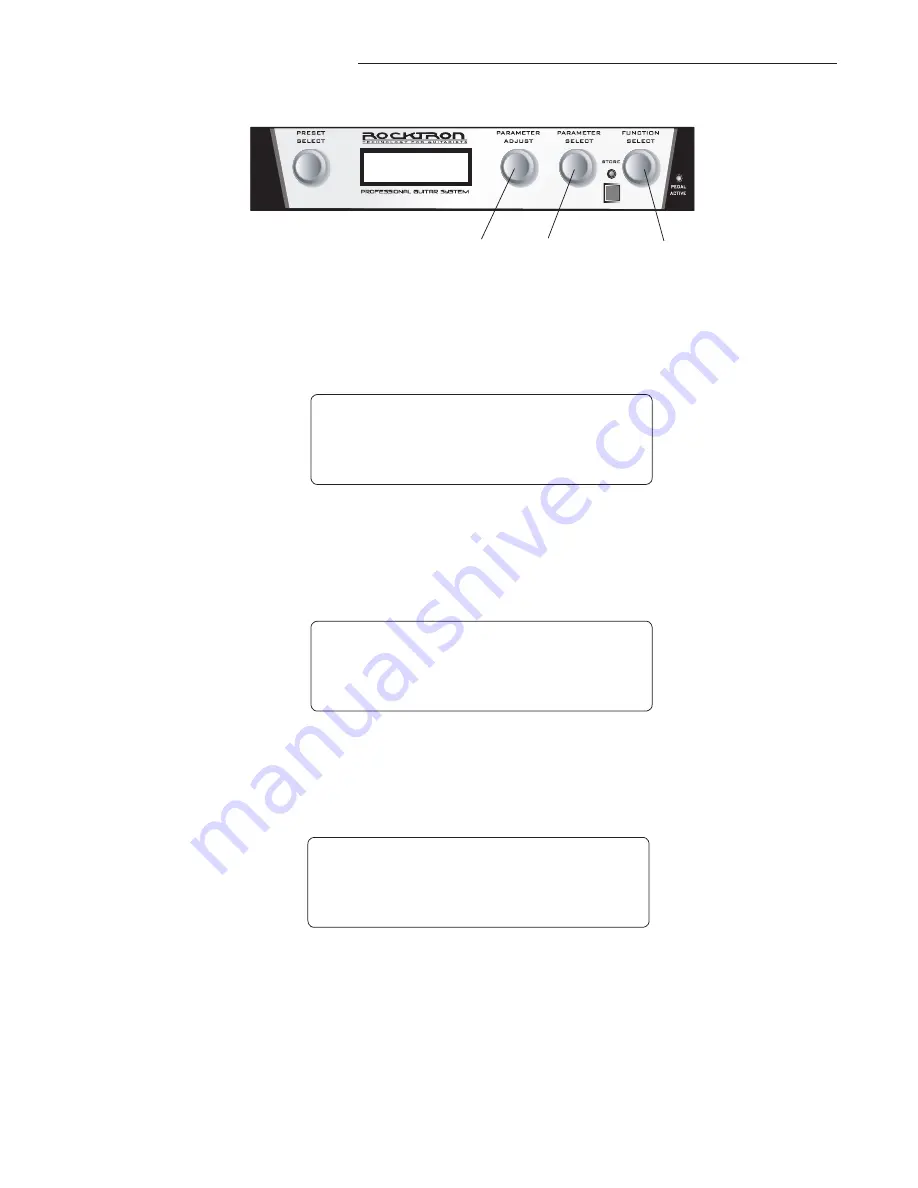
8. Changing preset parameters:
Turn the FUNCTION SELECT knob to select the function heading which contains the
parameter(s) you wish to change.
Turn the PARAMETER SELECT knob to the specific parameter you wish to change.
Turn the PARAMETER ADJUST knob to alter the parameter value.
* * * * R E V E R B * * * *
R E V I N P U T M U T E D
* * * * R E V E R B * * * *
R E V D E C A Y 9 4
* * * * R E V E R B * * * *
R E V D E C A Y 3 2
Summary of Contents for Utopia G300
Page 6: ...6 2 Quick Reference ...
Page 8: ...8 3 UTOPIA G300 Top and Back Panels ...
Page 14: ...14 4 Connections Standard Connection with a Guitar Amplifier ...
Page 15: ...15 Connection in Stereo to Two Guitar Amplifiers 4 Connections continued ...
Page 16: ...16 Connection to a PA System 4 Connections continued ...
Page 17: ...17 Connection to a Computer 4 Connections continued ...
Page 18: ...18 Connection to a Recording Workstation 4 Connections continued ...
Page 19: ...19 4 Connections continued Connection Using Effects Loop and MIDI ...
Page 20: ...20 4 Connections continued Connection Using Effects Loop to a Stompbox ...
Page 21: ...21 4 Connections continued Connection for MIDI IN from a Computer with MIDI Utility Program ...
Page 22: ...22 4 Connections continued Connection for MIDI OUT to Computer with MIDI Utility Program ...
Page 45: ...45 WITH CHORUS FLANGER AND PITCH SHIFT MODULATION EFFECTS 7 UTOPIA G300 Block Diagrams ...
Page 46: ...46 WITH TREMOLO MODULATION EFFECT 7 UTOPIA G300 Blocks ...
Page 83: ...83 ...


