User's Guide Digiface AES
©
RME
23
8.5 Analog Recording
For recordings via the analog inputs the corresponding record device has to be chosen (Digiface
AES Analog (1+2)).
The input sensitivity of the inputs can be changed with adjustable gain in TotalMix (Input Channel
Settings, Gain), assuring the highest signal to noise ratio will be achieved. A further optimization
can be achi
eved by adjusting the source itself. Raise the source’s output level until the peak level
meters in TotalMix reach about
–3 dB.
The level of the front-side analog inputs can also be optimized directly at the Digiface AES by the
key Mic/Gain and the encoder. The multi-colour level meters shown on the display additionally
provide useful information about the current level state.
Further information is found in chapter 19.
It often makes sense to monitor the input signal or send it directly to the output. This can be done
at zero latency using
TotalMix FX
(see chapter 24).
An
automated
control of real-
time monitoring can be achieved by Steinberg’s ASIO protocol with
RME’s ASIO drivers and all ASIO 2.0 compatible programs. When 'ASIO Direct Monitoring' has
been switched on, the input signal is routed in real-time to the output whenever a recording is
started (punch-in).
8.6 Digital Recording
Unlike analog soundcards which produce empty wave files (or noise) when no input signal is
present, digital interfaces always need a valid input signal to start recording.
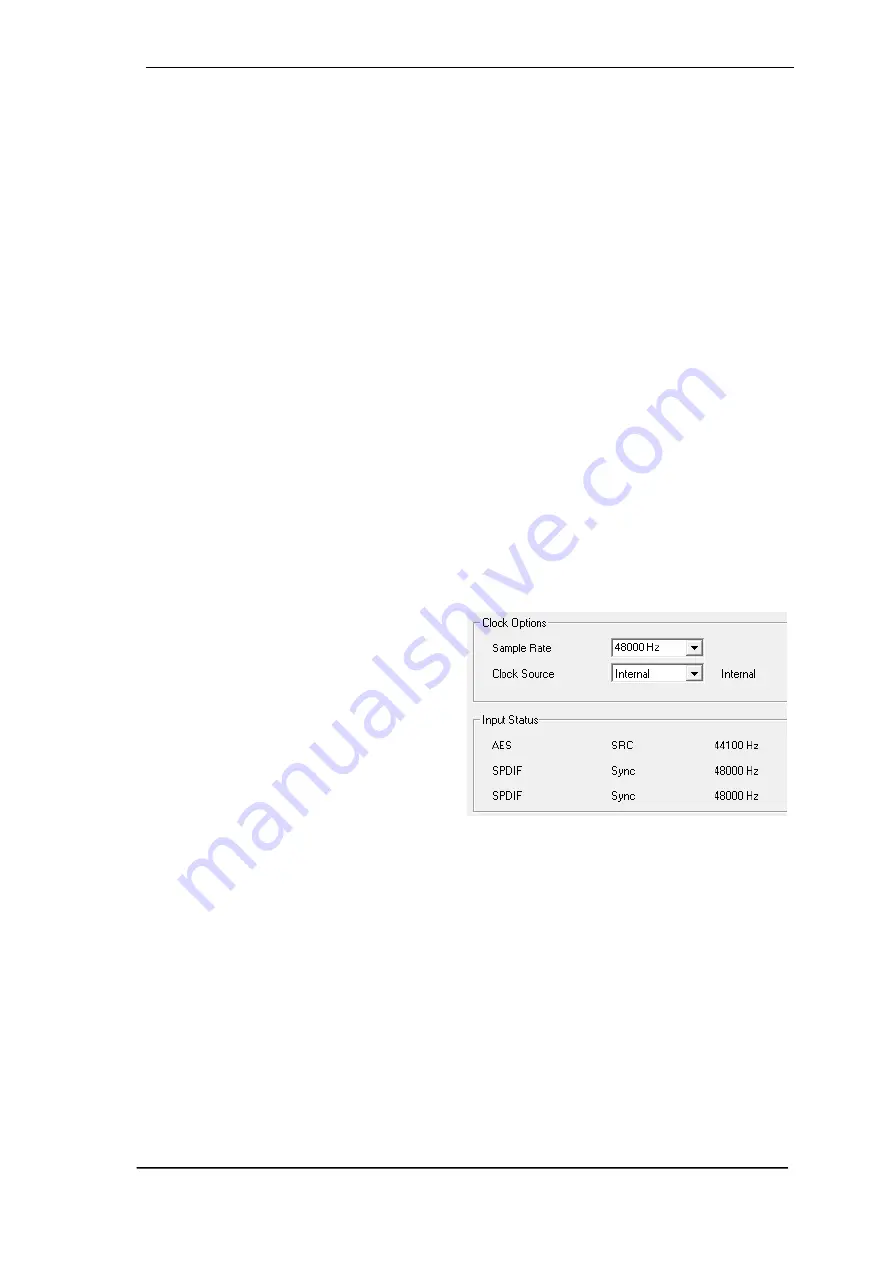
Taking this into account, RME added a com-
prehensive I/O signal status display to the
Digiface AES, showing sample frequency, lock
and sync status for every input, and several
status fields in the u
nit’s display.
The sample frequency shown in the fields
Clock Mode and Input Status of the Settings
dialog is useful as a quick display of the cur-
rent configuration of the unit and the con-
nected external equipment. If no sample fre-
quency is recognized, it
will read ‘No Lock’.
This way, configuring any suitable audio application for digital recording is simple. After selecting
the correct input, Digiface AES displays the current sample frequency. This parameter can then
be changed in the application’s audio attributes (or similar) dialog.
Summary of Contents for Digiface AES
Page 7: ...User s Guide Digiface AES RME 7 User s Guide Digiface AES General...
Page 13: ...User s Guide Digiface AES RME 13 5 4 Overview Menu Structure...
Page 15: ...User s Guide Digiface AES RME 15 User s Guide Digiface AES Installation and Operation Windows...
Page 29: ...User s Guide Digiface AES RME 29 User s Guide Digiface AES Installation and Operation Mac OS X...
Page 37: ...User s Guide Digiface AES RME 37 User s Guide Digiface AES Inputs and Outputs...
Page 42: ...42 User s Guide Digiface AES RME...
Page 43: ...User s Guide Digiface AES RME 43 User s Guide Digiface AES Stand Alone Operation...
Page 46: ...46 User s Guide Digiface AES RME...
Page 47: ...User s Guide Digiface AES RME 47 User s Guide Digiface AES TotalMix FX...
Page 49: ...User s Guide Digiface AES RME 49...
Page 82: ...82 User s Guide Digiface AES RME...
Page 83: ...User s Guide Digiface AES RME 83 User s Guide Digiface AES Class Compliant Mode...
Page 89: ...User s Guide Digiface AES RME 89 User s Guide Digiface AES Technical Reference...
Page 98: ...98 User s Guide Digiface AES RME 39 Diagrams 39 1 Block Diagram Digiface AES...
Page 100: ...100 User s Guide Digiface AES RME...
Page 101: ...User s Guide Digiface AES RME 101 User s Guide Digiface AES Miscellaneous...


