


Storing Original Data and Use Method
Converting Hard-copies into Stored Data (Scan Mode)
216
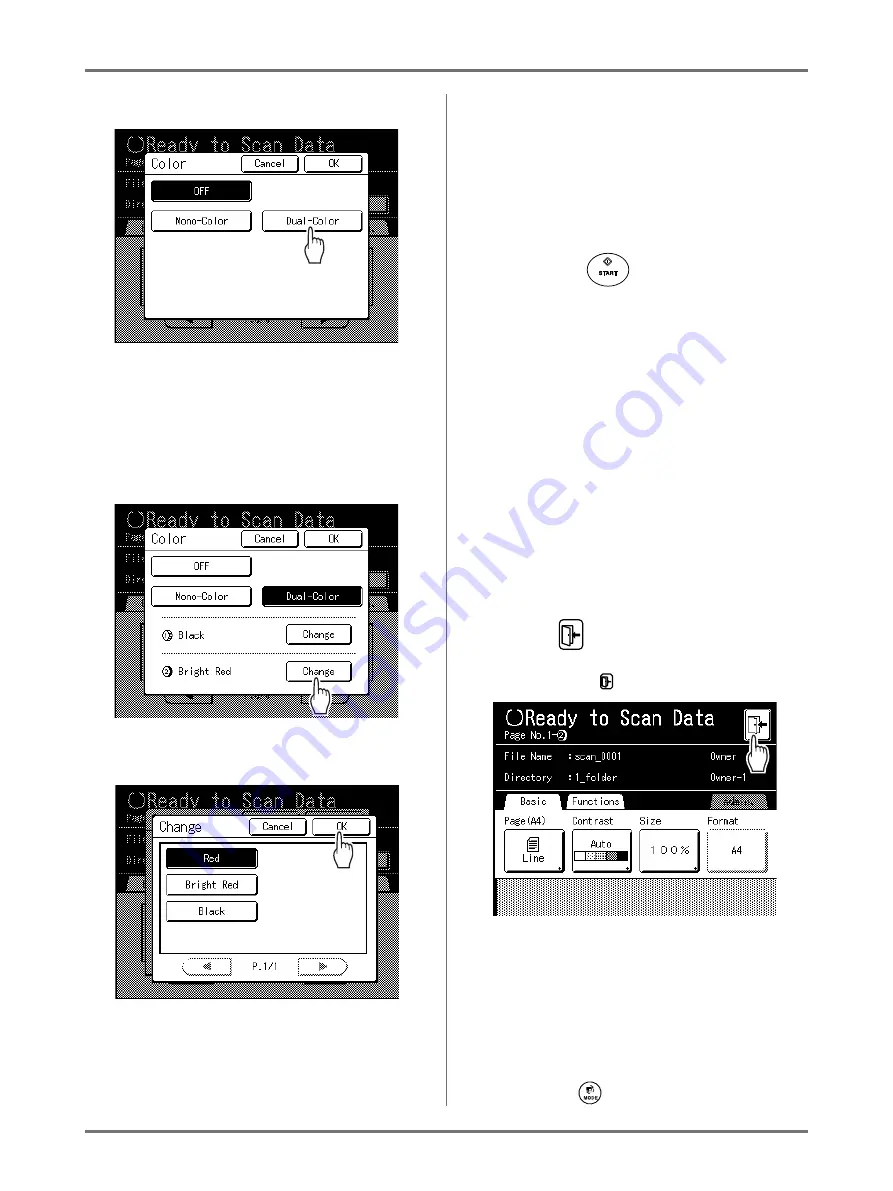
2)
Touch
[Dual-Color]
.
3)
Check the Print Drum (Cylinder) color.
To change the Ink colors on Print Drum (Cyl-
inder) 1 and 2, touch
[Change]
for each and
choose from among the displayed colors.
Note:
• The previously set color names are dis-
played on the Change Screen.
4)
Touch the button of the color to set and then
touch
[OK]
.
Returns to the Color Screen. The Color set-
ting is updated.
5)
Touch
[OK]
.
The color specified for the original is con-
firmed and the screen returns to the Scan
Basic Screen.
Note:
• The page after the original data to be
scanned and the Print Drum (Cylinder) to
be used are displayed in the message area.
6
Press the
key.
The scan starts.
Note:
• After scanning the original, a preview shows on
the display if “Preview” is set.
Check the image on the display and touch
[Close]
.
7
Repeat steps 4 and 6 if the original
has multiple pages.
In case of original for Dual-Color printing, set the
original for Print Drum (Cylinder) 2.
Note:
• The pages after the saved data of scanned orig-
inals are displayed in the message area.
• If multiple originals were placed on the optional
ADF unit, all originals will be scanned at the
same settings.
8
Touch .
Once the original to be saved as one set of data is
scanned, touch
.
A confirmation screen appears.
9
Touch [Yes].
The data is saved.
When you touch
[<Back]
, the screen returns to
the previous operation.
When you touch
[No]
, the scanned contents are canceled.
Note:
• Press the
key to exit scan mode.


