Ricoma Quick Start Guide
19
Flat hoops and brackets
5. Slide the cap driver in though the machine’s sewing until it reaches the pantograph.
6. Line up the slots on each end of the cap driver bracket with the hex screws and the slots on the
inside of the cap driver bracket with the support pins on the pantograph rail.
7. Tighten the hex screws using the 4 mm Allen wrench to secure the cap driver to the pantograph.
8. Repeat this process on the remaining heads.
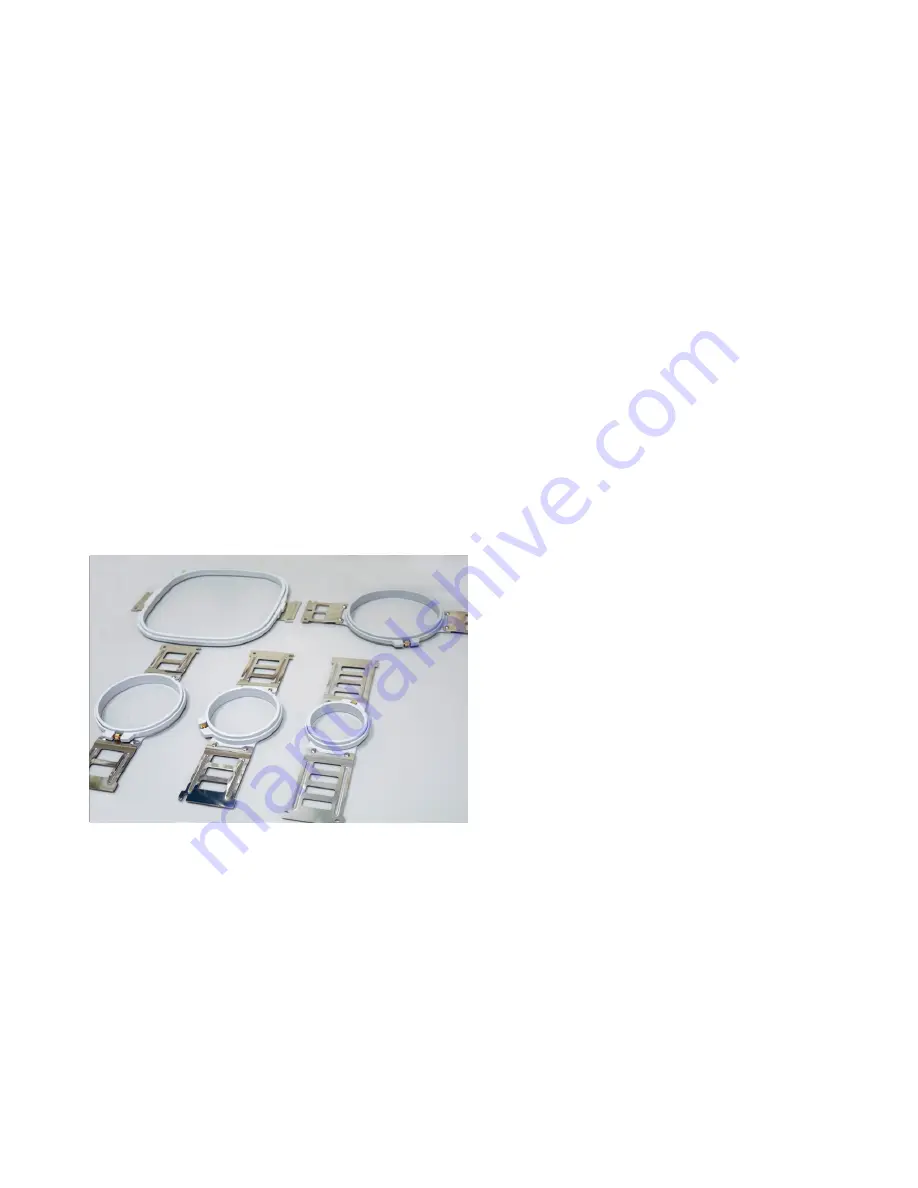
Your Ricoma CHT2 Series embroidery machine includes a set of 10 hoops per head. There are five
different sizes ranging from A to E. Hoop A is the smallest hoop and hoop E is the largest hoop. You
will receive 8-24 of each hoop depending on the amount of heads your machine comes with. You will
also receive one sash frame with your machine. For information on installing the sash frame, refer to
the section on how to install the sash frame.
A general rule of thumb most embroiderers follow when selecting hoops is to use the smallest hoop
that your design will fit in without hitting the frame. When you upload your design, you will be able to use
the preset hoop feature on the machine to make
sure your design is within the frame.
Selecting the smallest hoop your design fits in
creates the best hooping tension for your fabric,
eliminating thread breaks, puckering and other
machine embroidery issues. Whenever you are
using a square or rectangular hoop, the only
places you are really getting a grip on the fabric
is in the corners. In contrast, round hoops have
equal holding power all around the circle.
Figure 38


