Registering Fax Destinations
This section describes how to register fax destinations in the Address Book using the control panel.
The Address Book can also be edited using Smart Organizing Monitor. For details, see the Smart
Organizing Monitor Help.
• The Address Book data may become damaged or lost unexpectedly. The manufacturer shall not be
held responsible for any damages resulting from such data loss.
Registering Fax Destinations
1.
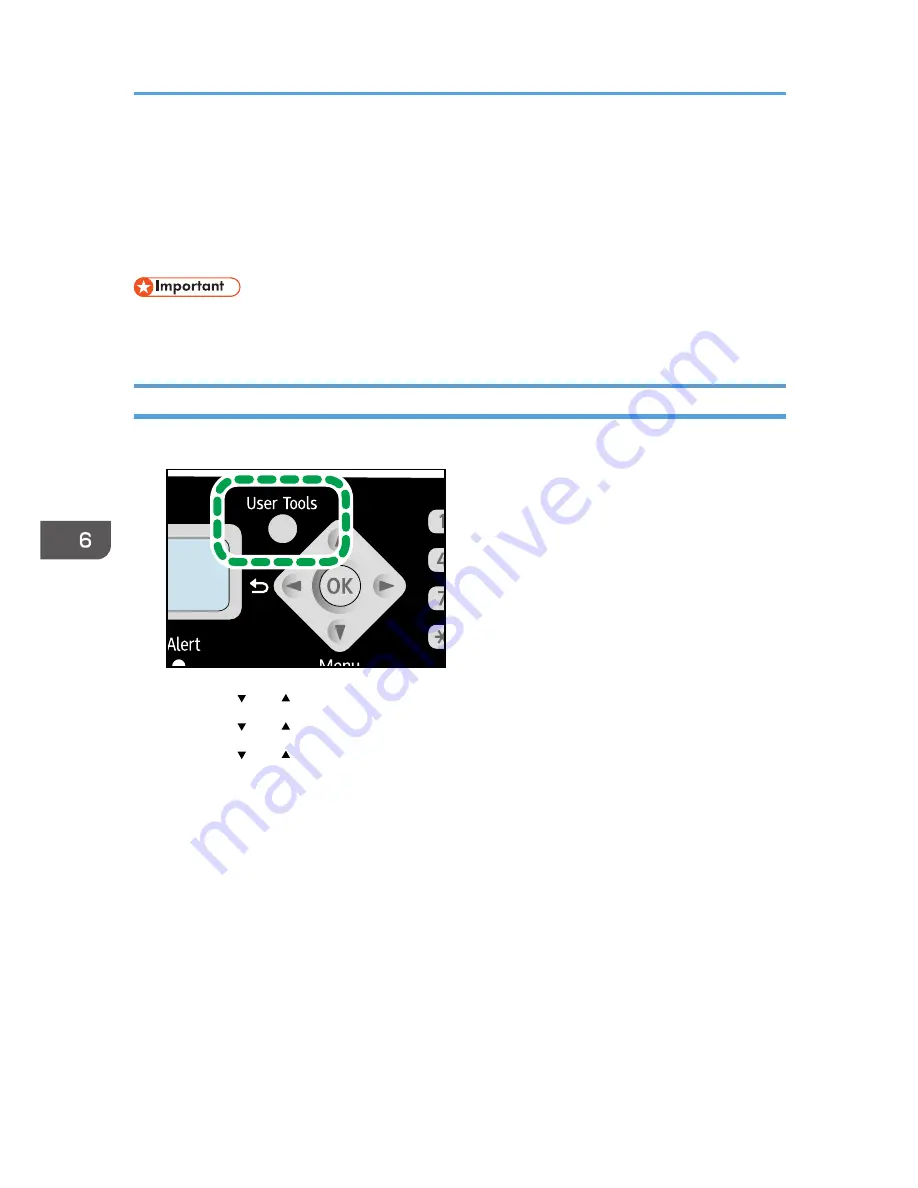
Press the [User Tools] key.
CXP101
2.
Press the [ ] or [ ] key to select [Address Book], and then press the [OK] key.
3.
Press the [ ] or [ ] key to select [Fax Speed Dial Dest.], and then press the [OK] key.
4.
Press the [ ] or [ ] key to select the Speed Dial number, and then press the [OK] key.
5.
Enter the fax number using the number keys, and then press the [OK] key.
6.
Enter the fax name using the number keys, and then press the [OK] key.
7.
Press the [User Tools] key to return to the initial screen.
6. Sending and Receiving a Fax
72
Summary of Contents for SP 112SF
Page 2: ......
Page 16: ...14...
Page 26: ...1 Guide to the Machine 24...
Page 42: ...2 Loading Paper 40...
Page 50: ...3 Printing Documents 48...
Page 70: ...5 Scanning from a Computer 68...
Page 96: ...6 Sending and Receiving a Fax 94...
Page 100: ...Off On 7 Configuring the Machine Using the Control Panel 98...
Page 113: ...Clear Address Book Deletes all fax speed dial entries System Settings 111...
Page 116: ...7 Configuring the Machine Using the Control Panel 114...
Page 134: ...CXP053 5 Close the ADF 10 Troubleshooting 132...
Page 150: ...10 Troubleshooting 148...
Page 163: ...2013...
Page 164: ...M180 8601A AU EN US EN GB EN...


