W1-2
W1-1
W2-2
W2-1
C-2
C-1
M-2
M-1
Y 3
Y-2
Y-1
K-3
K-2
K-1
Pr1-3
Cl1-2
Cl1-1
Pr2-3
Cl2-2
Cl2-1
C-2
C-1
DYJ150
1
2
2
10.
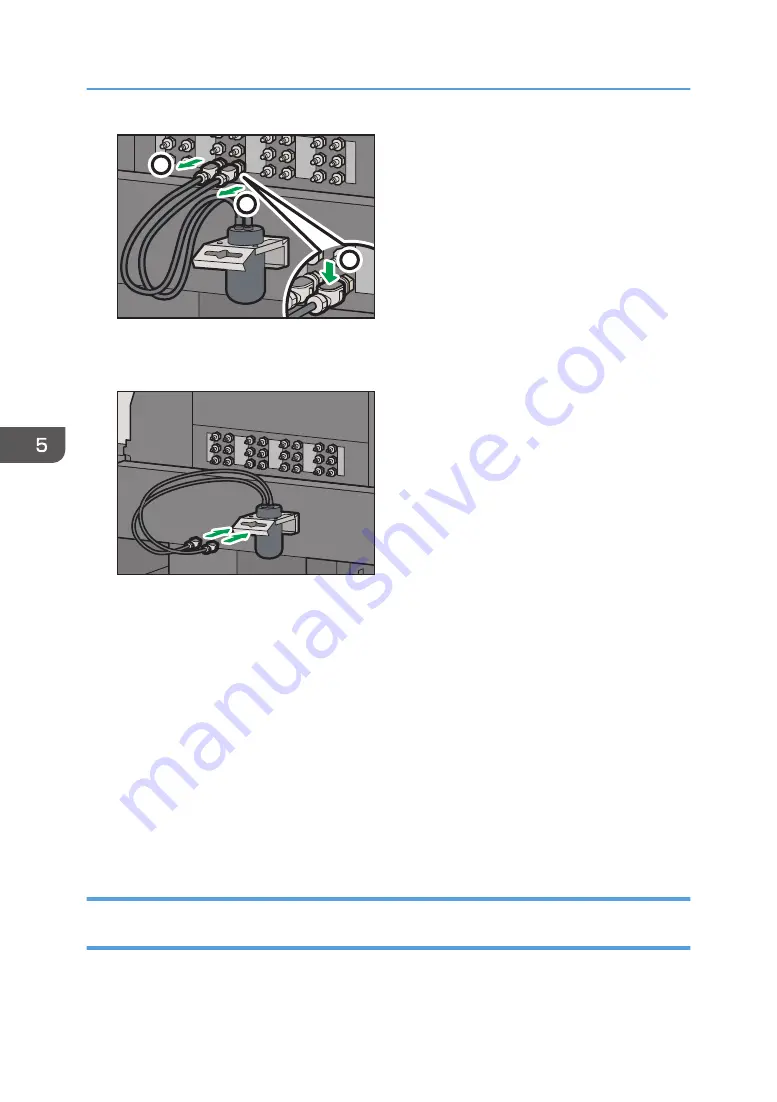
Pass the tubes through the holes of the air bubble ejection tool to avoid splashing the ink
from the removed tubes.
W1-3
W1-2
W1-1
W2-3
W2-2
W2-1
C-3
C-2
C-1
M-3
M-2
M-1
Y-3
Y-2
Y-1
K-3
K-2
K-1
Pr1-3
Cl1-2
Cl1-1
Pr2-3
Cl2-2
Cl2-1
ECD151
11.
Click [OK].
The message "Be careful as the carriage moves." is displayed.
12.
Move to a place to avoid contact with the carriage, and then click [OK].
13.
Repeat Steps 6 to 10 until air bubbles for all the colors selected in Step 4 have been
discharged.
14.
Click [Exit].
15.
Wipe off the ink on the port, and then attach the rubber cap to the air-bubble discharge
port.
16.
Attach the front cover of the carriage.
17.
Wipe off the ink on the air bubble ejection tool, and then dispose of the ink in it.
18.
Store the air bubble ejection tool in a dust-free location.
Precautions for Using Port for Discharging Air Bubbles and Air Bubble Ejection
Tool
After using the port for discharging air bubble and the air bubble ejection tool, always make sure to
remove the ink adhered to the port and tool.
5. Troubleshooting
90
Summary of Contents for PRO TF6215
Page 2: ......
Page 6: ...4 ...
Page 22: ...As seen from the back of the machine M0DTIC0009 1 Getting Started 20 ...
Page 44: ...2 Using Print Control 42 ...
Page 54: ...3 Basic Operations 52 ...
Page 68: ...3 Basic Operations 66 ...
Page 94: ...5 Troubleshooting 92 ...
Page 110: ...6 Maintenance and Specifications 108 ...
Page 114: ...MEMO 112 EN GB EN US EN AU M0DT 7003 ...
Page 115: ... 2020 Ricoh Co Ltd ...
Page 116: ...M0DT 7003 AU EN US EN GB EN ...


