When the projector is turned on for the first time after it is purchased, the start menu appears.
Specify the display language and lamp power level. For details, see page 30 "When the start
menu is displayed".
• The password input screen is displayed if a password for the projector is specified in [Startup
Password] under [Default Settings 2]. Enter a password.
• The start-up screen closes shortly after appearing. You can specify that the start-up screen not
appear in [Start-up Screen] under [Default Settings 1].
When the start menu is displayed
When the projector is turned on for the first time after it is purchased, select the display language and
lamp power level.
1.
Select the display language, and then press the [Enter] button.
2.
Select the lamp power level, and then press the [Enter] button.
• The display language can also be changed in the menu screen. For details, see page 60 "Default
Settings 2 Menu".
• The lamp power level can also be changed using the remote control. For details, see page 39
"Switching the Lamp Mode".
• The start menu is only displayed the first time the projector is used. However, the start menu is
displayed after [Reset All] in [Default Settings 2] is executed.
Projecting an Image
1.
Turn on the equipment that is connected to the projector.
To project the image of an AV equipment, press the play button on the AV equipment.
To project a laptop computer's screen, switch the computer's image output. For details, see
page 31 "When projecting the screen of a laptop computer".
The input signal is detected automatically and the image is projected.
2.
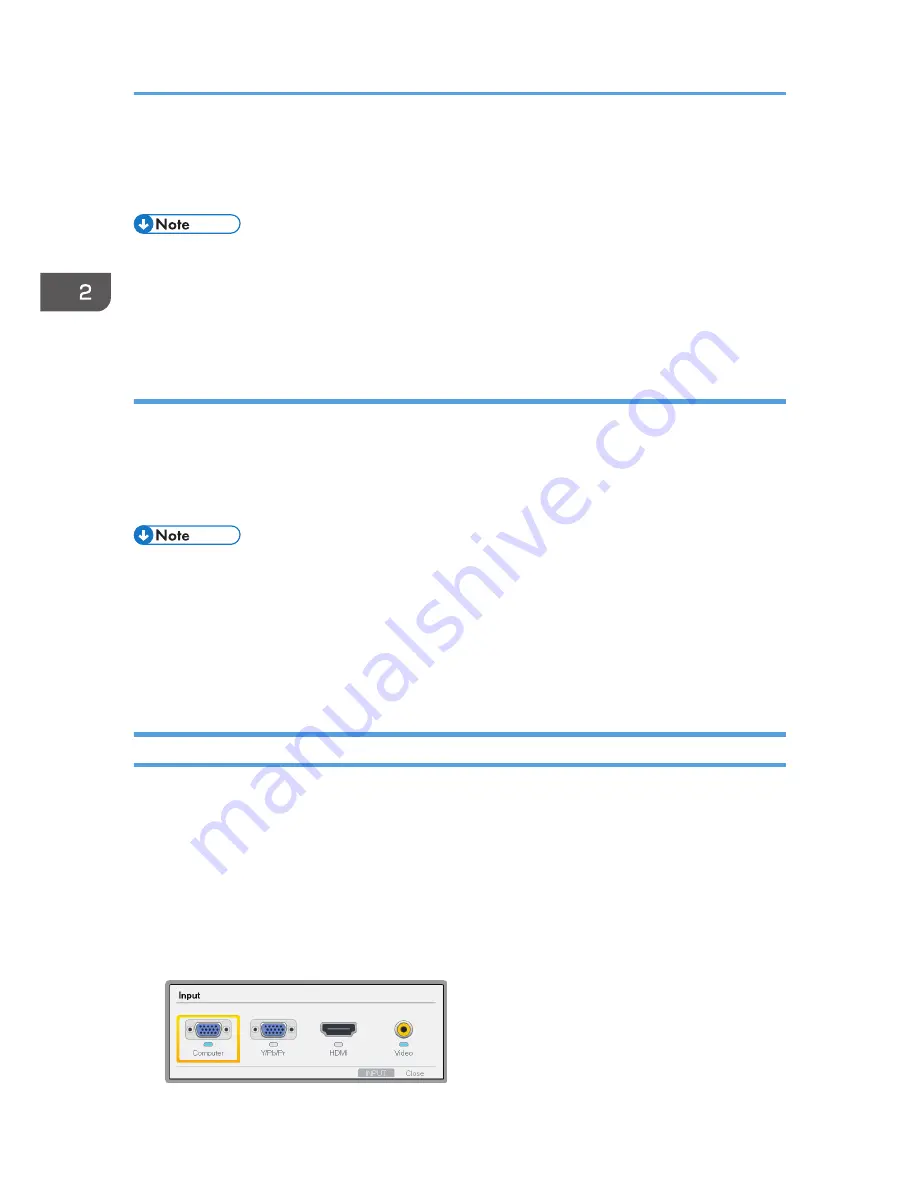
If an image is not projected automatically, press the [Input] button.
3.
Select an input signal, and then press the [Enter] button.
2. Projecting an Image
30
Summary of Contents for PJ WX4141
Page 2: ......
Page 30: ...1 Preparations for Using the Projector 28 ...
Page 38: ... The image may sometimes be disrupted while it is reduced 2 Projecting an Image 36 ...
Page 46: ...3 Useful Functions 44 ...
Page 74: ...5 Troubleshooting 72 ...
Page 100: ...MEMO 98 ...
Page 101: ...MEMO 99 ...
Page 102: ...MEMO 100 EN GB EN US EN AU Y036 7520 ...
Page 103: ... 2013 Ricoh Co Ltd ...
Page 104: ...Y036 7520 AU EN US EN GB EN ...


