5.
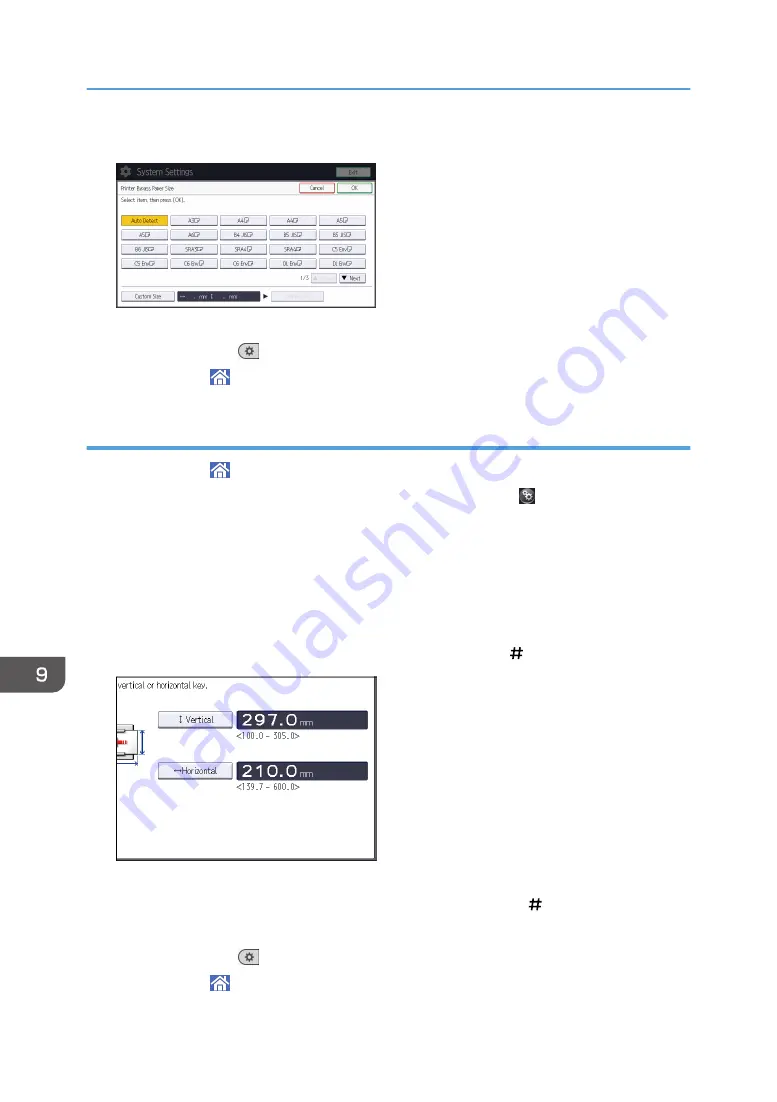
Select the paper size.
6.
Press [OK].
7.
Press [User Tools] (
) on the top right of the screen.
8.
Press [Home] ( ) at the bottom of the screen in the center.
Specifying a custom size paper using the control panel
1.
Press [Home] ( ) at the bottom of the screen in the center.
2.
Flick the screen to the left, and then press the [User Tools] icon ( ) on.
3.
Press [Tray Paper Settings].
4.
Press [Printer Bypass Paper Size].
5.
Press [Custom Size].
If a custom size is already specified, press [Change Size].
6.
Press [Vertical].
7.
Enter the vertical size using the number keys, and then press [ ].
8.
Press [Horizontal].
9.
Enter the horizontal size using the number keys, and then press [ ].
10.
Press [OK] twice.
11.
Press [User Tools] (
) on the top right of the screen.
12.
Press [Home] ( ) at the bottom of the screen in the center.
9. Adding Paper and Toner
154
Summary of Contents for MP 6503 Series
Page 2: ......
Page 12: ...10...
Page 30: ...1 What You Can Do with This Machine 28...
Page 92: ...3 Copy 90...
Page 101: ...7 Press Transmitting while Checking Connection to Destination Immediate Transmission 99...
Page 110: ...4 Fax 108...
Page 122: ...5 Print 120...
Page 142: ...3 Press OK 6 Scan 140...
Page 146: ...7 Document Server 144...
Page 250: ...MEMO 248 EN GB EN US EN AU D223 7202...
Page 251: ...2016...
Page 252: ...D223 7202 AU EN US EN GB EN...


