145
C
OP
YING
P
IC
TUR
ES
TO
A
C
OMPUT
ER
Copying Pictures Using Windows Explorer
If DL-10 is not installed, you can copy pictures to the com-
puter as described below. The illustrations in this section
are from Windows XP.
1
Turn the camera off.
2
Connect the supplied USB cable.
Connect the cable to the computer USB port and
then to the camera. The camera will turn on auto-
matically.
3
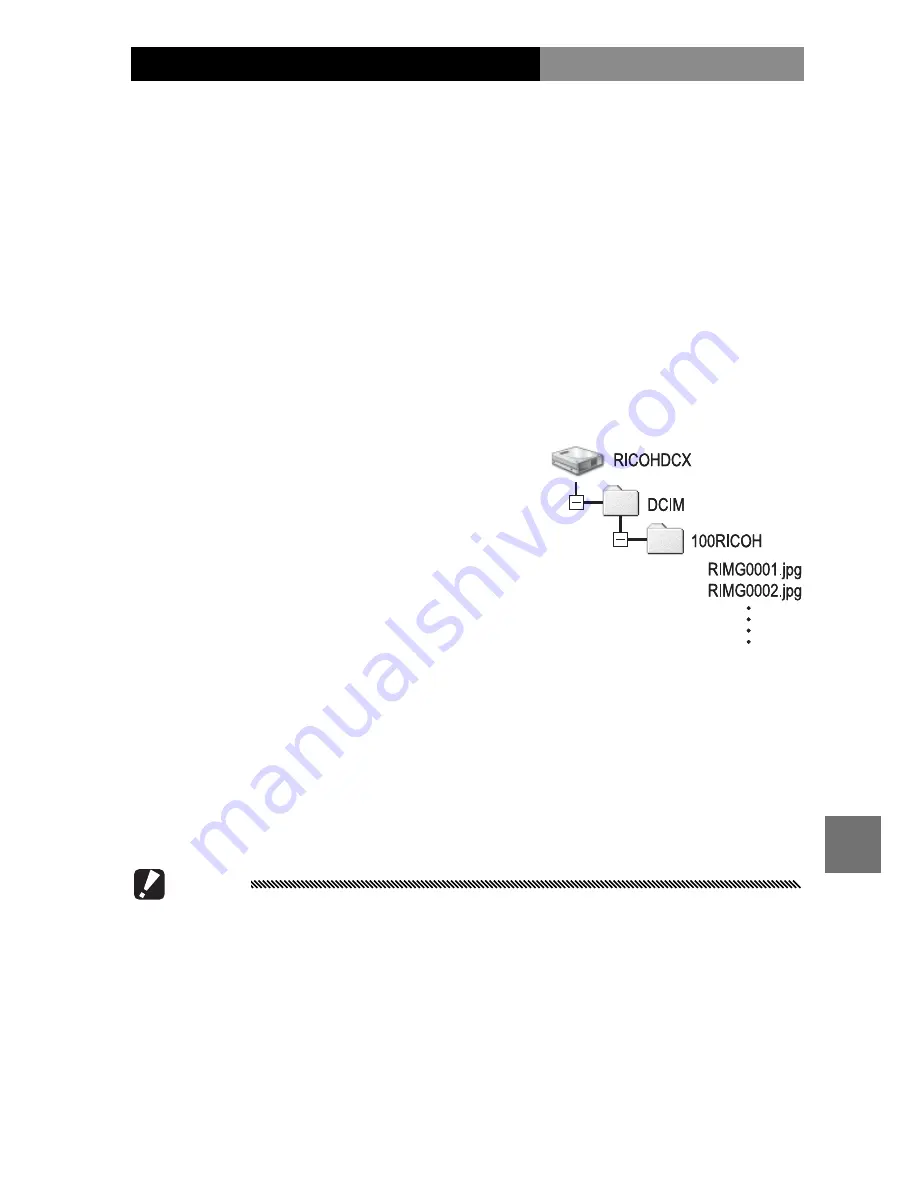
Copy files from the camera to the computer.
The camera will be listed as a
removable drive in “My Com-
puter” with pictures stored in
folders as shown at right. If
a memory card is inserted in
the camera, the drive will be
named as shown at right and
the contents of the memory card will be displayed. If
no memory card is inserted, the drive will be named
“RICOHDCI” and the contents of internal memory will
be displayed. Copy pictures to the desired location
on your computer.
Cautions
• Do not turn the camera off or disconnect the USB cable until copy-
ing is complete.
• Files in the destination folder with the same name as the pictures
being copied will be overwritten. If necessary, rename files before
copying begins.


