2
Pla
yback F
unc
tions
98
2
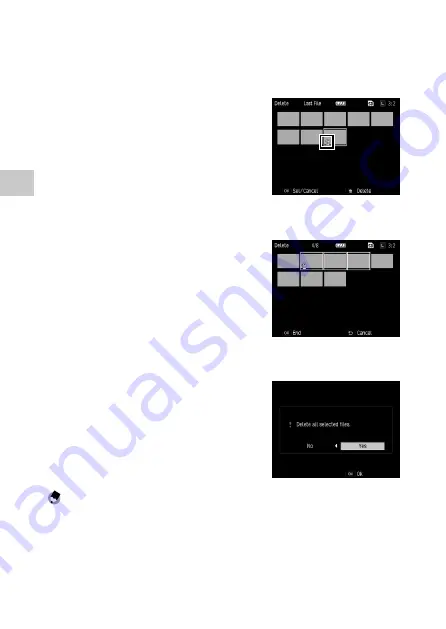
Select [Delete Multi], and then press the MENU/OK button.
3
Select [Sel. Indiv.] or [Sel. Range], and then press the MENU/OK
button.
4
Press the
!"#$
buttons to select
images, and then press the MENU/OK
button.
The trash symbol is displayed in the bottom
left corner of the thumbnail.
If [Sel. Range] is selected, select the image
that is the starting point of the range.
If the ADJ. lever is pressed, the selection screen in Step 3 reappears.
If [Sel. Indiv.] is selected, proceed to Step 6.
5
Press the
!"#$
buttons to select
the image that is the ending point
of the range, and then press the
MENU/OK button.
Repeat Steps 4 and 5 to specify all of the
ranges.
6
Press the
D
button.
The deletion confirmation screen appears.
7
Press the
$
button to select [Yes],
and then press the MENU/OK button.
A message appears to indicate processing
is being performed, and then the previous
screen reappears when deleting is complete.
Note -----------------------------------------------------------------------------------------------------------
• A folder cannot be deleted.


