


Replacing the Photo Conductor Unit
111
6
E
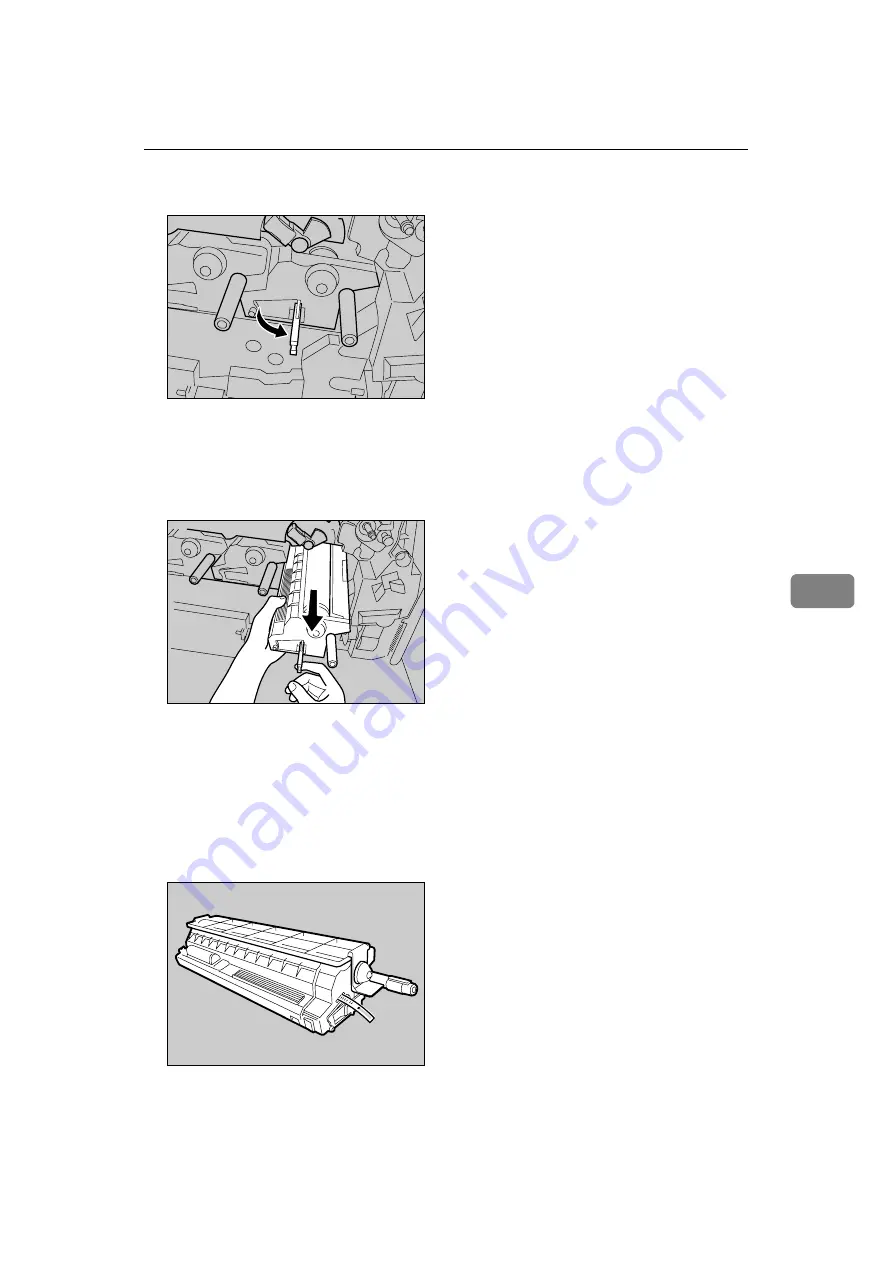
Pull out the ring pull handle of the photo conductor unit.
F
Hook your finger through the ring pull handle, and then slowly pull out
the photo conductor unit. When you have pulled the unit half way out, sup-
port the photo conductor unit using your other hand, and then pull the unit
completely out.
• Do not hold any protruding areas of the photo conductor unit. Doing so
may break the photo conductor unit.
• Do not touch any protruding areas of the photo conductor unit. These may
stain your hands or clothes.
G
Remove the new photo conductor unit from its box.
For black, install one; for color, install all three.
AET139S
AET140S
AET141S
Summary of Contents for AficioSP C410DN
Page 2: ......
Page 20: ...Guide to the Printer 8 1 ...
Page 66: ...Installing Options 54 2 ...
Page 74: ...Connecting the Printer 62 3 ...
Page 88: ...Configuration 76 4 ...
Page 146: ...Replacing Consumables and Maintenance Kit 134 6 ...
Page 182: ...Troubleshooting 170 9 ...
Page 188: ...Removing Misfed Paper 176 10 ...
Page 203: ...Copyright 2006 ...
Page 204: ...Hardware Guide GB GB G160 8610 ...