


ADDING MARGINS FOR BINDING (Margin
Adjustment)
Note: Before using Margin Adjustment, you have to change copier’s default set-
tings with the user tools. (
See page 127.) If you do this, the Erase key is
used as the Margin Adjustment key. In this case, you cannot use the Erase
function.
Note: After selecting Margin Adjustment, put the sticker (key name sheet) for
Margin Adjustment on the operation panel. The sticker is enclosed as an
accessory.
S
The width of the margin can be changed with the user tools.
See page 128.
S
Regarding functions that cannot be used together with this function,
see page
86.
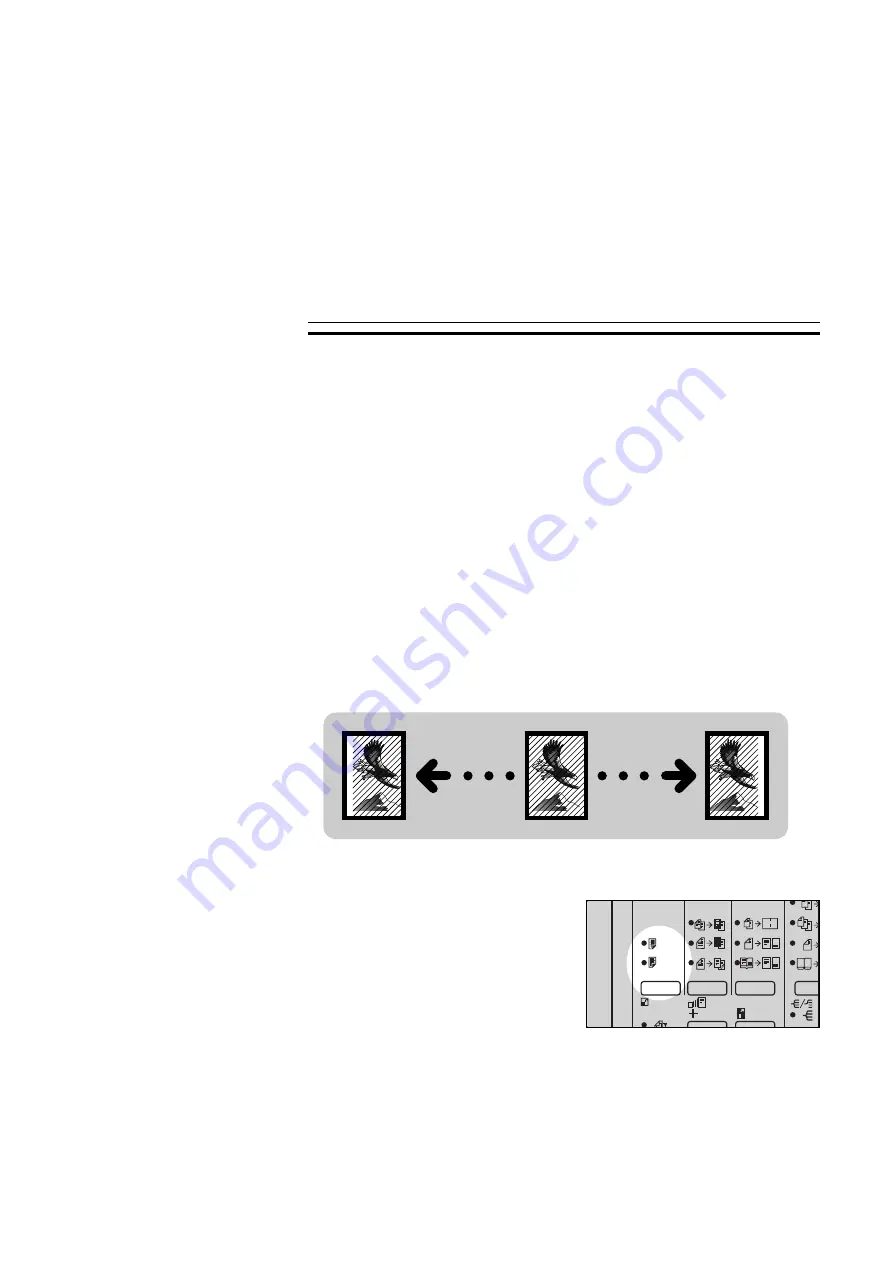
Margin For One-sided Copying
1
Press the Margin Adjustment
(Erase) key once to set the left
margin or twice to set the right
margin.
2
Make your copies.
f-eu-5
1 1
1 1
1
2
1
2
mm
i10Key {
j
ADDING MARGINS FOR BINDING (Margin Adjustment)
68
Summary of Contents for A161
Page 3: ...WHERE IS IT WHAT IS IT f eu 2 1...
Page 18: ...f eu 2 OPERATION PANEL 16...
Page 19: ...WHAT YOU CAN DO WITH THIS COPIER F EU 3 17...
Page 31: ...SETTING ORIGINALS f eu 4 29...
Page 38: ...f eu 4 SETTING ONE ORIGINAL AT A TIME IN THE OPTIONAL DOCUMENT FEEDER 36...
Page 39: ...COPYING f eu 5 37...
Page 90: ...f eu 5 5 COMBINATION CHART 88...
Page 91: ...WHAT TO DO IF SOMETHING GOES WRONG f eu 6 89...
Page 109: ...CHANGING THE COPIER S SETTINGS f eu 7 107...
Page 114: ...8 Push the paper tray in until it stops f eu 7 CHANGING PAPER SIZE 112...
Page 144: ...f eu 7 SERVICE REPRESENTATIVE SETTING 142...
Page 155: ...SPECIFICATIONS f eu 9 153...