


85
Step 2 Boot up a Wi-Fi module and then select function as Wi-Fi from the dropdown list.
After device booted up, it can automatically connect to its latest successfully connected
hotspot.
Connect to Wi-Fi.
After device successfully connected to the Wi-Fi, device displays Wi-Fi module working
information, connection state, and current hotspot. Right now device supports
ITM-UB12-S06PXX0000NV2.
Auto Search
1. Click Refresh list.
The list display all Wi-Fi name, connection mode, encryption mode, signal intensity
and etc.
2. Double click a network name, input password, and click OK to connect.
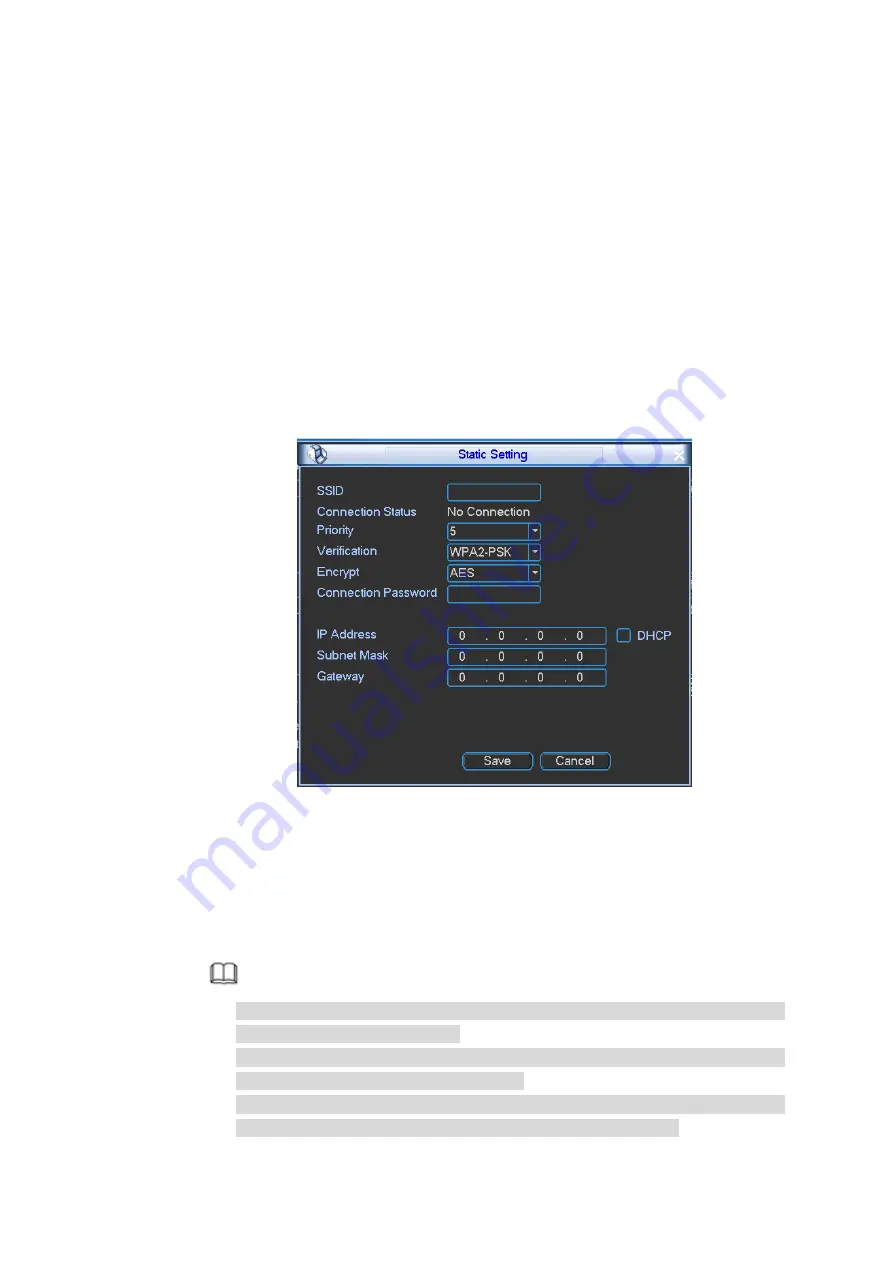
Manual Add
1. Click Static setting
Enter static setting interface. See Figure 4-72.
Figure 4-72
2. Input SSID, connection password, select priority, encryption type, set IP address,
subnet mask, default gateway. Click OK button.
If select DHCP, device can automatically get corresponding IP address, subnet
mask, and default gateway after successful connection.
3. Click Save button.
Note
After successful connection, you can see Wi-Fi connection icon at the top right
corner of the preview interface.
When the hotspot verification type is WEP, system displays as AUTO since the
device cannot detect its encryption type.
System does not support verification type WPA and WPA2. The display may
become abnormal for the verification type and encryption type.


