13
©2007 Recordex USA, Inc. All rights reserved.
Version: 1.2
User’s Guide
Recordex TechDisc Pro CD
®
TM
Making Copies - With Hard Drive Set as Source
Now that you have loaded an image on to the hard drive you are ready to start making copies. The first thing you’ll want
to do is make sure the duplicator is set to copy mode. To do this simply scroll through the controller menu until you find the
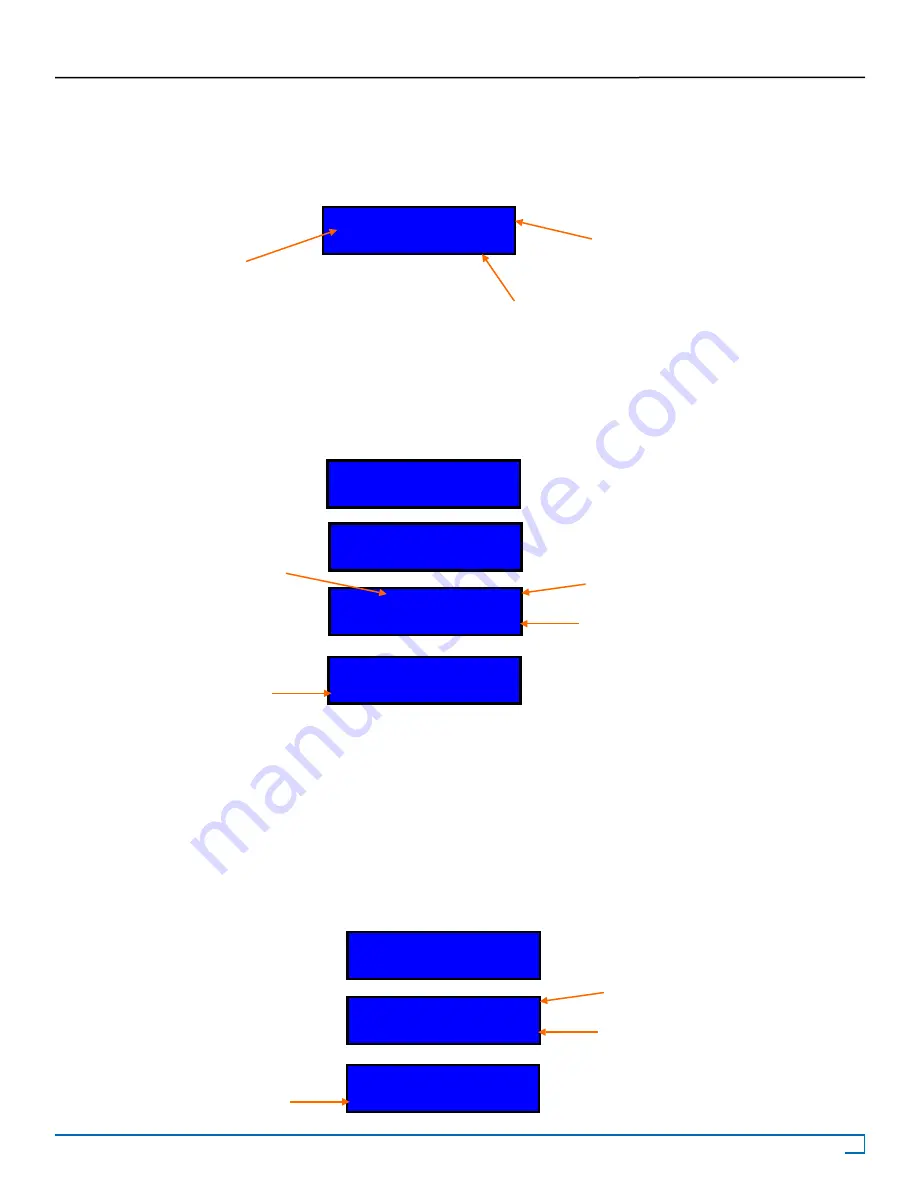
copy function. The LCD panel should look like this:
After you have set the controller to copy mode you are ready to load blank media into the target drives. Start loading
your blank discs. Press
ENT
to start the copy process. The LCD panel will display the status of the copy process and indi-
cate the estimated time left for the copy process.
After the copy process is complete the successfully copied discs will be ejected. This makes it easier to identify which discs
passed and which discs failed the copy process. This is a user selectable feature and can be changed through the Setup
menu by changing the setting under the Eject Disc sub-menu.
Making Copies - Without An Internal Hard Drive
To make a copy without using the hard drive simply place a master disc in the top drive and then place blank discs into the
remaining drives (note that you do not have to use all the drives) and press
ENT.
This will start the copy process and the
controller will look like figure 4.6 except that the Copy display will look like figure 4.7:
1. Copy P:A
4380MB
Copy Function
The source is set to
Partition A.
The image on partition A is 4380MB.
Figure 4.5
Preparing......
Check Target
Please Wait
Copy -A-18X 5%
1/1 Trk 6:50
1. Copy
OK: 07
% Complete
Estimated time remaining
Source
Successful Copies
Figure 4.6
Check Target
Please Wait
Copying-18X 5%
1/1 Trk 6:50
1. Copy
OK: 07
% Complete
Estimated time remaining
Successful Copies
Figure 4.7


