Notes:
You may experience a delay of several seconds before digital channels appear.
This is normal. Digital channels sometimes take longer to tune.
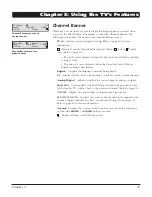
To see if you’re tuned to a digital or analog channel, press the INFO button. This brings
up the Channel Banner screen, discussed on page 19.
If the Channel Search brings up unavailable or blank channels, you might want to get rid of
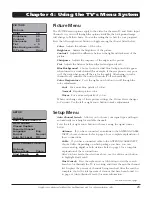
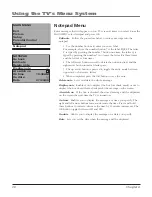
these so they don’t appear as you change channels. To do this go to
Main Menu/Setup Menu/
List & Labels
. Removing channels from your channel list may be time consuming, so you might
want to do it later. Go to page 26 for details on editing your channel list.
What to Expect
Watching TV
• Your product allows you to change the format of the picture you’re viewing. Press the
ZOOM– or ZOOM+ buttons to choose different screen formats. Depending on the type
of signal you’re viewing and how it’s being formatted, a different format might not be
available. The
Format
option in the Setup menu also changes the screen format. The
options are
Normal, Letterbox, Crop,
or
Squeeze
. Page 28 has examples of different screen
formats.
• The DIG•ANA button on the remote switches between analog or digital channels.
Analog channels are sent in 4:3 (standard) format. Most digital channels are sent in a
16:9 (widescreen) format. You might see gray or black bars at the top and bottom of
the screen; it depends on how the station is formatting the video. Press the ZOOM– or
ZOOM+ buttons for a different format that might eliminate the bars. 4:3 and 16:9 are also
known as aspect ratios.
Note:
Digital stations in 4:3 format might not be able to have their format
changed. (You’ll see black or gray bars on the sides of the picture sent as part of the
signal from the broadcaster).
Chapter 1
1
Connections & Setup


