4.6
Configure SNMP
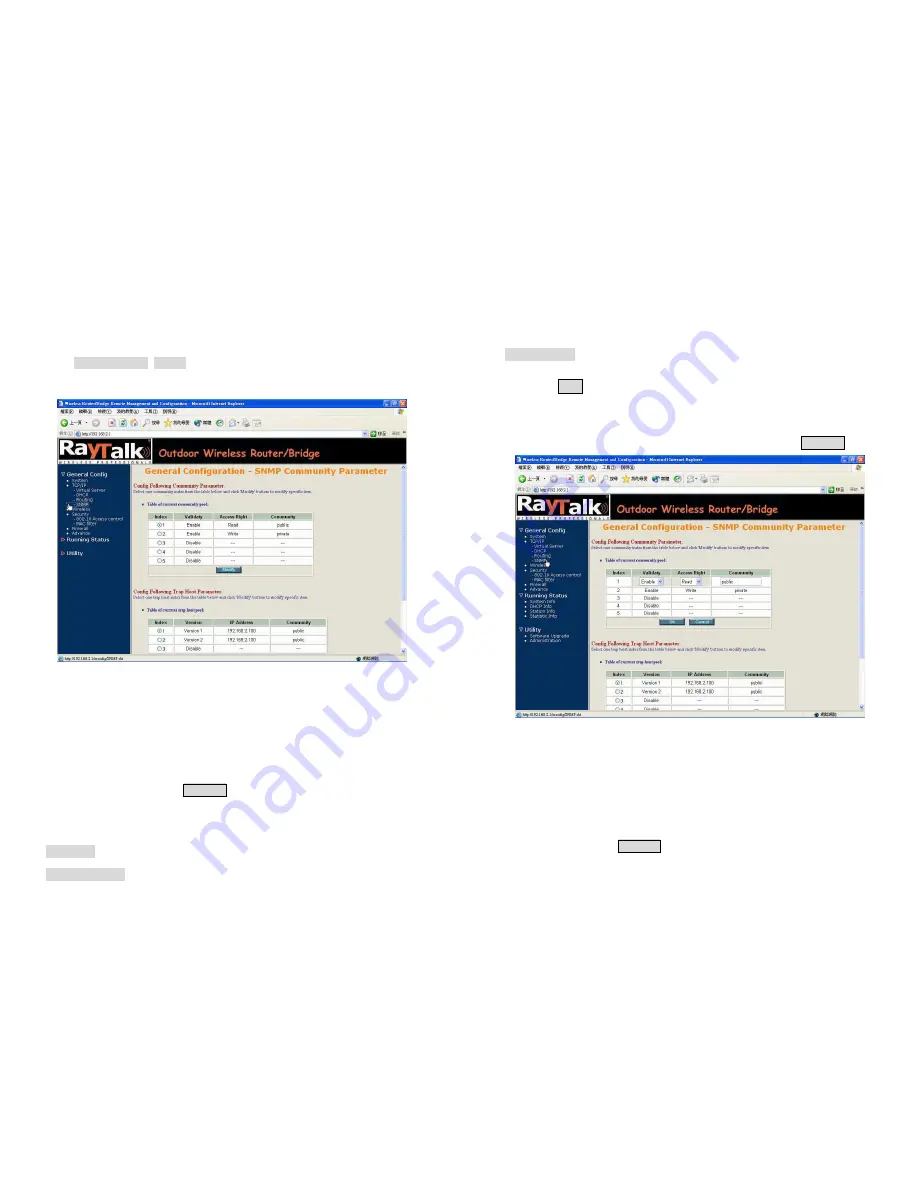
Click General Config, SNMP, and then the General Configuration
–
SNMP
Community Parameter screen appears. Figure 4-8 shows the current
SNMP community pool and trap host pool.
Figure 4-8 General Configuration
–
SNMP Community Parameter
4.6.1 Configure Community Pool
The SNMP Community Pool has five entries.
1.
To modify a entry, click the select button beside the entry index
number and then click
Modify
,
the configuration page
Figure 4-9
appears.
2.
Specify the Validity, Access Right and Community field.
- Validity.
Select
Enable
or
Disable
to control this community.
- Access Right.
Select a command from the pull down menu for this field.
- Community
. Enter the password related the Access Right in this field.
3.
Click
OK
. To refresh the current community pool.
4.
To modify another community entry to the current community pool,
repeat step 1 through step 3.
5.
When you have modified all the entries you need, click
FINISH .
Figure 4-9 Modify SNMP Community Parameter
4.6.2 Configure Trap Host Pool
The Trap Host Pool has five entries.
1.
To modify a entry, click the select button beside the entry index
number and click
Modify
.
The configuration page
Figure 4-10
appears.
2.
Specify the Version, IP Address and Community field.


