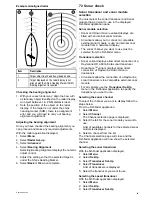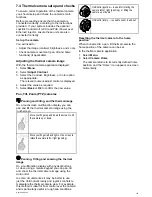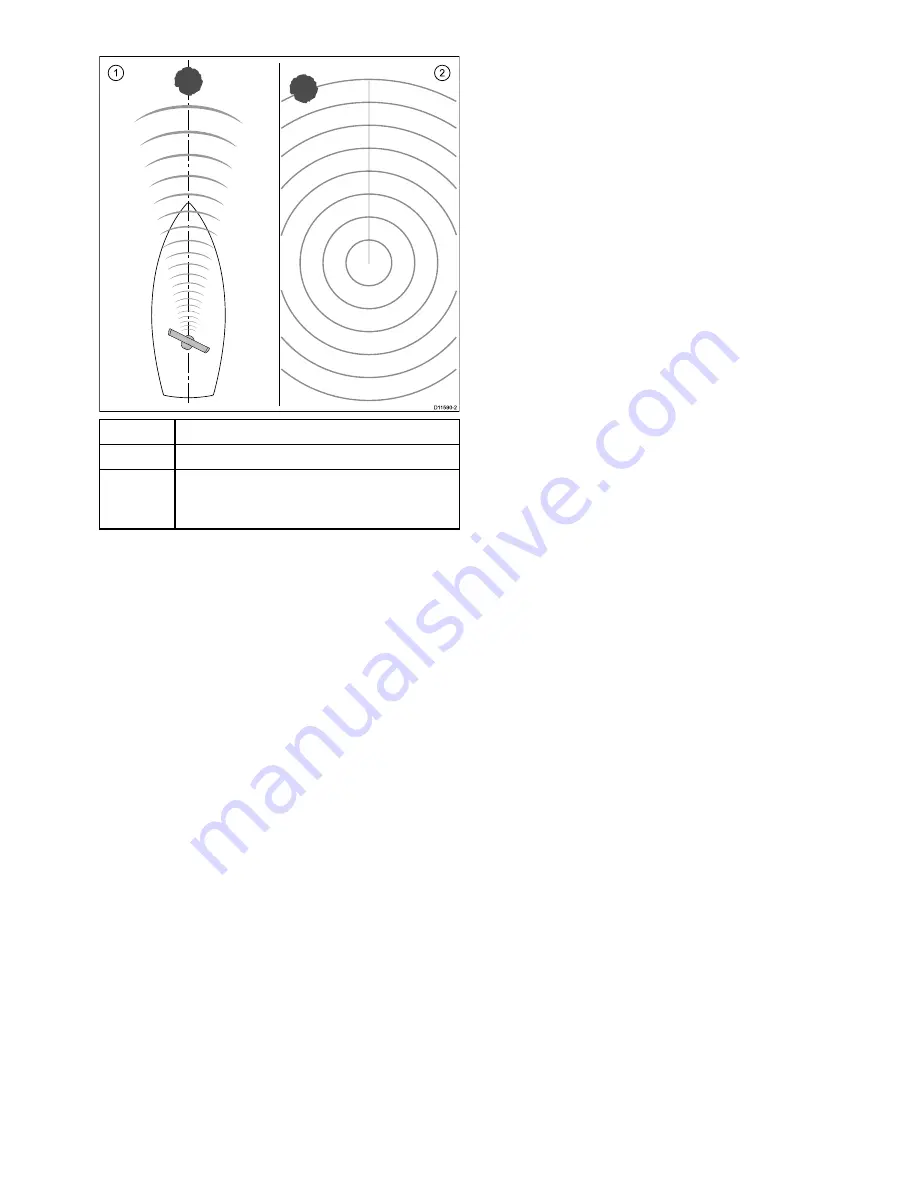
Example misaligned radar
D11590-2
1
2
Item
Description
1
Target object (such as a buoy) dead ahead.
2
Target displayed on the radar display is not
aligned with the Ship's Heading Marker (SHM).
Bearing alignment is required.
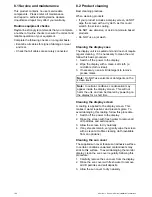
Checking the bearing alignment
1. With your vessel under way: Align the bow with
a stationary object identified on the radar display
An object between 1 & 2 NM distant is ideal.
2. Note the position of the object on the radar
display. If the target is not under the ships
heading marker (SHM), there is an alignment
error and you will need to carry out bearing
alignment adjustment.
Adjusting the bearing alignment
Once you have checked the bearing alignment you
can proceed and make any required adjustments.
With the radar application displayed:
1. Select
Menu
.
2. Select
Radar Set-up
.
3. Select
Advanced
.
4. Select
Bearing Alignment
.
Selecting Bearing Alignment displays the numeric
adjust control.
5. Adjust the setting so that the selected target is
under the Ship’s Heading Marker.
6. Select
Back
or
Ok
when complete.
7.3 Sonar check
Sonar transducer and sonar module
selection
You must select the sonar transducer and Sonar
module that you want to use in the displayed
Fishfinder application pane.
Sonar module selection
• Sonar and DownVision
TM
variant displays are
fitted with an internal sonar module.
• All variants allow you to connect a compatible
external sonar module or use an internal sonar
module from a networked display.
• The sonar channel you want to use must be
selected from the Fishfinder menu.
Transducer selection
• Sonar variant displays allow direct connection of a
Raymarine OR a Minn Kota sonar transducer.
• DownVision
TM
variant displays allow direct
connection of Raymarine DownVision
TM
transducers.
• All variants allow the connection of a Raymarine
sonar transducer via a compatible external sonar
module.
• For all variants use the
Transducer Set-Up
menu in the Fishfinder application to specify the
transducer you want to use.
Selecting the sonar channel
To select the channel you want to display follow the
steps below.
From the Fishfinder application:
1. Select
Menu
.
2. Select
Channel
.
The Channel selection page is displayed.
3. Select the tab for the sonar module you want to
use.
A list of available channels for the selected sonar
module is displayed.
4. Select a channel from the list.
The Channel selection page will close and the
Fishfinder application will now show the selected
channel.
Selecting the sonar transducer
With the fishfinder application displayed:
1. Select
Menu
.
2. Select
Set-Up
.
3. Select
Transducer Set-Up
.
4. Select
Transducer
.
A list of transducers is displayed.
5. Select the transducer you want to use.
Selecting the speed transducer
With the fishfinder application displayed:
1. Select
Menu
.
2. Select
Set-Up
.
3. Select
Transducer Set-Up
.
System checks
99
Summary of Contents for A series
Page 2: ......
Page 4: ......
Page 34: ...34 a Series c Series e Series installation instructions...
Page 102: ...102 a Series c Series e Series installation instructions...
Page 124: ...124 a Series c Series e Series installation instructions...
Page 138: ...138 a Series c Series e Series installation instructions...
Page 156: ...156 a Series c Series e Series installation instructions...
Page 157: ......
Page 158: ...www raymarine com...

