C
HAPTER
2: KVM D
RAWER AND
Z-CIM I
NSTALLATION
7
Z-CIM Connection
Important!
The KVM Drawer unit and the component being attached via Z-CIM must be
powered OFF prior to installation.
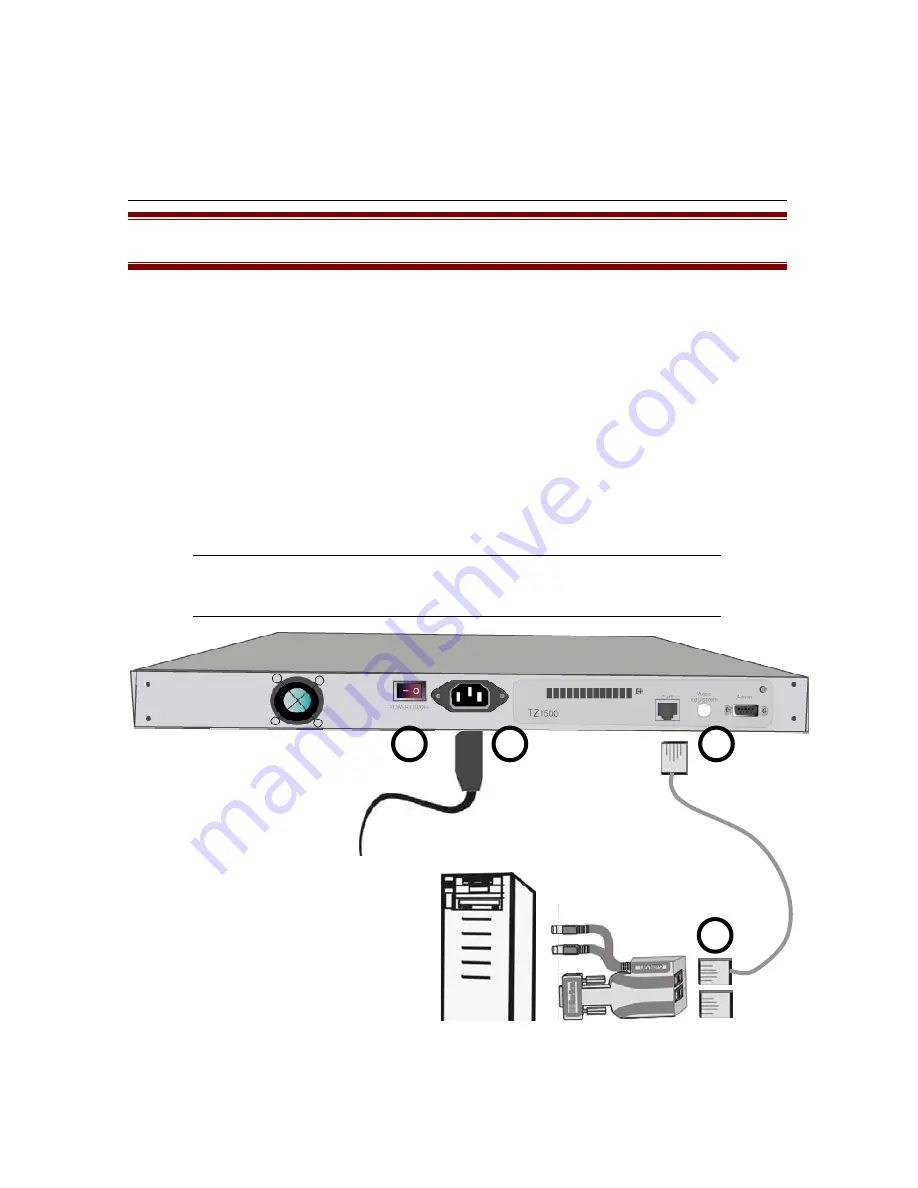
1. Connect the Category 5e UTP cable to the Cat5 port on the rear of the KVM Drawer
2. Connect the other end of Cat5e cable to UTP OUT port on a Z-CIM.
3. Place the Z-CIM terminator in the UTP IN port of the Z-CIM.
4. Connect the HD15 video port connector of the Z-CIM to the video port of the computer
being connected to the KVM Drawer, and then connect the 6-pin mini-DIN keyboard and
mouse connectors on the Z-CIM to the computer’s keyboard and mouse ports.
5. Plug the power cord into the KVM Drawer’s power jack, then plug the power cord into an
AC power source.
6. Power ON the KVM Drawer.
7. Name the newly connected computer (please refer to the section that follows,
Naming
Attached Components,
for further information).
Note
: If you are connecting more than one computer/Z-CIM to your KVM
Drawer, please see the section that follows,
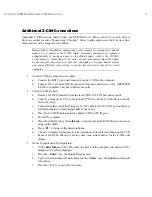
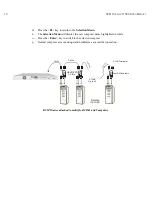
Additional Z-CIM Connections,
for additional information.
2
Cat5 cable plugs into
“OUT” port on Z-CIM.
1
5
6
Rear view of KVM Drawer TZ1500
Summary of Contents for TZ1500
Page 1: ...User Manual TZ1500...
Page 2: ...This page intentionally left blank...
Page 4: ...This page intentionally left blank...
Page 6: ...This page intentionally left blank...
Page 10: ...This page intentionally left blank...
Page 12: ...2 KVM DRAWER T1500 USER MANUAL Product Photos KVM Drawer TZ1500 UKVMSPD Z CIM Unit...
Page 14: ...4 KVM DRAWER T1500 USER MANUAL...
Page 42: ...32 KVM DRAWER T1500 USER MANUAL...


