QUICK2025 manual operation
4
.
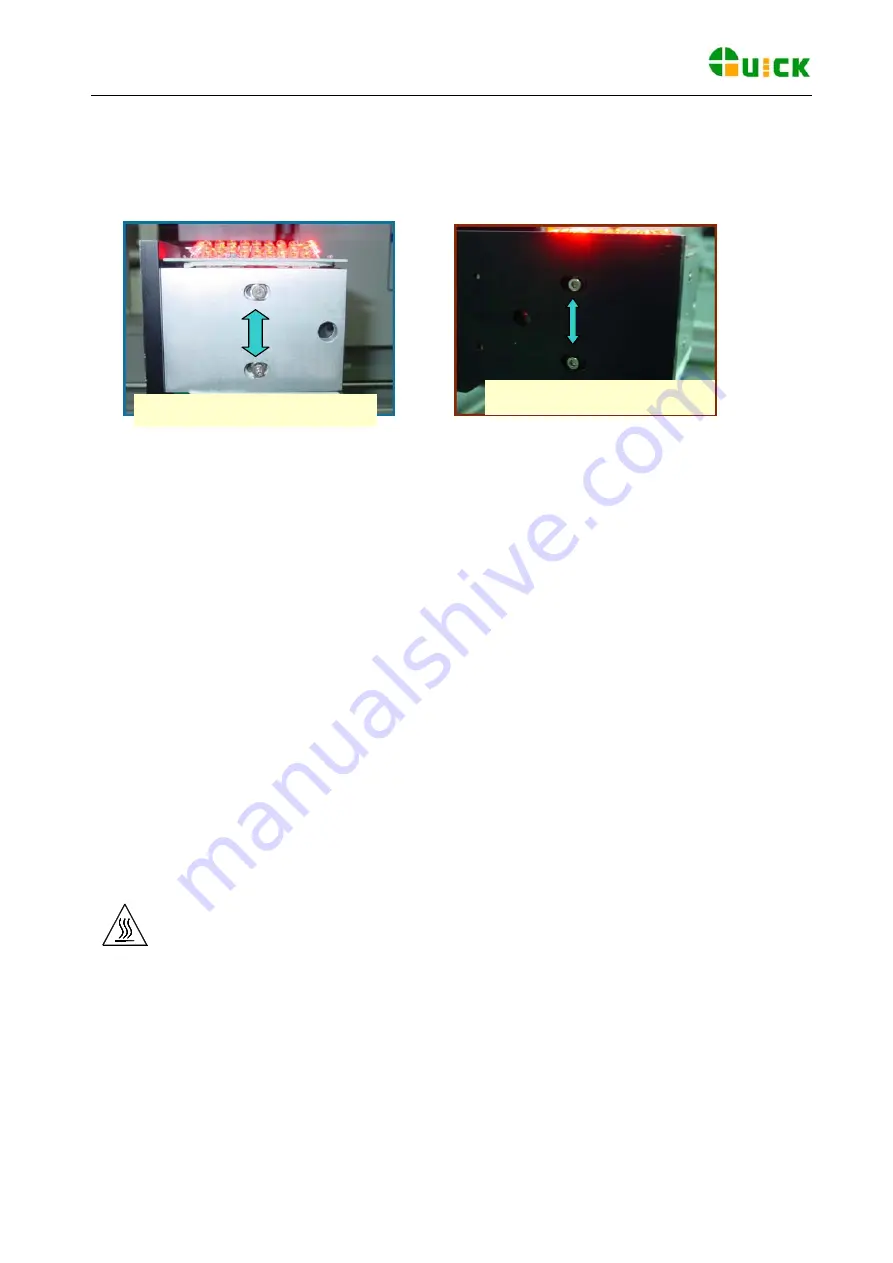
Adjust the two adjusting screws on the alignment arm until the two round images on the display superpose.
5
.
After superposing, screw down fixing screws on left side. After screwing down, the image displayed should
be superposed too.
6
.
If necessary, you can repeat the above steps to calibrate once again.
Adjusting screw to up and down
Adjusting screw to left and right
10.3 Adjusting the Temperature
1
、
Fixing one side of the outer K type sensor on the testing board with the high temperature adhesive tape,
other on the temperature testing meter, and than calibrate the temperature.
2
、
Press “BEGIN” key to run the process after setting parameters to heating up the testing board.
3
、
When the temperature on the test meter is same with the setting value “TL”, press button “CAL” to adjust
the temperature. Then TC value on the MAIN interface will update to the new setting value and the
calibrating parameter will be write into the process and save.
4
、
If necessary, you can repeat the above steps to calibrate once again. Normally, the temperature is correct,
not to adjust.
Note: please do not press the key CAL in initial state that will affect the calibrating of the other
temperatures. If pressing the key CAL not carefully, please press the key SAVE on time exiting the
process. This is different to the other rework system QUICK2005 and QUICK2015.
11
、
Equipment Maintenance
Remark:
For ensuring reliable function and maintenance of equipment, please use parts provided by original factory.
Please turn off power switch of each part and pull out power plug when not in use.
Note:
After cutting off the power supply, the surface of the equipment is still very hot, so please don’t use any
dangerous or combustible solvent to clean it.
Clean parts:
Clean the dust on system with clean towel.
Suggest using dry or wet towel to clean the equipment. Solder on the glass of Bottom Radiator can be cleaned
out with hard object. Please be careful not to break down the glass.
Page 29


