


EN
.
32
12.1.
Adding the device to a Z-Wave network (Inclusion)
AUTOMATICALLY ADDING THE DEVICE TO A Z-WAVE NETWORK (SMARTSTART INCLUSION)
1. Scan QR code on device label and add S2 DSK to Provisioning List in gateway (hub).
2. Connect the device to the power supply.
3. Make sure the device is within direct range of your Z-Wave gateway (hub).
4. Inclusion will be initiated automatically within few seconds of connection to the power supply
and the device will automatically enrol in your network (when the device is excluded and
connected to the power supply it automatically enters the LEARN MODE state).
MANUALLY ADDING THE DEVICE TO A Z-WAVE NETWORK (MANUAL INCLUSION)
NOTE:
check chapter 5.4
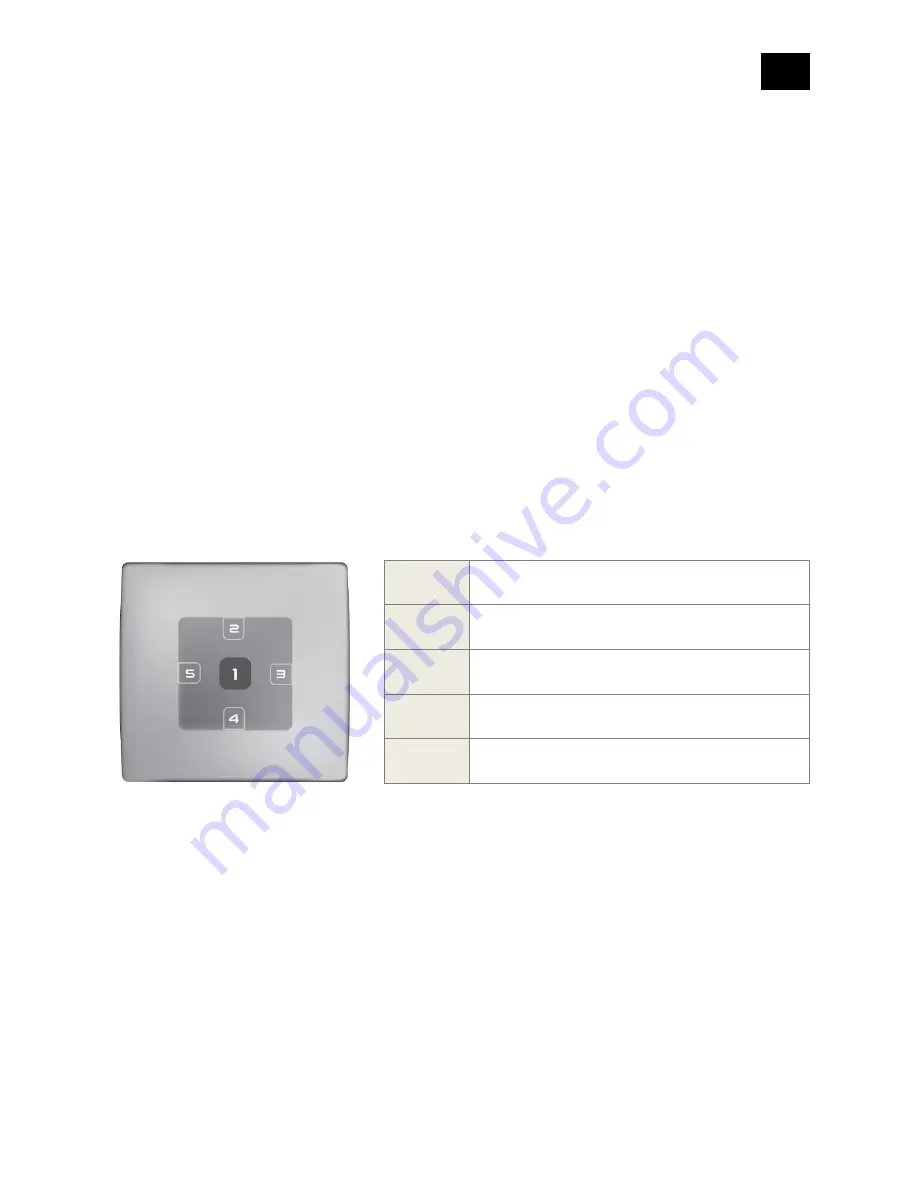
Nr. 1
(CENTER)
Turns ON/OFF the room light or other load
connected to Luxy Smart Switch output
Nr. 2
(UP)
Turns ON/OFF the Luxy light
Dims the Luxy light
Nr. 3
(RIGHT)
Switches between 4 different lighting effects
(ocean, sunrise, rainbow, and nature)
Nr. 4
(DOWN)
Turns ON/OFF the white light on the Luxy
Dims the Luxy light
Nr. 5
(LEFT)
Starts the colour spectrum and stops at the
colour you wish to have
1. Enable add/remove mode on your Z-Wave gateway (hub).
2. Connect the device to the power supply.
3. Make sure the device is within direct range of your Z-Wave gateway (hub).
4. Press once on button 3
–
right. One press on button 4
–
down for enabling full white. When
full white is enabled, press, and hold button 3
–
right, between 4 and 6 seconds. After 6 seconds,
the device starts flashing green (1 second ON, 0.5 second OFF). Once the device receives node
ID (after 10 seconds), it stops flashing and turns full green. The procedure is always available.


