15
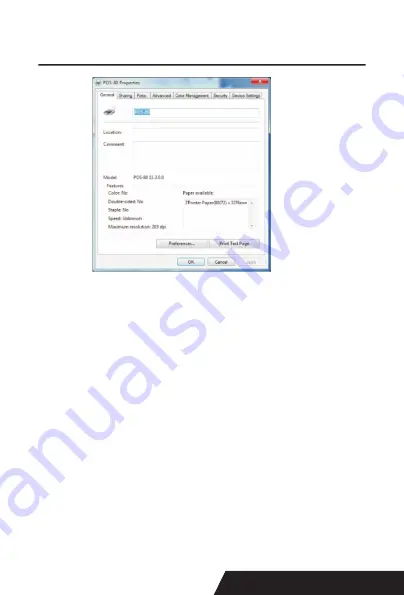
If the print test page works well, that mean all setting is ok.
Remarks: If “ Printer Error “ , we should back to “ Ports” and
try the USB ports one by one until it is ok.
5.2.2 Ethernet Connection (If your desired port is Ethernet)
1: Get the IP address from a Self Printing Test Paper
Switch off the printer then press “FEED” button and do not
release. Press the “POWER” button at the same time till
the “ ERROR” indicators on, release the button about 1
second after the “ERROR” indicators off.
Then we can read the current setting from the self printing
page. ( Default IP Address is : 192.168.1.100 ) Open “ Pro
-
perties” then click “ Ports ” ,as below images shown:
Summary of Contents for DAYIN80
Page 16: ...16 2 Select Add Port we can see below image 3 Click Next and enter into the printer IP address...
Page 18: ...18 6 Click Finished and we can check the added ports as below image...
Page 22: ...22 3 Back to General and try Print Test Page...
Page 40: ...40 4 Select the way of communication of printers Bluetooth or WIFI...
Page 42: ...42 7 If above steps are successful then you can print text to have a test...
Page 47: ...47...
Page 51: ...51...
Page 69: ...69 3 Regrese a General y haga clic en Imprimir p gina de prueba...
Page 88: ...88 4 Seleccione la forma de comunicaci n Bluetooth o WIFI...
Page 90: ...90 7 Si los pasos anteriores son exitosos puede imprimir tex to para realizar una prueba...
Page 96: ......


