30
31
CHAPTER 6
RECORDING, PLA
YBACK AND RECORD SEARCH
6.4 RECORD SEARCH AND PLAYBACK
Clicking the Search icon in the lower right of the
Main Display Interface
will cause it to
switch to the
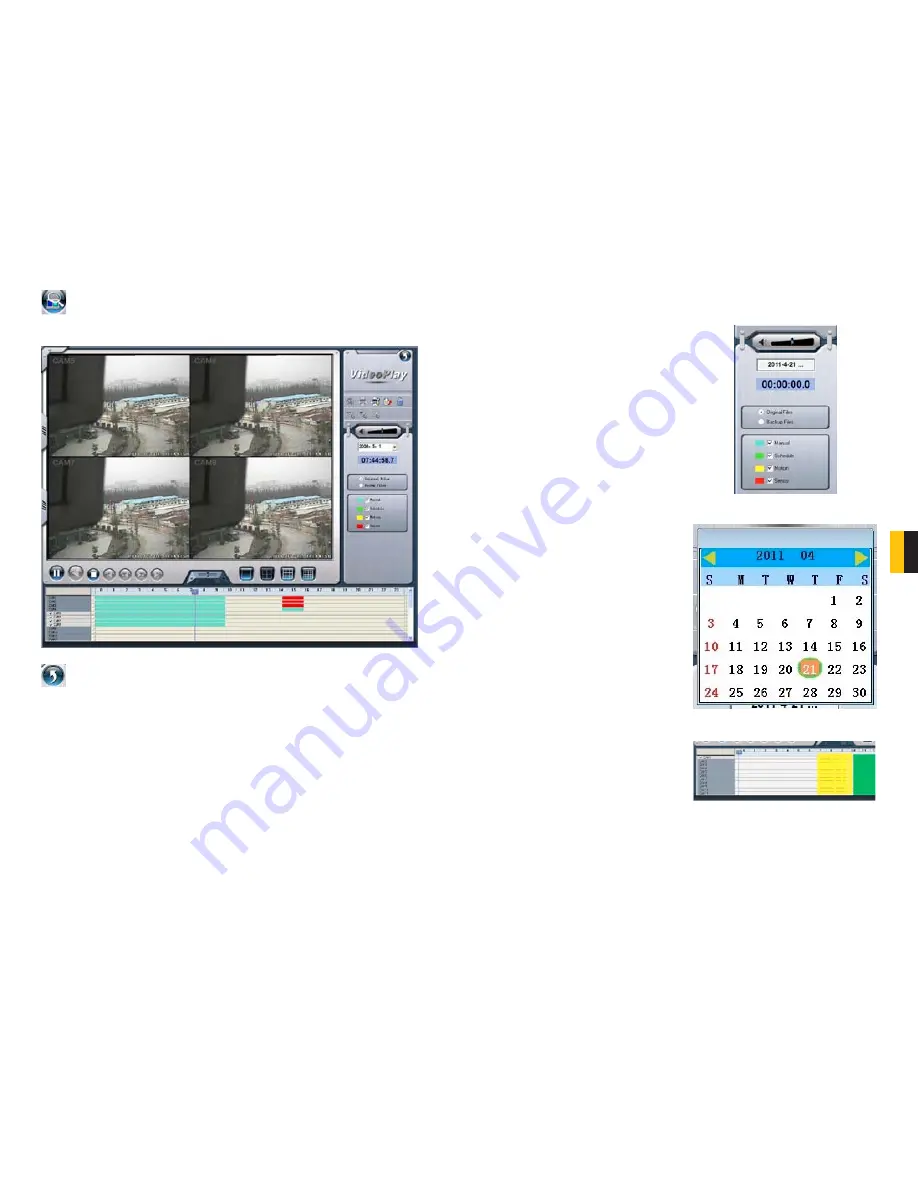
Search and Playback Interface
. This interface handles both the Record
Search and Playback functions in addition to allowing you to back up your records.
PICTURE 6-9
RECORD SEARCH
Searches are based on date and time. Additional criteria can be selected to narrow the
search. These criteria include the type of the recording and where the files are saved.
Pressing the back arrow in the upper right of the display will return you to live
surveillance in the
Main Display Interface
.
PICTURE 6-10
PICTURE 6-11
PICTURE 6-12
STEP 1
. Select whether the program
should search in the normal
destination location (See
Section
6.3 Recording to Hard Drive
)
and/or where you’ve backed up
recorded files (Covered in
Section
6.5 Other functions
)
STEP 2
. Select the nature of the
recording - whether it was a
scheduled record, recorded as a
result of motion detection or etc. You
can select more than one category.
STEP 3
. Enter the date and time. A
calendar will pop up. If there was an
event recorded on that date it will be
highlighted.
STEP 4
. The program will display the
search results at the bottom of the
screen. They will be color coded to
indicate the mode in which they were
recorded.


