CameRa setup
set Camera name and position
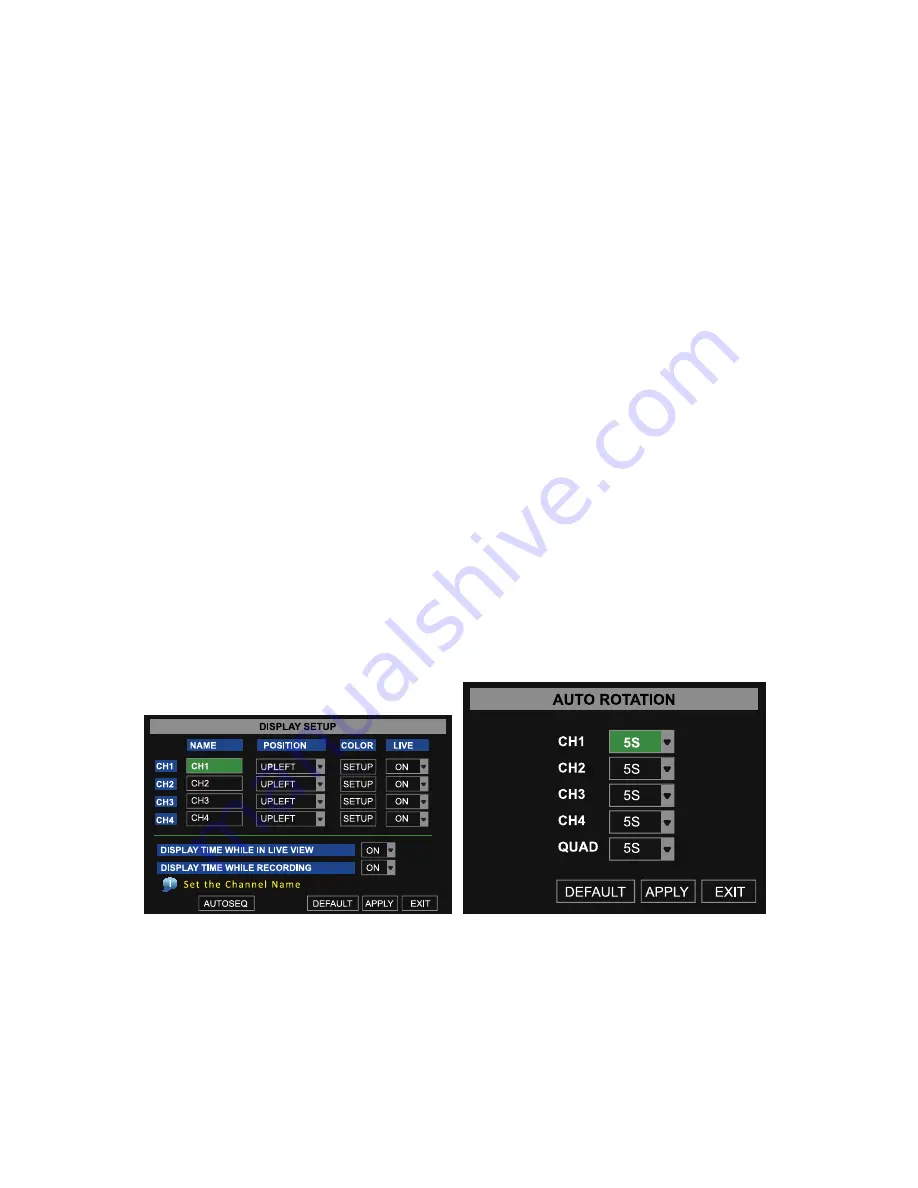
To set up the display name and position for each camera, complete the following instructions:
1.
From the Main Menu, select the camera icon
2.
From the camera setup interface (
IMAge 7
), assign a name for each of camera, up to 8
characters long by highlighting the field next to the channel under the NAME column.
To enter letters, left click the mouse in the field to access the keyboard drop down.
3.
To select the camera’s position on the screen, select the arrow under the POSITION
column and select preference
4.
Complete steps 2 and 3, for each camera
enable live viewing
From the camera setup interface (
IMAge 7
), enable live viewing for each camera.
1.
From the Main Menu, select the camera icon
2.
From the camera setup interface (
IMAge 7
), select the arrow under the LIVE column
and select preference from the drop down menu
3.
Complete step 2, for each camera
IMAge 7
IMAge 8
enable auto-sequence
To set the system to automatically rotate the screen view image for each camera:
1.
From the camera setup interface, select the AUTOSEQ button
2.
The AUTO ROTATION sub menu will appear (
IMAge 8
)


