2. YZ - axis assembly
30
Original Prusa MINI+ kit assembly
STEP 31
Y-axis assembly: reward yourself!
You just finished the
Y-axis
assembly
. It wasn't that hard, was
it? Now is the time to reward
yourself and replenish your energy
for the next steps. Please, follow
these instructions:
Carefully and quietly
open the
bag with the Haribo sweets.
High level of
noise might
attract nearby predators!
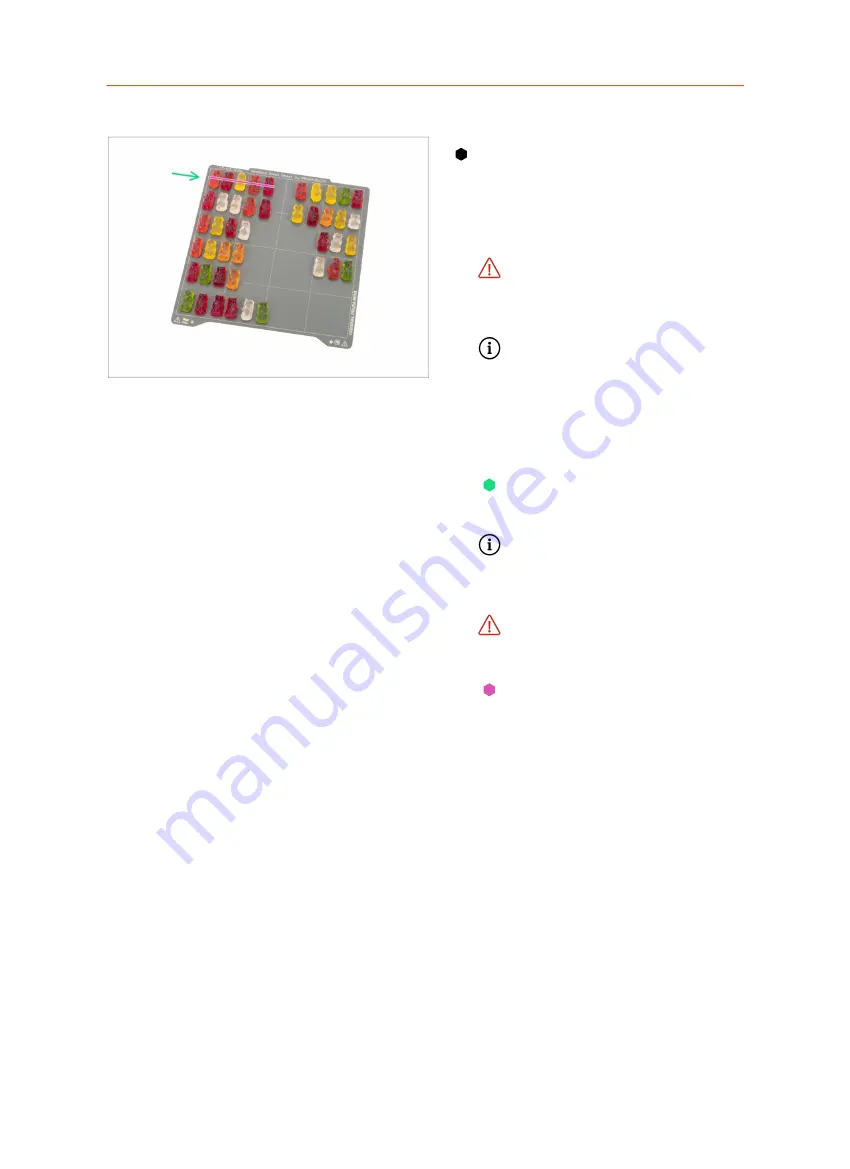
Each row of the bears is
intended for a specific chapter
or is split into specific parts of
the chapter. The number of the
bears is sorted according to the
difficulty of the chapter. But
don't worry ;).
Spread the bears in the six rows
according to the picture. Start
from the top.
If you are missing some bears,
do not hesitate and immediately
visit the nearest candy store
and buy the missing amount ;).
Keep the correct number of the
bears in separate rows.
That is
crucial!
Eat the first part of the first row.
Summary of Contents for Original Prusa MINI
Page 5: ...Original Prusa MINI kit assembly 5 1 Introduction ...
Page 14: ...14 Original Prusa MINI kit assembly 2 YZ axis assembly ...
Page 47: ...Original Prusa MINI kit assembly 47 3 X axis Extruder assembly ...
Page 73: ...Original Prusa MINI kit assembly 73 4 Print head Heatbed assembly ...
Page 87: ...Original Prusa MINI kit assembly 87 5 LCD assembly Electronics ...
Page 100: ...100 Original Prusa MINI kit assembly 6 Spool holder assembly ...
Page 105: ...Original Prusa MINI kit assembly 105 7 Preflight check ...
Page 109: ...109 Notes ...
Page 110: ...110 ...
Page 111: ...111 Notes ...
Page 112: ...112 ...
Page 113: ...113 Notes ...
Page 114: ...114 ...
Page 115: ...115 Notes ...
Page 116: ...116 ...


