6 First steps
6.1 Preparing for the upgrade
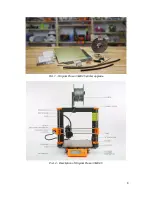
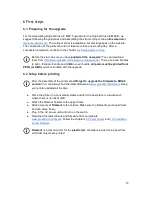
For the assembling Original Prusa i3 MK2.5
upgrade for the Original Prusa i3 MK2/S
, we
suggest following the guidelines and assembling the kit according to the
online
manual
at
manual.prusa3d.com
.
The online
manual is available in several languages on the website.
The construction of the
printer
should not take more than one working day. After a
successful completion, continue to the chapter
6.2 Setup before printing
.
Before the start, be sure you have
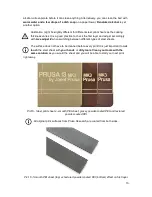
printed all the new parts
! You can download
them from
http://www.prusa3d.com/prusa-i3-printable-parts/
. There are a two bundles
to print - Extruder bundle and RAMBo cover bundle.
All parts must be printed from
PETG (or ABS)
, which is bundled with the upgrade.
6.2 Setup before printing
After the assembly of the printer,
don’t forget to upgrade the firmware to MK2.5
version
! You can always find the latest firmware at
www.prusa3d.com/drivers
. Keep
your printer updated all the time.
● Place the
printer
in a horizontally stable position; the best place is a workbench
where there is no risk of
draft
.
● Attach the
filament
holders to the upper frame.
● Attach a spool of
Filament
to the holders. Make sure the
filament
spool doesn’t jam
and can move freely.
● Plug in the AC power cord and turn on the switch.
● Download the latest drivers and firmware from our website
www.prusa3d.com/drivers
. Follow the chapters
9 Printer drivers
and
12.9 Updating
printer firmware
Filament
is a common
term
for the
plastic rod
-
material
provided on a spool from
which 3D objects are printed.
10
Summary of Contents for i3 MK2.5
Page 1: ......
Page 64: ...Pict 40 Nozzle change 64 ...


