Create a Print File 17
PTPrint is the label lay-out software included with the CX1200e that will allow you to properly
format images for the CX1200e. With this software and the layout wizard you can easily import a
variety of file formats, step and repeat them across a page and print them to the CX1200e.
5.1 Array images with PTPrint Wizard
1. To open PTPrint go to Start - All Programs - PTPrint folder - PTPrint or click the PTPrint icon
on your desktop.
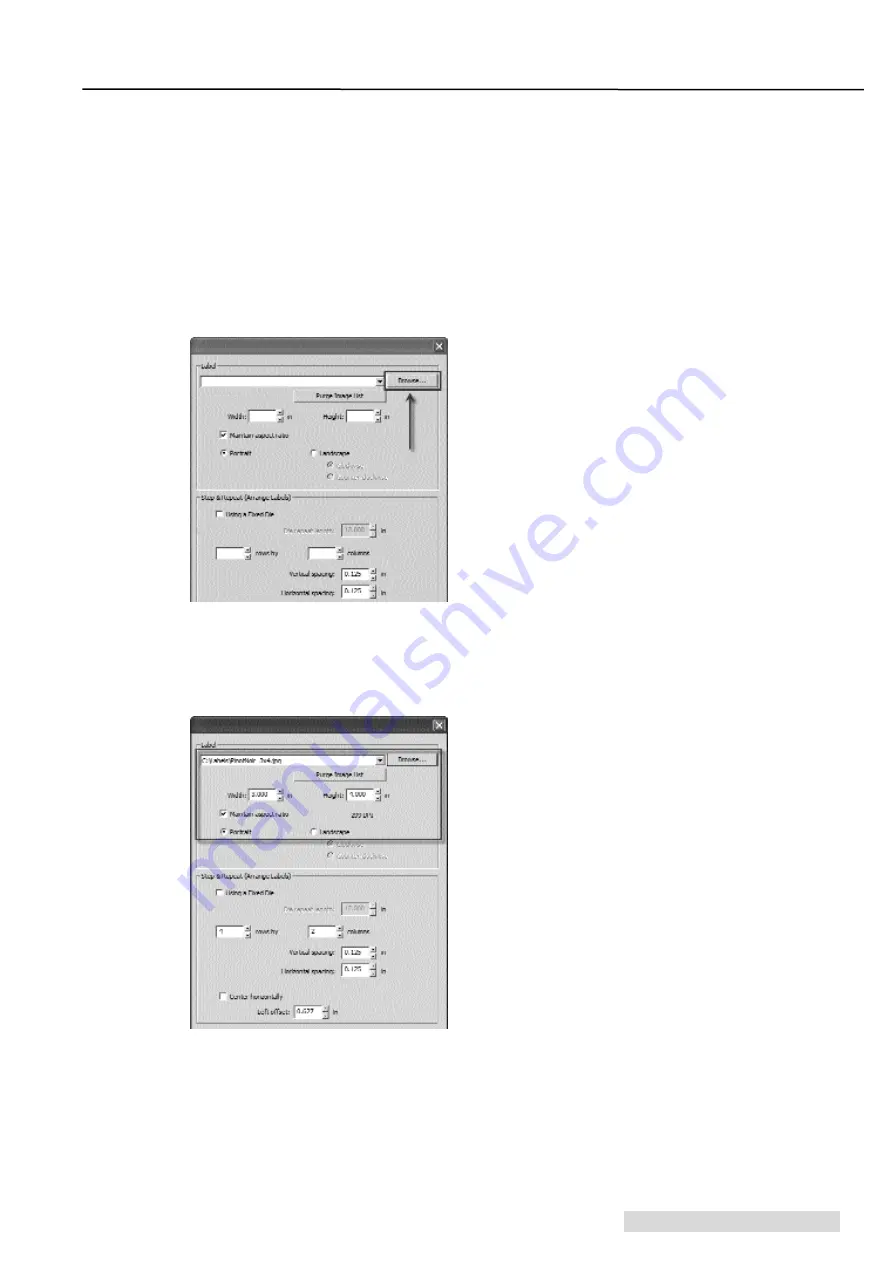
2. The print layout wizard will appear. Click the Browse button to find the label you want to
print. The following formats are supported via the print layout wizard: BMP, EPS, JPG, GIF,
PCX, PNG, TIFF.
3. Once the graphic has been selected the size and dpi will automatically appear in the fields
below. The graphic should be 300 dpi or greater to achieve the best quality. Resolutions above
300 dpi are not necessary and only serve to increase the file size. Adjust the label size as neces-
sary. By default, aspect ratio will be maintained. The DPI will be increased if you decrease the
size of the label.
Section 5: Create a Print File
Note:
See Section 5.5 for
image formatting tips.
Summary of Contents for Digital Color Label Press CX1200e
Page 4: ...iv CX1200e Color Label Press...
Page 5: ...v CX1200e Color Label Press...
Page 63: ......
Page 64: ......
Page 65: ...P N 511222 093011...


