


XTR-PX2-C0006-IN004
7-13
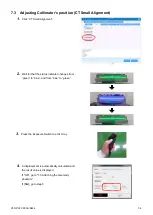
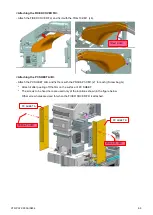
3.
Turn the screws based on the values displayed
on the geometry adjusting screen.
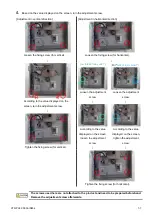
The figure on the right is an example whereas
the screw on the right side is turned 5/8
downward.
(Actually it is the work with the bracket at the
frame bottom that was removed in step 2)
< How to adjust the screw >
1. Fix the adjustment screw by a hexagon wrench
2. Loosen the nut by a screw wrench
3. Turn the adjustment screw
( Only by the adjustment angle )
4. Fasten the nut
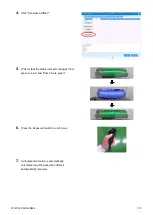
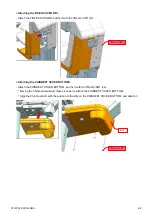
4.
Remove the screws fastened on the back while
supporting the FPD, and put the FPD to its
original position.
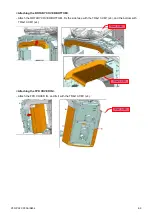
5.
Perform
“7.5 Adjusting geometry (FPD Center)”
again and check that it has been adjusted
correctly.


