27
Recording Setup
The Predator VX360 has a number of settings that can be altered to change the way in which it
records video.
The default settings of the unit have been carefully chosen to match the user’s typical
requirements so it is unlikely that these will require changing, but for certain applications there
may be a more suitable setup than the default.
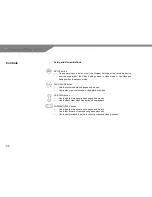
Recording Setup Menu Options
Menu Option
Default
Setting
Effect
Alternative
Settings
Effect
Quality
Medium
Records at 640x480 resolution
at up to 30fps
Low
High
Records at 352x288 at up to 30fps
Records at 640x544 at up to 18fps
Display Information
On
Displays recording info and
screen prompts
Off
Displays minimum information on
screen
REC Date/Time
Off
Visual date and time stamp on
video footage is off
On
Visual date and time stamp on video
footage is on
Display
LCD
Recording video is displayed
on integrated LCD screen
TV
Recording video is displayed on
connected TV
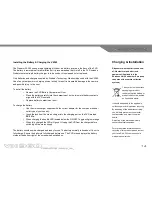
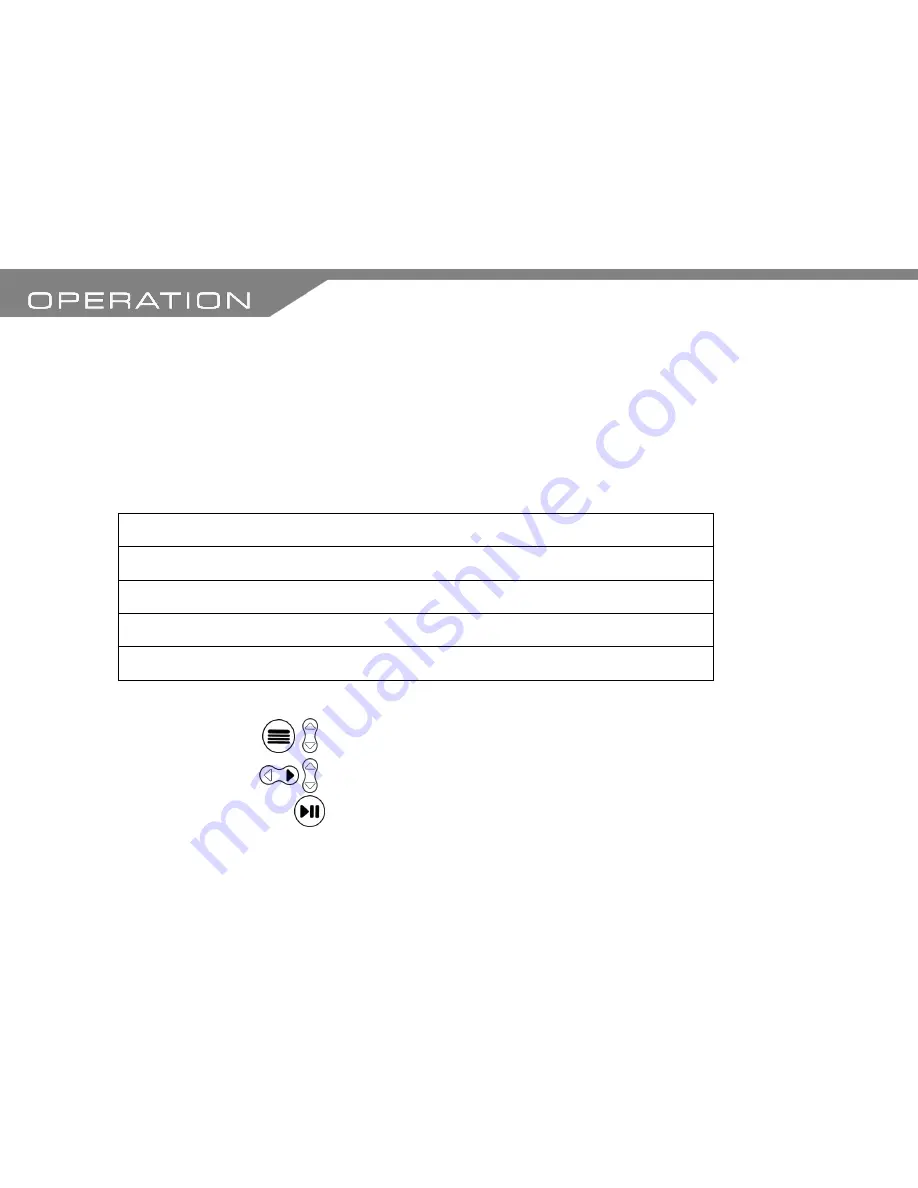
To enter the recording setup menu:
o
Enter the
Preview Mode
on the unit. (See Preview Mode)
o
Press the SETUP button. You will then be presented with the recording setup menu
o
To highlight the required settings use the UP/DOWN buttons to move the menu selector
o
To change any of the settings use the RIGHT button to highlight the current setting then
use the UP/DOWN button to move through the alternative settings
o
Press the PLAY/PAUSE button to confirm the new setting and exit the menu and return to
Preview Mode.
Recording
Summary of Contents for VX360
Page 1: ......
Page 11: ...11 Camera and Mounting Bracket Personal Video Recorder PVR...
Page 37: ...37...
Page 38: ...38...

