15
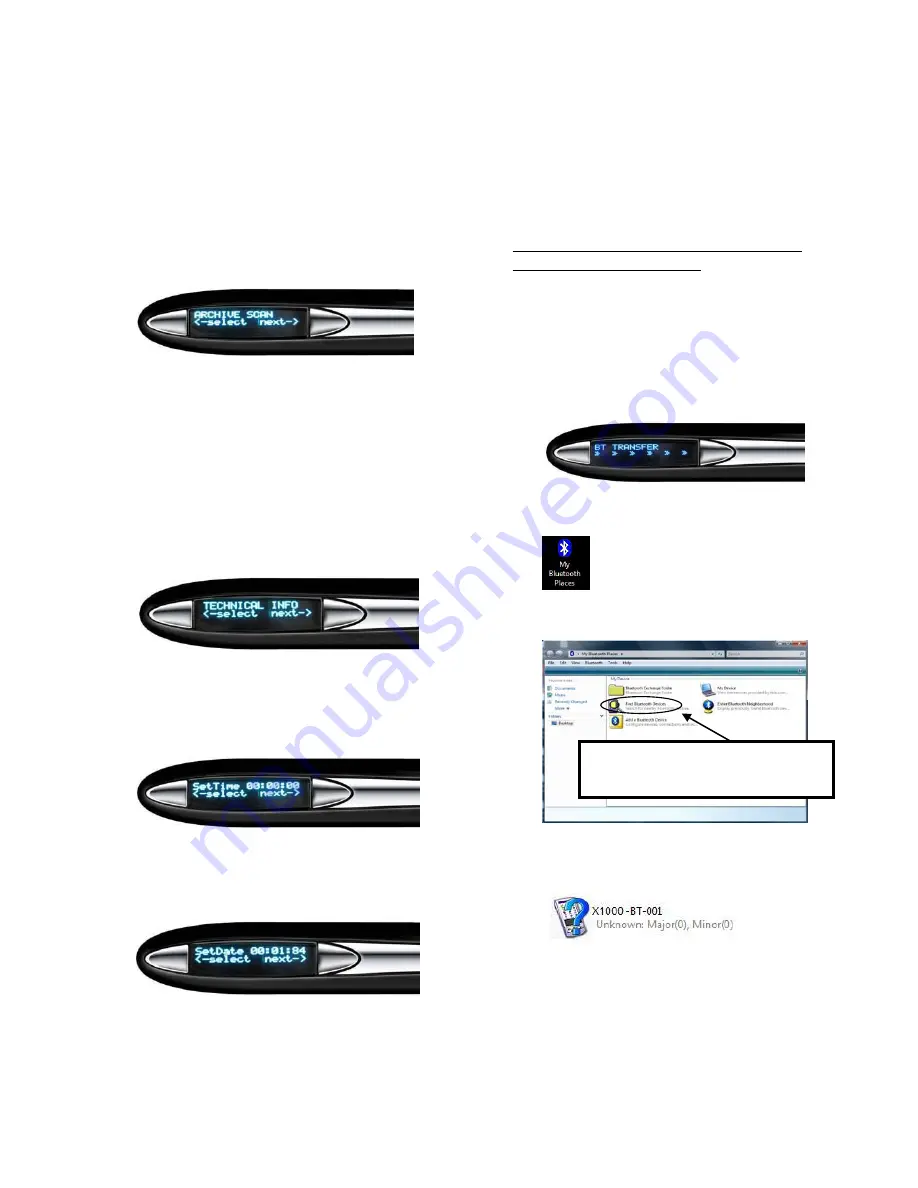
ARCHIVE SCAN:
NOTE: It is required to have a MicroSD inserted into
DocuPen Xseries scanner in order to use the Archive
Scan option.
This option allows you to save and archive the latest
image you have just scanned. By Archiving your
scanned image, you can retrieve later for printing.
To retrieve the archived scanned images, choose next
under Archive Scan mode to search for the file you
want. Once you have made the selection you can
choose to print. The Xseries scanner will turn off if it
is idle for 8 seconds.
Technical Info:
This represents the technical
information of your DocuPen Xseries scanner. You
can find out the serial number of the device and the
firmware it has been programmed with.
Select Time
: This represents the time on your
DocuPen Xseries scanner. Under this setting you can
change the hours, minutes and seconds to your
desired time.
Select Date:
This represents the date on your
DocuPen Xseries scanner. Under this setting you can
change the year, month and day.
Exit:
This allows you to exit from the settings menu.
Bluetooth Settings
The DocuPen Xseries scanner has a Bluetooth module
inside that allows you to transfer images wirelessly to
your computer, Smartphone and PLANON portable
PRINTSTIK printer.
Using the Bluetooth connection from your DocuPen
Xseries scanner to your computer
1.
Press the Bluetooth ON/OFF button to turn ON
the Bluetooth module in the DocuPen Xseries
scanner. You will see a message on the LCD
screen saying “BT TRANSFER” – this is a
notification that the Bluetooth is ON and ready
to transfer files.
2.
Go to “My Bluetooth Places” on your computer.
Search for the DocuPen Xseries scanner.
The Bluetooth ID will have the name XSERIES in
it.
3.
Once you have located the DocuPen Xseries
scanner, double click the icon (shown above),
Double click “Find Bluetooth
Devices”
Summary of Contents for DocuPen X SERIES
Page 1: ...1 DocuPen XSERIES Scanner ...
Page 22: ...22 ...


