1. Measure the three points 1, 2 and 3 of the both milled calibration bodies.
NOTE
The calibration bodies are identified: the other milling body is marked
with three furrows on the bottom side of the body, see the figure below.
2. Write down the results, separately for the “three furrows” milling body
and the milling body without furrows. The results are needed during the
next steps.
11.5.4 Calibrating zero point and B-axis
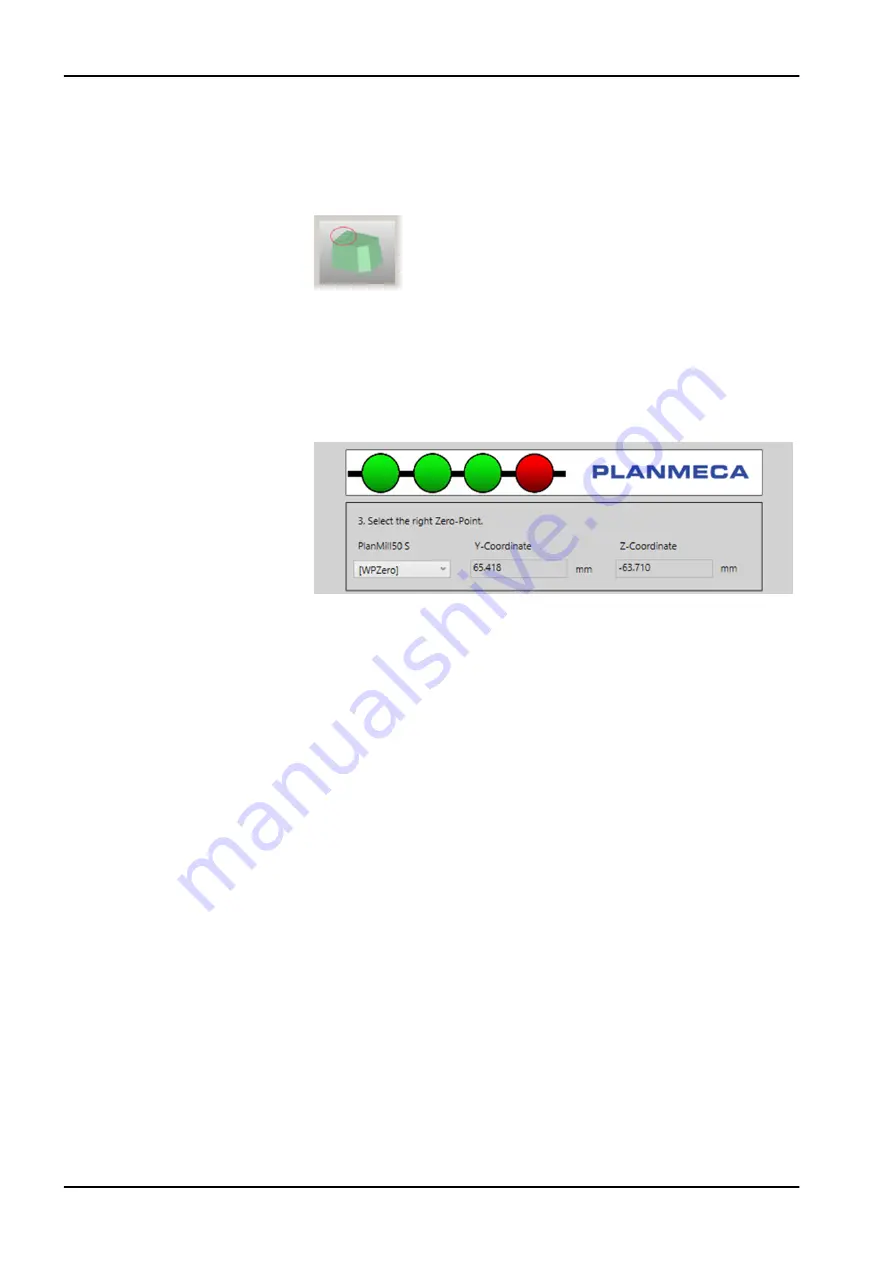
1. In the TK-Zero-Point dialog select [WPZero] from the drop-down menu in
the 3.Select the right Zero-Point section.
11 Preventive maintenance
94 Planmeca PlanMill 50 S
User's manual


