


32
5. Click on the [OK] button at the bottom of the page. [LAN Ethernet Properties] page will
be displayed again.
*If [Attention] page is displayed after clicking on the OK button, verify the information
displayed and click [OK]. [LAN Ethernet Properties] page will be displayed.
6. Click [OK]. [Network Connections] page will be displayed again.
*If you were using a specific IP address for the product to access the management console,
enter the new IP address to re-enter the management console for further configuration
Notes:
- When changing LAN-side IP address of the product
After changing the IP address or subnet mask of the LAN side of the product, be sure to
adjust the [DHCP server] settings accordingly.
- There is an active computer in the LAN
If any of the PC's on your LAN is active while you change the IP address of the LAN port of
the product, be sure to let the PC's obtain a new IP address after the IP address of the
product has been changed.
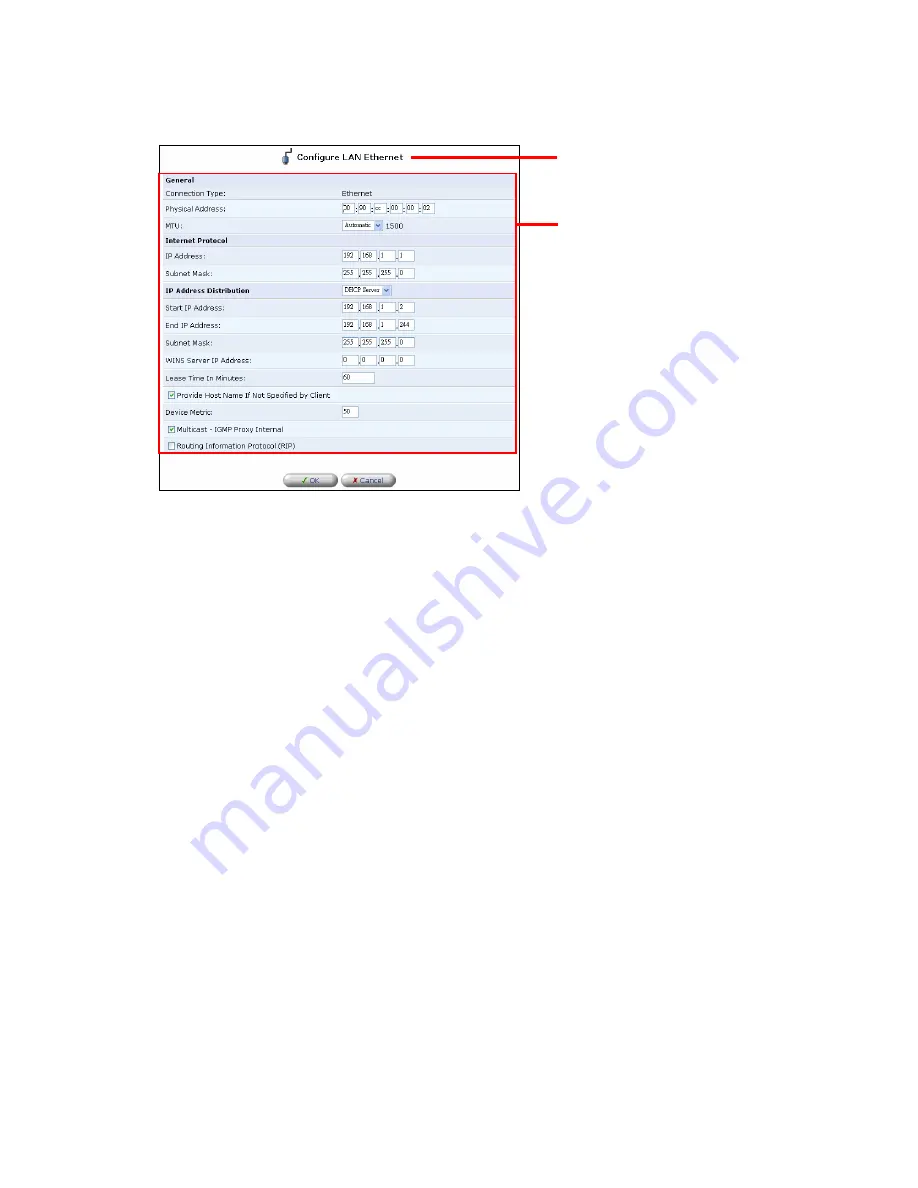
[Configure LAN Ethernet] page
Enter new values as needed
Summary of Contents for BRC-14VG
Page 1: ...4 Port VPN Virtual Private Network Broadband Router BRC 14VG ...
Page 71: ...71 3 Select Communications in the Components list and click on the Details button Click ...
Page 113: ...113 4 Click on the OK button 5 The deletion of URL filter is now complete Click on the button ...
Page 240: ...240 5 SNMP has been enabled on the product ...
Page 244: ...244 3 The firmware version of the product will be displayed Technical Information window ...


