Printer Maintenance • 3
3-5
SV61749 Rev. D
Installing New Bulk Ink Cartridge(s)
The bulk ink tray can hold up to six bulk ink cartridges; one to hook
up to each of the six print heads.
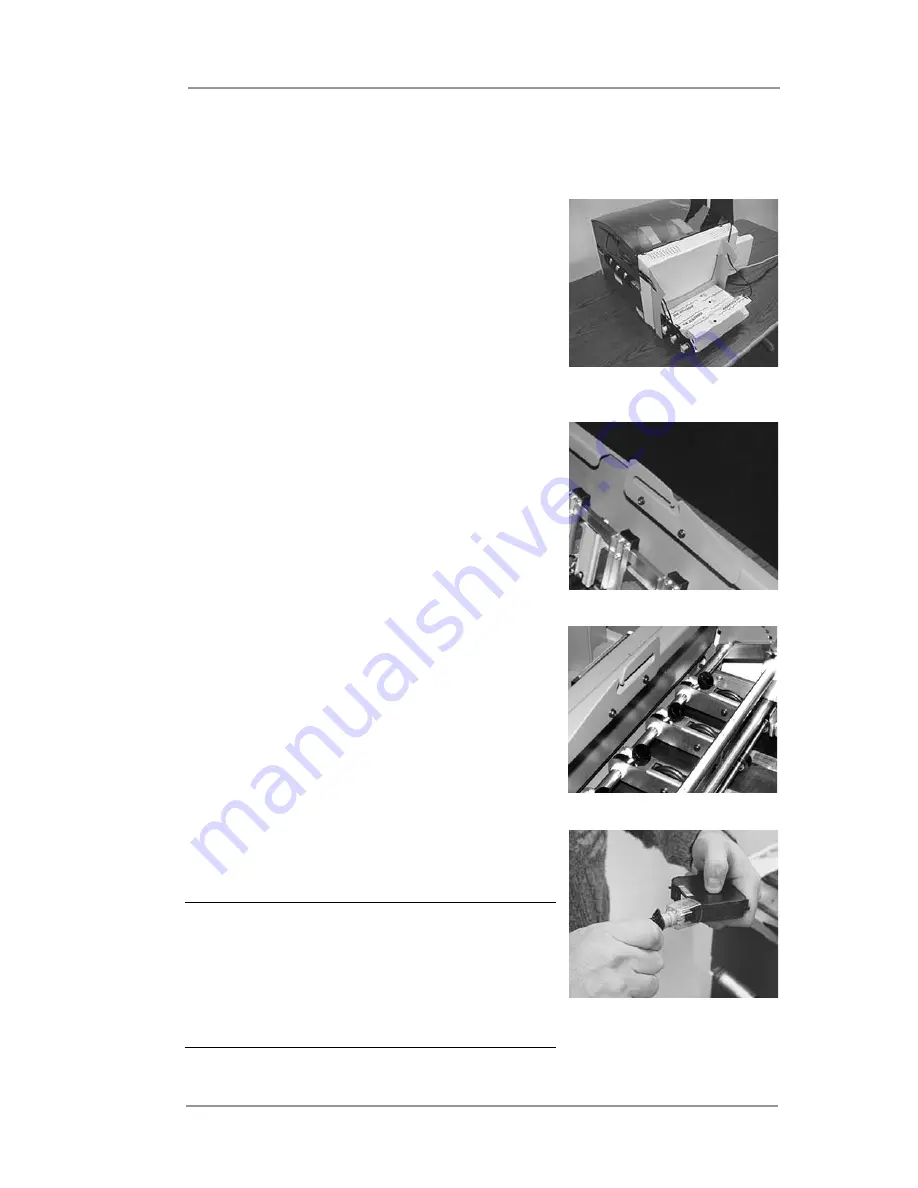
1. Stack the bulk ink reservoirs on the
bulk ink tray.
2. Route the bulk ink hoses through the
notches on either side of the bulk ink
assembly as shown at right. Next, open
the print station cover and route the
hoses through the brackets on either
side of the printer.
4. Plug the connector on the hose into the
new bulk head print cartridge.
5. Gently remove both pieces of tape
covering the ink nozzles on the print
cartridge.
6. Insert the cartridge down at approx-
imately a 45 degree angle into the
cradle.
7. Press the blue latch down to lock the
print cartridge in place.
8. Next you'll need to run a print head
alignment procedure for the printhead
cartridge(s) that you have replaced.
See
Performing a Print Head Alignment
in this chapter.
WARNING!
• Reset the ink count through the main
menu>ink count after replacing a
print cartridge. This will enable the
printer to accurately monitor ink
consumption.
Hoses routed through
notches.
Bracket (right side)
Bracket (left side)
Plug connector on hose
into new print cartridge.
Summary of Contents for da95f
Page 1: ...Operator Guide International English Version AddressRight DA Series Printer DA95F ...
Page 7: ...Contact Information List vi SV61749 Rev D ...
Page 64: ...3 Printer Maintenance 3 20 SV61749 Rev D ...
Page 74: ...4 Troubleshooting 4 10 SV61749 Rev D ...
Page 82: ...Appendix A Specifications A 8 SV61749 Rev D ...
Page 86: ...A 4 SV61749 Rev D ...


