36
EN
ENGLISH
ELECTRIC SMOKER OPERATING INSTRUCTIONS
Smoker is intended for outdoor use only and should be used on a hard, level, non-combustible surface away from roof overhangs
and/or any combustible material. Do not use smoker on wooden surface or any other surface that could bum. Place the smoker
in an outdoor area that is protected from the wind and keep the smoker away from open windows or doors to prevent smoke
from entering your home.
CURING YOUR SMOKER:
Before first use, cure your smoker to minimize damage to the exterior finish as well as rid the smoker of paint odor that can impart
unnatural flavors to the first meal prepared.
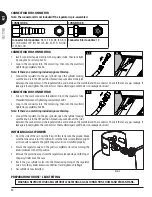
1. Open Glass door and using vinegar water and paper towel clean the glass surface. DO NOT use oven cleaner, glass cleaner, or
abrasive material, these products will leave a film on the glass, and when heated, makes the glass dirty, quicker and can bake on.
2. Remove water pan from smoker and do not use flavoring wood while curing your smoker.
3. Plug the smoker into electric outlet.
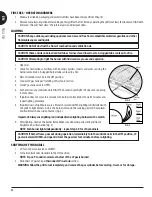
WARNING: Always use a 3-wire grounded outlet wired for 230 volts which is GFCI protected at 15 amps. If
in doubt, contact a qualified electrician. Do not operate any other appliances or electrical devices on the
same circuit as the smoker.
4. Turn the Control dial to the highest level, and your smoker to operate at approximately 300 degrees Fahrenheit for
45 -60 minutes.
5. Turn off the control, and allow the electric smoker to completely cool.
HOW TO START YOUR ELECTRIC SMOKER
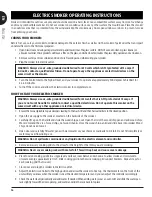
WARNING: Always use a 3-wire grounded outlet wired for 230-volts that is GFCI protected at 15 amps. If
you are not sure the outlet is suitable, contact a qualified electrician. Do not operate this smoker on the
same circuit with any other appliance or electrical device.
1. Ensure the two adjustable top air dampers leading to the Gas Grill and the Charcoal Grill are in the closed position.
2. Open the air supply to the smoker. Located on the backside of the smoker.
3. Carefully lift up on the handle and slide the wood chip pan out. Open the lid of the wood chip pan and add wood chips.
We recommend the use of wood chips, not wood chunks. Close the wood chip pan lid and slide back into smoker. Wood
Chips do not need to wet.
4. Open door and carefully fill water pan with warm water or your choice or marinade to 3/4 full. Do not fill completely or
water may overflow during use.
WARNING: Do not spill water, marinade or any liquid onto the electric element and controller.
5. Remove necessary cooking grids to the allow for the height for the items you are smoking.
WARNING: Never cover cooking racks with metal foil. This will trap heat and cause severe damage
6. Place food on cooking grid(s) in a single layer and leave room between each piece to allow smoke and moisture to
circulate evenly, approximately 1 inch. Slide cooking grid into the wire cooking grid support brackets. Repeat steps for
each cooking grid that is used.
7. Close door and plug the smoker into electric outlet.
8. Adjust the electric controller to the high position and allow the smoker to heat up. The thermometer on the front of the
unit will let you know when the smoker is near the desired temperature and you can adjust the controller accordingly.
9. Check the water level periodically and add water if needed. When adding water, wear an oven mitt and slide the water pan
rack slightly toward the door opening, add water and slide the rack back into place.


