PDP-501MX, PDP-V501X
76
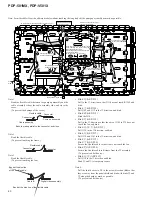
In this state, untighten screw 3
slightly and tighten until just
before it starts to bend.
3
Screw
Panel holder 3
Panel holder 4
[Normal]
[Bent]
Deformed due to screw torque
Fig. 4
Countermeasure for panel shield deformation
See next page.
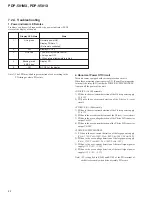
7.2 Diagnosis
7.2.1 Disassembly
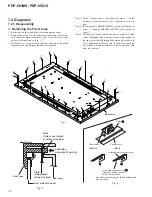
1. Removing the Front Case
1) Set the unit on the stand in the secured upright position.
2) Remove the screws
1
at the outermost circumference of the rear
case. Ignore the marks and remove all 23 screws (Note 2) on the
outermost circumference. (Fig. 1)
3) With screws
1
removed, only the front case can be detached
from the unit by pulling out the front case forward.
Note 1) Do not remove screws other than the screws
1
on the
outermost circumference as they secure the rear case in
place.
Note 2) In some models, BMZ40P120FMC screws will be used for
screw
1
' instead of BPZ40P160FZK which is used for
screw
1
.
Note 3) The front case may be difficult to remove at point
A
at the
center of the upper side of the rear case because the boss of
the front case is passed through the plate hole as shown in
Fig. 2 and joined to the rear case. In such cases, push the
tip of the boss with a screwdriver to release the front case
from the rear case.
1
'
1
'
1
'
1
'
1
'
1
'
1
'
1
'
1
'
1
'
1
1
1
1
1
1
1
1
1
1
1
1
1
A
Rear case
Boss
(Only at one location
at center of top side)
Push with a
screwdriver
←
point (A)
Remove
Rear case
Plate
(Hole passed
through by boss)
Front protection panel
Front case
Fig. 1
Fig. 2
Summary of Contents for PDP-501MX
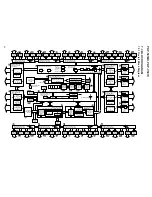
Page 16: ...PDP 501MX PDP V501X 16 A B C D 1 2 3 4 1 2 3 4 3 3 POWER SUPPLY MODULE 1 2 J 1 2 ...
Page 17: ...PDP 501MX PDP V501X 17 A B C D 5 6 7 8 5 6 7 8 J 1 2 ...
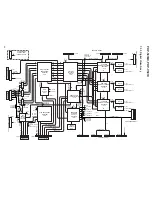
Page 18: ...PDP 501MX PDP V501X 18 A B C D 1 2 3 4 1 2 3 4 3 4 POWER SUPPLY MODULE 2 2 J 2 2 ...
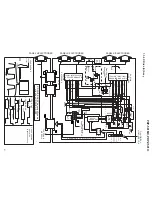
Page 19: ...PDP 501MX PDP V501X 19 A B C D 5 6 7 8 5 6 7 8 J 2 2 ...


