Black plate (125,1)
!
Temperature
:
Adjusts the colour temperature, resulting in
a better white balance.
p
You can adjust
Hue
only when the colour
system is set to NTSC.
#
If you touch [
Rear View
] or [
2nd Camera
],
the mode changes to the selected camera mode.
By touching [
Source
] or [
Navi
], you can return to
the selected mode.
6
Touch the following keys to adjust the
selected item.
Decreases the level of the selected
item.
Increases the level of the selected item.
Selects the adjustable previous item.
Selects the adjustable next item.
Each time you touch the key, the level of the
selected item increases or decreases.
p
“
Brightness
”
,
“
Contrast
”
,
“
Color
”
and
“
Hue
”
can be adjusted from
“
-24
”
to
“
+24
”
.
p
“
Dimmer
”
can be adjusted from
“
+1
”
to
“
+48
”
.
p
“
Temperature
”
can be adjusted from
“
+3
”
to
“
-3
”
.
p
The adjustments of
“
Brightness
”
and
“
Con-
trast
”
are stored separately when your vehi-
cle
’
s headlights are off (daytime) and when
your vehicle
’
s headlights are on (nighttime).
These are switched automatically depend-
ing on whether the vehicle
’
s headlights are
on or off.
p
The adjustment of
“
Dimmer
”
is stored se-
parately when your vehicle
’
s headlights are
off (daytime) and when your vehicle
’
s head-
lights are on (nighttime).
“
Dimmer
”
is
switched automatically only when the value
of nighttime is lower than that of daytime.
p
The picture adjustment may not be avail-
able with some rear view cameras.
p
The setting contents can be memorised se-
parately for the following screens and video
images.
—
DVD
,
Video CD
and
Disc
—
AV
and external camera
—
USB
(Video),
USB
(JPEG) and
MirrorLink
—
SD
(Video) and
SD
(JPEG)
—
Internal navigation system, MIXTRAX,
images output from the external
device
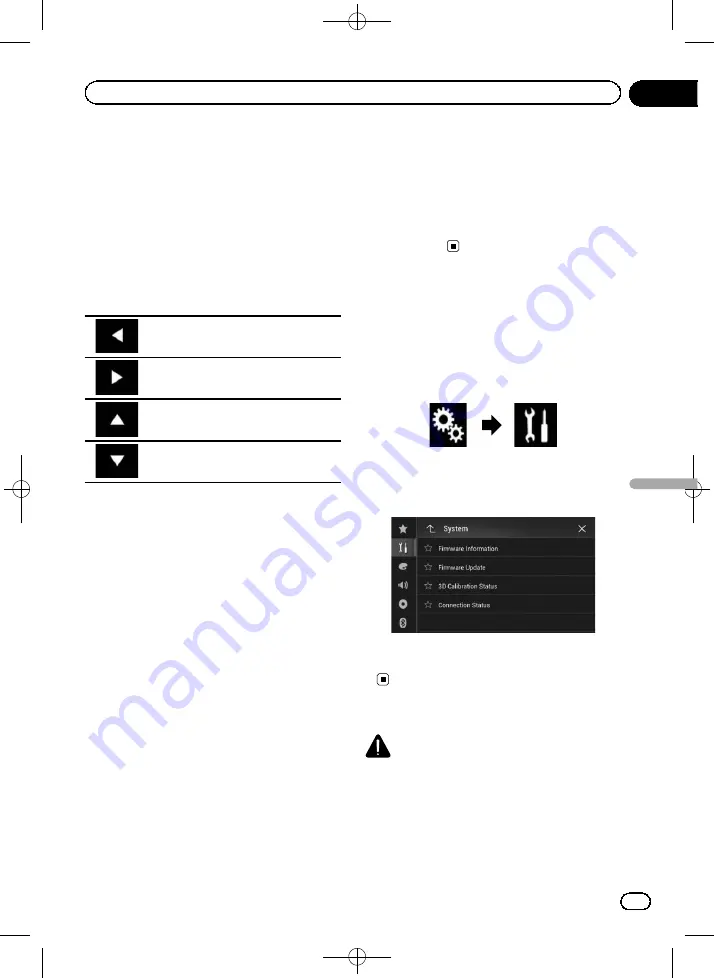
Displaying the firmware
version
1
Press the HOME button to display the
Top menu screen.
2
Touch the following keys in the follow-
ing order.
The
“
System
”
screen appears.
3
Touch [System Information].
The following screen appears.
4
Touch [Firmware Information].
The
“
Firmware Information
”
screen appear-
s.
Updating firmware
CAUTION
!
The only USB port that supports the firmware
update is USB port 1.
!
Never turn this product off, eject the SD mem-
ory card or disconnect the USB storage device
while the firmware is being updated.
<CRB4349-A>125
Engb
125
Chapter
24
System
settings
System settings


