3
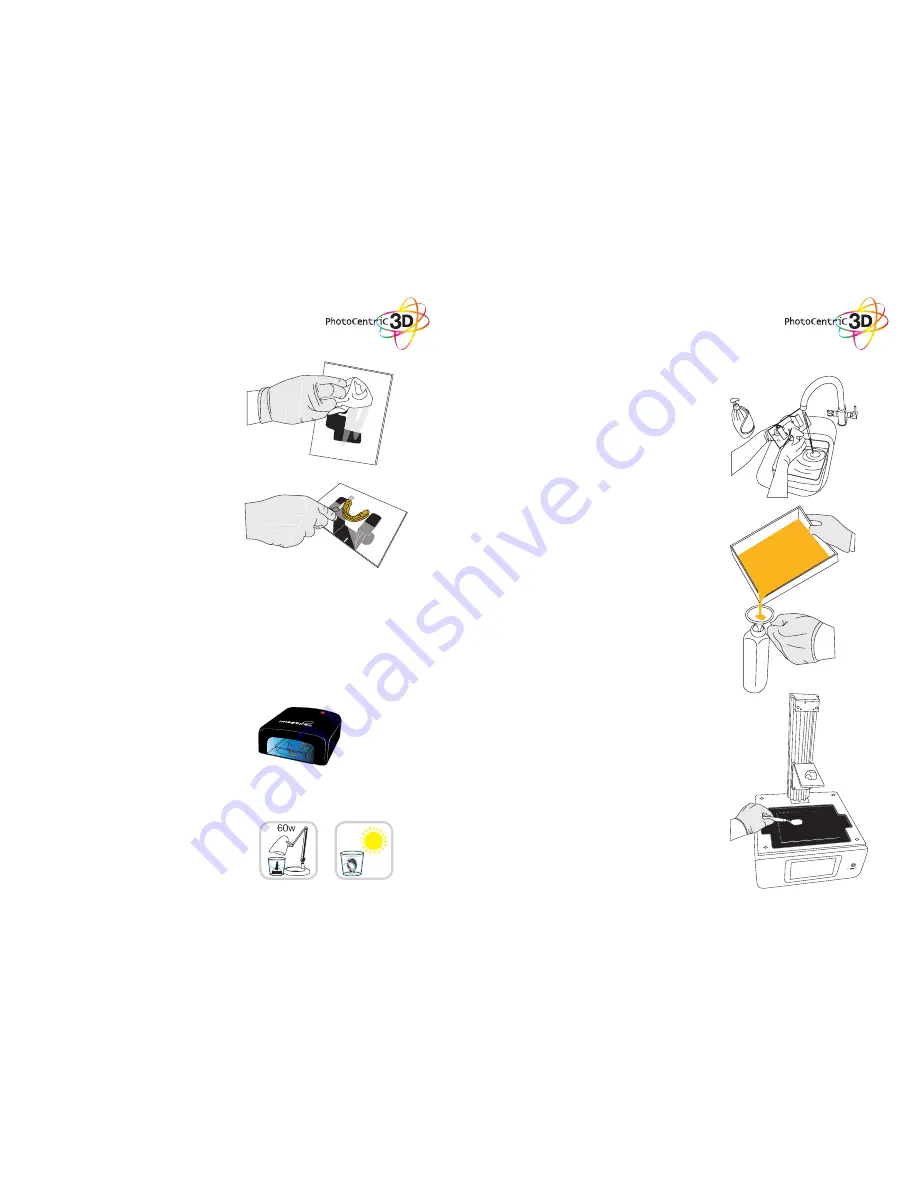
. After all the liquid resin has drained off, gently
remove any excess polymer with absorbent
paper. The fastest way to clean it and achieve
a dry surface is by spraying or immersing it in
IPA. Alternatively you can wash it in hot water
and detergent. Hold the part under running hot
water and gently clean it with a soft brush or
sponge and liquid detergent. Then remove the
object by sliding a scraper in at the base and
cut off the supports. Take care not to damage
it, it will not achieve full hardness until after
post exposing in light. An ultrasonic cleaner is
useful to clean delicate objects.
1.
When completely clean, place it underwater in
light (UV, sunlight or a table light) for a least 30
minutes to remove the surface tack. The part
will only have around 1/4 of its final strength
before post-exposure and strength increases
slowly with more light. Full strength is achieved
with 30 mins in a UV unit, or 60 mins under a
normal 60W table lamp. Then remove from
water and dry.
30 mins
post exposure
5. HARDENING
3.
If you have a leak on the screen mop up the
liquid resin immediately using absorbent paper.
Clean off with a damp cloth with detergent.
Hardened resin can be removed by chipping
off with a credit card or plastic scrapper. Metal
scrapers should only be used with extreme
care to avoid scratching the screen.
1.
Chip off any cured resin and clean the build
platform with hot water and liquid detergent.
Dry it thoroughly before inserting it back into
the printer.
2.
Empty the vat and clean it after every print in
case you have any solid pieces on the bottom
as these would prevent the platform from
homing correctly. Lift the vat from the printer;
pour the resin back into the bottle through the
filter paper into the funnel provided.
6. PREPARING FOR
THE NEXT PRINT
11
12
60 mins
post exposure
60 mins
post exposure


