1
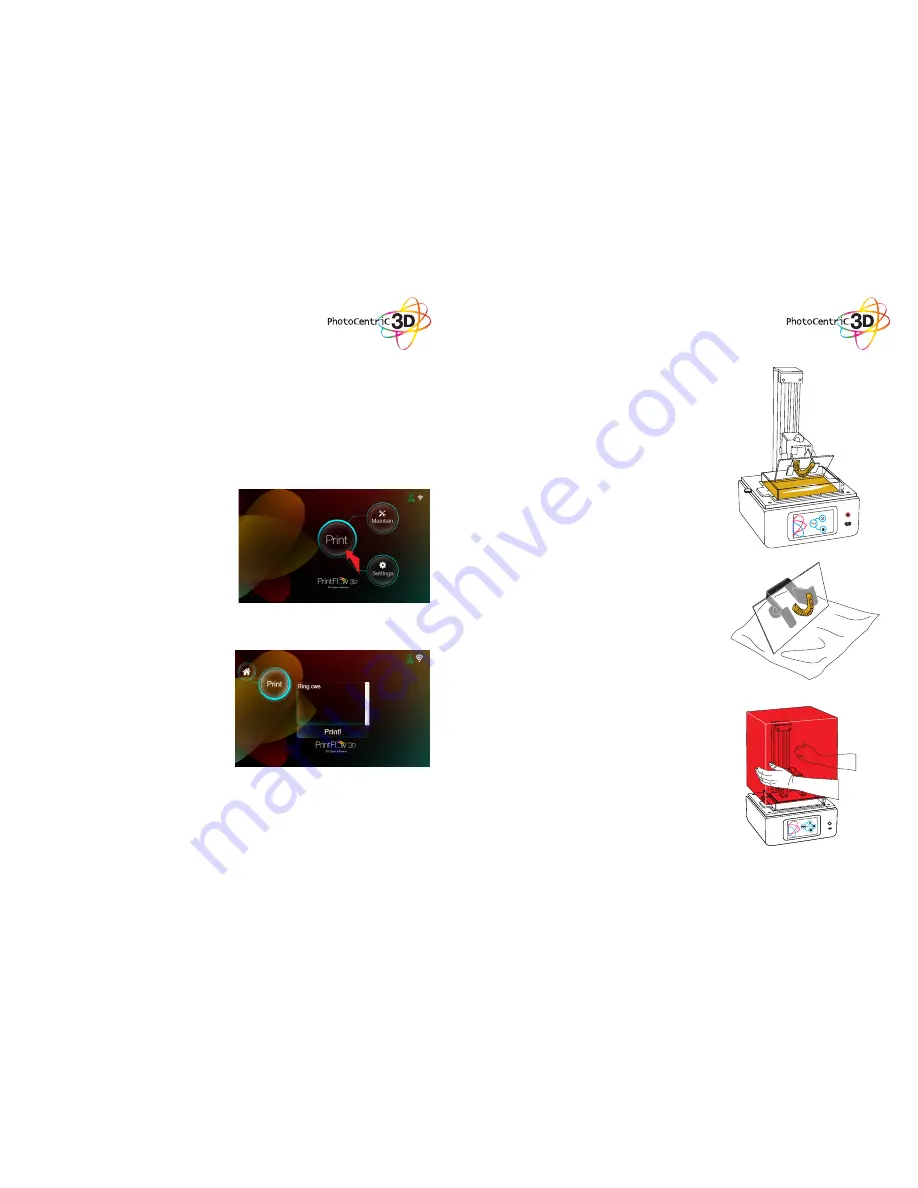
. When your print has finished, press the ‘+50’
button and the platform will rise to above the
level of the vat. Remove the hood and loosen
the two side bolts, tilt the platform slightly to
allow the resin to drip off. Put the hood back on
and leave to drain for a few minutes.
2
. Remove the hood again and with absorbent
paper under it, remove the platform completely
and set it down on the paper. Place the hood
back on to protect the resin in the vat from
light.
4. WASHING
Now you have set up your printer lets make your
very first print! Your LCHR has been shipped with
a default test print pre-loaded. For your first print
use this print and the sample resin supplied with
your printer.
3. STARTING A
TEST PRINT
1. Home it with the resin supplied.
2. On the homepage, press the “Print” button,
which will display the following screen.
STARTING A PRE-SLICED FILE
FROM THE TOUCHSCREEN
2. Click the test file Ring.cws to highlight it and
press “Print!”. The print will then start.
9
10


