


www.petsafe.net
9
•
Re-latch Time:
Amount of time it takes the pet door to re-lock after a SmartDoor
™
Plus Key is no longer in read range or
detected. Default factory setting is 2 seconds but can be adjusted from 1 second to 60 seconds.
•
Read Range:
Distance between SmartDoor Plus Key and the SmartDoor Plus pet door when it first detects the key and triggers
the flap to unlock or operate as programmed for pet.
•
Reset Button:
Pin-sized button located in the control panel which reboots the pet door.
•
Smart Mode:
Pet door operational mode where the SmartDoor Plus pet door flap is electronically locked and will function as
programmed for pets wearing a programmed SmartDoor Plus Key. This is the default factory setting for door operational mode.
•
Speaker:
Produces sound and used to alert when In-Tone or Out-Tone has been set, or when battery alert or error has
been detected.
•
Serial Number:
Unique identification number assigned to each SmartDoor Plus pet door during manufacturing. The serial
number is located on a label inside battery compartment or on About screen.
•
Timer Mode:
Allows the different pet access settings to be set at specific times of day for all pets with a programmed
SmartDoor Plus Key. Four time slots are available with a minimum of 2 programmed times required. Door operational mode must
be set to Smart Mode for Timer Mode to work.
•
Volume:
Turns speaker On or Off. Default factory setting is On.
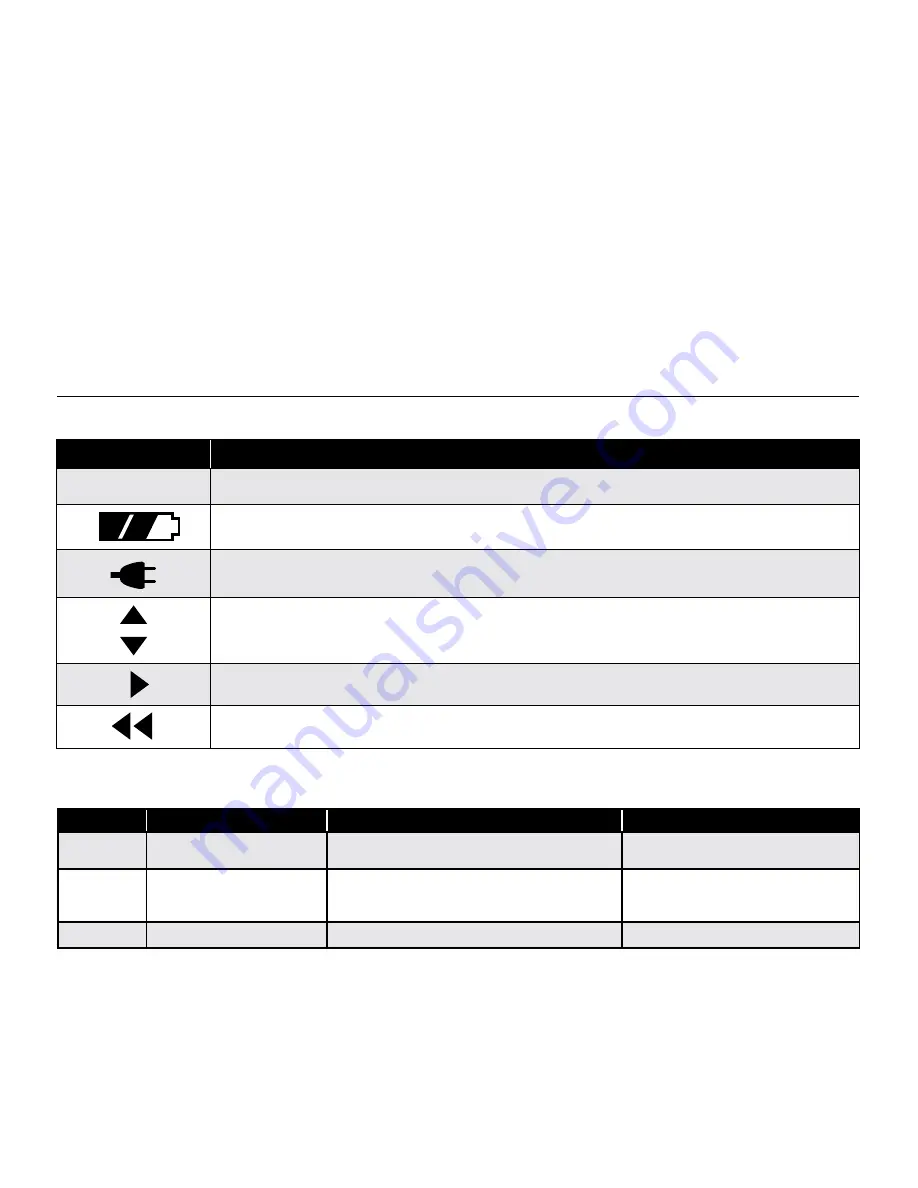
Pet Door Icon Definitions
Pet Door LED Indicator
Icon
Function
05:30
Time Indicator:
Displays the current set time. Can be set to 12 hour or 24 hour format.
Battery Indicator:
Displays when the rechargeable lithium-ion battery is in use with its charge status.
Power Adapter:
Indicates the power adapter is connected to the pet door.
Up / Down Indicators:
Indicates menu choices available above or below. Use the up and down arrow keys on keypad to
view additional menu items not shown on screen.
More / Select Indicator:
Indicates more information or options available. Use right arrow key on keypad to view
additional information or options. Can sometimes be used to select an option.
Back Indicator:
Indicates lower menu level. Press the back or left arrow key on keypad to return to previous screen.
Light Color
Light Function
Operational Mode/Status
Speaker Function
Green
Single blink every 6 seconds,
depending upon activity
Power source (power adapter or rechargeable lithium-
ion battery) is in good operating status.
N/A
Red
Double blink every 6 seconds
Low battery alert when powered by rechargeable
lithium-ion battery. Low Battery Mode.
If Low Battery Mode optional beep is set
to On and Volume is On, will hear a single
beep.
Red
Single blink every 6 seconds
Error alert/ATTENTION screen
If Volume is On, will hear a single beep.


