22
2.3.3
penveu Folder
When the
penveu system
is connected to your computer source with the USB cable, the
penveu system
appears as an external device named
penveu
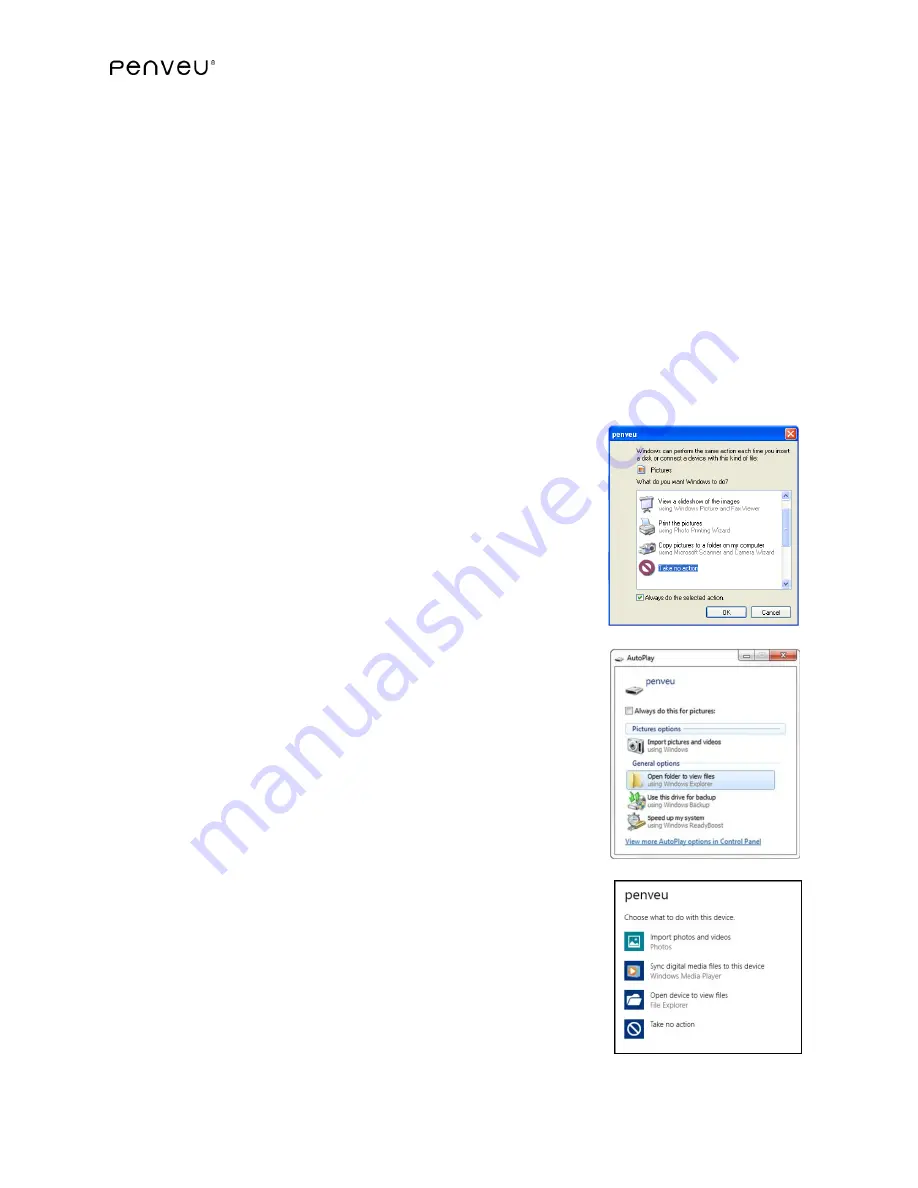
on your computer source. A
pop-up window similar to the one shown below appears on your display screen when you power
up or set up the
veu
,
take the
pen
out of the
veu
,
and capture screen images. This image will
vary in appearance based on your computer source (PC, Mac, laptop, etc.). The pop-up window
also appears during a system update. This window will indicate that the
penveu system
is a
folder to view files. For additional details on the
penveu system
folders, please see
3.8.6 Saving Other Files to the
Note:
If the computer is configured to “boot from removable device”, be sure to disconnect the
penveu
USB cable before you reboot the computer.
For Windows XP:
1.
Open "My Computer" Via Start or via navigating to the
Desktop
2.
Right click on the
penveu
device listed under "My
Computer"
3.
Left click on "AutoPlay"
4.
Check "Always do the selected action"
5.
Select "Take no action"
For Windows 7:
1.
Open "Computer" Via Start or via navigating to the
Desktop
2.
Right click on the
penveu
device listed under
"Computer"
3.
Left click on "Open AutoPlay..."
4.
Left click on "View More AutoPlay options in Control
Panel"
5.
Next to "Pictures", left click on the drop-down menu
6.
Select "Take no action" option
7.
Left click on "Save"
For Windows 8:
1.
Open "File Explorer" Via Start or via navigating to the
Desktop
2.
Right click on the
penveu
device listed under "This PC"
3.
Left click on "Open AutoPlay..."
4.
Select "Take no action" option


